Joiner’s Toolbox – Project Info
Posted 23 December 2014
This is the introductory page for a paid video series. Want to watch more of this project? Select the best option below to get started.
Description
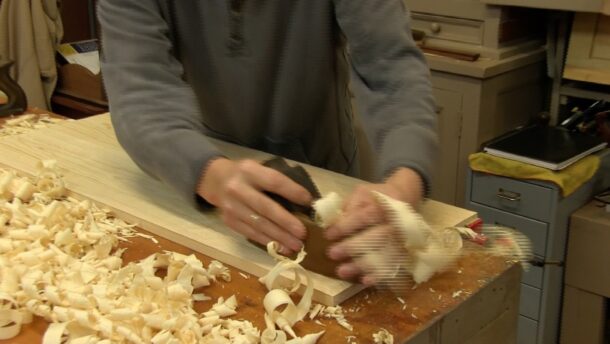
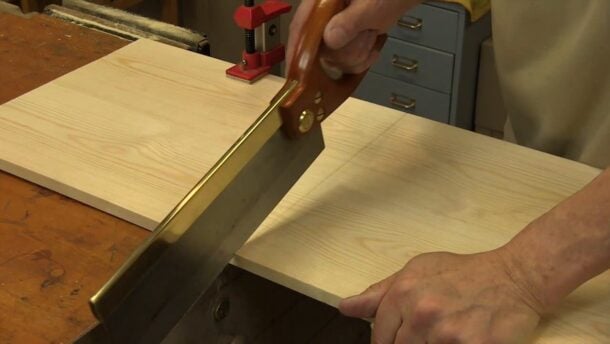
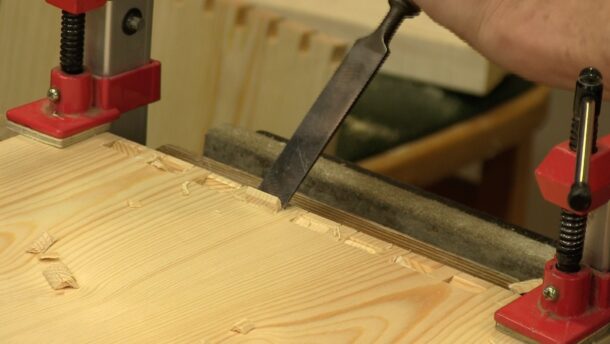
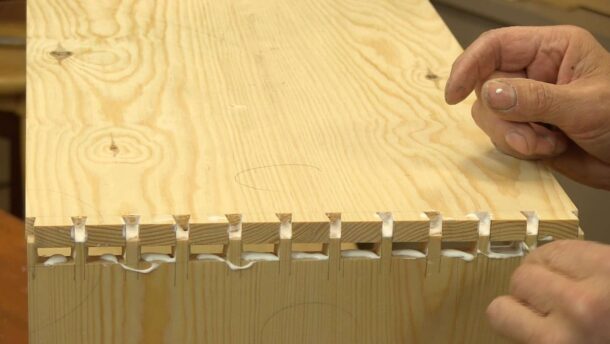
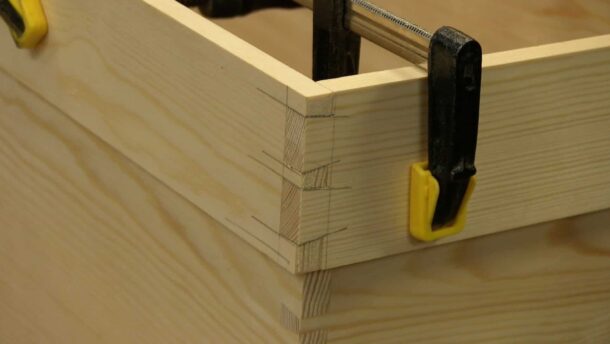
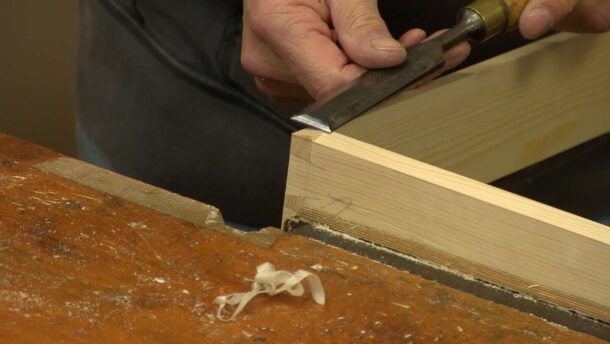
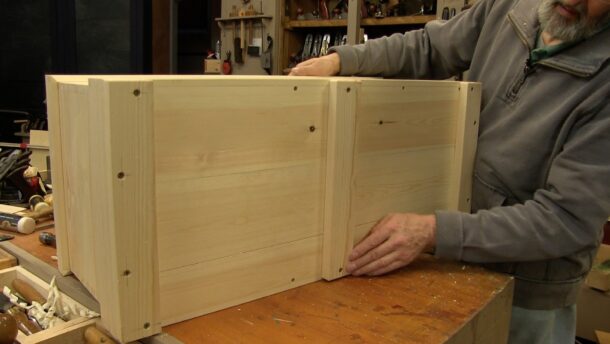
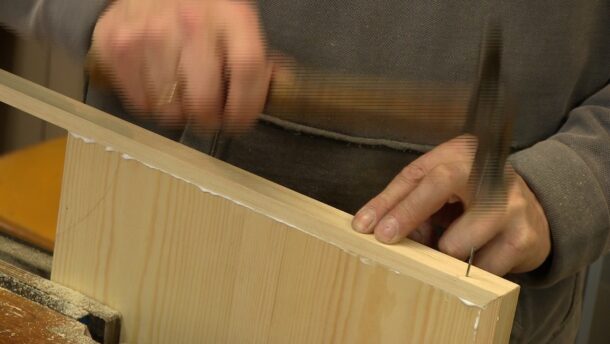
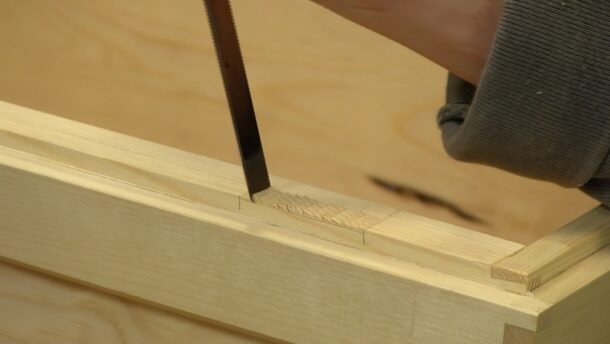
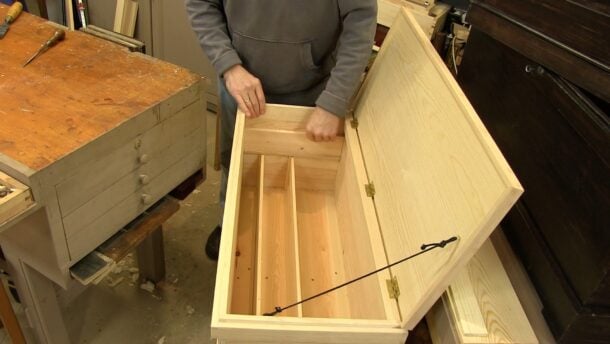
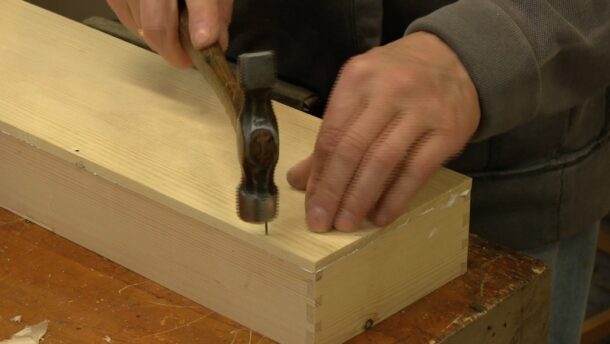
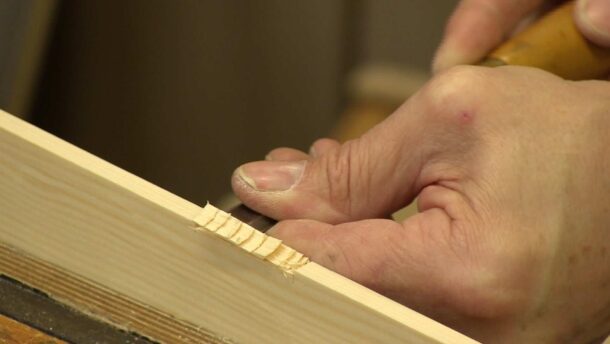
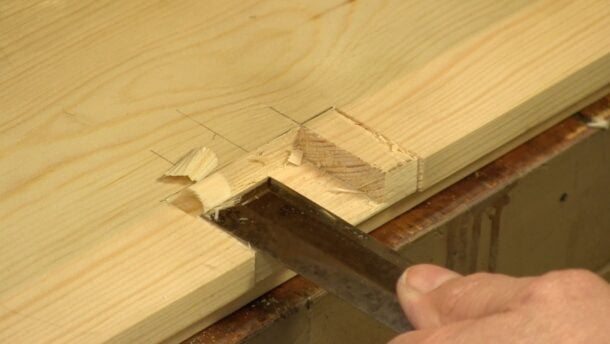
In this series, Paul decides to reproduce a well-used joiners toolbox that he picked up at a local car boot sale/flea market. This simple chest has a number of interesting features. It is made from relatively thin 1/2″/1.3cm stock which is strengthened by dovetailed trim. This together with its size, which fit a set of all the most necessary tools, makes it a perfect size for taking with you for any job or project you have to do. It is a great introduction to making larger dovetailed boxes and chest.
The tools you will need are:
- Knife
- Square
- Marking gauge
- Tape/Ruler (or both)
- Dovetail template
- Chisel hammer
- Chisels (at least 1/4″, 3/8″, 1/2″, 3/4″ and 1″)
- Smoothing plane (No 4)
- Jack Plane (No 5) *(Recommended if preparing wood from rough sawn and edge jointing)
- Timber dogs* (optional but shown)
- Scrub Plane*
- Winding Sticks*
- Handsaw
- Tenon saw
- Hand drill/drill driver
- Screw driver
- Square Awl
- Small steel hammer
* = optional
The joints used in this project:
- Dovetail
- Half Lap

I’m really excited about this project, thanks Paul and Joseph!
What I like about these projects is that they are true skill building projects. This isn’t just a tool box project, its a great toy box for your kids, a hope chest, a blanket chest, anything you wish to make of it with just a few modifications, often from other Masterclass projects. Take the breadboard ends from the cutting board project and make a beefier breadboard end lid, for example. Fantastic.
I think this will be another very popular series.
Funny. I finished my workbench Paul showed in his book (Working Wood 1 & 2: the Artisan Course with Paul Sellers) – and a similar 2man version in youtube. I made mine for just me, so one bench. And i wondered how to “hide” and store my tools. Here it is. Just in time.
Thanks for that.
(Oh – and I had time enough to try the wallclock project on this workbench. A good workbench and sharp tools are the key to a good project. One thing is, I will put a second vise on the end of the bench just for lengthen things.).
Thanks so much for this project, I’ve been waiting for the last few months for it. I was planning to do a tool chest last year but never quite got around to it, now I know why. This is much better! Great project to start the new year. And the drawings will be a big help to those of us who are a little thick 🙂
Kick on and keep up the great work!
Cheers
Paul,
Watching you survey the contents of the old, original chest left me with a question: When Joiners went to a job site away from their shop, what did they do for a vise? I would certainly be handicapped without the “third hand”! Best wishes to you, your family, and the crew for a joyous Merry Christmas!
Gary Blair
Lander, Wyoming
Paul,
I can’t believe this. I built my work bench from your you-tube videos. My wife got me a bench vise for Christmas, so as of tomorrow I can start using my bench. What is so uncanny, is that the first project I wanted to do was to redo my old tool box that I built over 27 years ago. And here you go doing a tool box Video, great timing!!!
Thank you for passing on your knowledge.
Great choice Paul! I am in sore need of somewhere to store (hide) my tools as well.
Wayne
I have been wanting to build a tool chest for quite some time and have been going back and forth which one to build. This traditional style with tills or the “Slanted Dutch Version”. I really like what Paul did with this chest and this is the way i am going to go and will be my 1st new project after the Holiday’s. I built Paul’s bench last year and love it and so glad I decided on that bench.
Thanks again Paul and crew for yet another great project, I also like the the tool chest that was built last year but want to get a little more experience with hand tools under my built before tackling that one, LOL.
Merry Christmas and Happy Holiday’s every one.
Steve
This looks to be a very exciting project. Thank you and Merry Christmas
Paul always makes it look so easy. Makes me want to grab some pine and start planing. Thanks for the project. I have aspirations to build a few hope chests in the future, and this should give me the skills and techniques needed.
My wife would say that there is a down side to this tool box…. I have to buy more tools to put inside! I look forward to building this one.
It will be a couple of years before we move into a retirement community. Yesterday I took another walk-through in the wood shop and was frankly appalled by what I found. The tools were neatly arranged on the wall pegboards, but they were in terrible shape. If I am to do work there I will have to bring my own tools in and either lock them up or put them back in my van to take them home. When we move into the community, I may have to take them “home” to our apartment.
Can this Joiner’s Toolbox be modified to add strong wheels and a strong handle? Maybe strong skids on the bottom to lever it into the back of the van. I don’t want to walk in and find someone using one of my chisels as a screwdriver or a paint can opener. Last year I found the resident wood working (de facto) chief trying to remove Superglue from the plate faces of the small lathe.
At age 69, it’s a bit early to be as physically limited as I now am, but there you have it. I’m going to have to bring in what I need. There’s not a wood vise or dog hole to be found.
Jeff, I think it would be a simple matter to screw on casters on the bottom cleats of the chest. You can also look up Paul’s “traveling tool chest” on his blog. It’s the black fall-front chest you can see to Paul’s left next to his tool cabinet in the videos. There are similar chests called “Dutch tool chests”, too, with plenty of plans and examples floating around out there to make your tools portable and safe.
Thank you! Good to know that I can make a chest and have the capability to add a fairly significant feature to make it work for me. And thanks for the tip on the traveling tool chest. I simply haven’t had enough time in the day to read everything, yet. Paul and his folks have done wonders.
You know, the first time I saw the community “wood shop” I thought it was the cat’s meow. But after seeing Paul’s’ shop, and especially after all the work I put into my own very small, humble shop, The committee-built shop looked more like the cat’s hairball. All those shiny machines just didn’t impress me any more. I went right to the handsaws and didn’t even have to hold them to see what was wrong. There was no place to use a saw, no place to use a plane.
Hello Everyone,
I have always wanted to work with wood, over 25 years ago a relative bought me some good quality hand-tools and Blizzards book of woodwork but the descriptions of joints and the prohibitive cost of wood for a novice stopped me taking the pastime up. I now have the time, tools and Youtube! My biggest dilemma (Dilemmna-Hello to Jason Isaacs) is buying the wood from a cut list. My maths isn’t great and I can’t visualise what can be made from what stock. Are there any lessons or techniques you can help with. On this project I’ve worked out that I can get away with 2x2350mm pre laminated 18x400mm boards for the big bits, but what of all the Dividers, tills, rails and so on?
Your help would be much appreciated by someone who doesn’t have, and can’t afford a stockpile of wood to select from.
Kind regards,
Rowly
Hi Rowly,
Good For you for getting stuck in.
Your mention of ‘pre-laminated’ , I’m going to presume you mean ‘Lamwood’ also know as ‘glulam’ in the structural wood world.
Pine is the most readily available (and cheapest) but it does come in other (hard) woods.
Paul has often said that the ‘Pine’ that is found in Uk suppliers is generally good quality slow growth North European.
Using Pine (often referred to as just “Deal” – don’t know why — white deal or red deal)
means there is a Large selection of “PAR”(Planed all Round) also known as 4Square in both timber/builders merchants and (more costly) Big DIY Chains.
So you get a product that is (theoretically) already planed smooth and square on all faces.
– the caveat is because depending on storage conditions (humidity) the timber will only be parallel across it’s width if it is kept at the same humidity as when it was put thru the Four head Planing machine in the first place.
The most economical suppliers are typically builders merchants – the wood should be from a Covered Warehouse – NOT from stock left out to the elements.
This Will Not Be as dry as when it was planed and will typically cupped/twisted warped to some extent.
often If you ask the warehouse lads (And Put All The Boards Back Onto The stack), they will let you go through an open stack to select your own boards — Within reason
As to sizes – bit odd but the width and thickness are often spoke of in inches and the length in meters.
typically 1″by2″ 1″by4″ – 5 – 6 often you can get widths in 1″ increments to maybe 12″ — I tend not to go more than 6” if I’m needing a wide board, I would “Glue -Up” narrower stock.
BUT
These thickness X width (in inches) Are NOT what you actually get — I know – I didn’t make up the rules!!
Typically 1/4 inch is lost by the planing process so a 1″by6″ will actually be ‘about’ 3/4″by5 3/4″ Technically they are dimensioned in Metric but the old 1″by6″ is still widely used as it is easier to remember.
Length is quoted in Meters as I said Typically 3.8M , 4.2M and I think even longer in some sizes.
Thickness goes up in 1″ intervals (BTW ask for 4by2 not 2by4(novice mistake)
You will find that the larger thicknesses tend to be in limited (smaller) widths — The Trees Just aren’t big enough anymore.
SO, if you use the inch measurements Paul gives for widthxthickness of parts, you will find it easier to judge what ‘stock’ widths to buy so that you can plane down somewhat or rip saw down from wider stock that might be needed for wider parts of the project.
You are stuck with the length of board – they will not sell less than the standard (The Diy stores Do sell ‘Project packs’ shrink wrapped so will be good and dry but very limited sizes )1×4, 1×6 2×4 maybe others -these packs are normally short lengths ?? 1.8m (is that 6″?).
Although the LamWood panels may be a fair bit more expensive, if you go to a large DIY chain that has a “Panel Cutting Service” you can get your panels accurately ripped and cross cut to size — This may well be worth the extra for a first project since starting with square edged and accurately dimensioned main panels will greatly increase your success in this project.
Hardwoods?? — Totally different story — price is generally quoted in ‘Board-Foot or cubic foot. Headache! A board foot is 12″ length of 12″wide 1″thick OR 24″length of 6″wide 1″thick Or 12″length of 6″wide 2″thick(more expensive as the thickness goes up) OR sums adding up to the same volume.
A Cubic foot is NOT a foot thick.
From a general timber/builders merchant you can typically ONLY get hardwood in ‘Rough Sawn’ state. Many timber suppliers will PAR it for you (At a Cost) — you need to leave the timber a bit ‘Fat’ as it will likely lose moisture during ‘Seasoning’ in the house/ garage the piece is intended for (2 weeks at least) DO THIS for Soft wood TOO.
Hope this helps — Mine would not be an ‘authoritative’ discourse on matters Wood
(I would still be at the ‘apprentice’ stage of this working of wood.
Steve
BTW Rowly,
It’s best to post questions in the FORUM link not in the comments,
They can get overlooked and left unanswered.
If you click on the Forum link at the top of the page and find the Joiners Toolbox forum, you will see that I have copied and pasted this Question/Answer there – you may get further input from other members.
Steve
Wow, thanks for taking the time to write such a great reply Steve, Much appreciated.
Rowly
That sound…. of wood when Sellers opened smaller long box lid, I am sold, that’s what Makes all the difference between plastic and other materials and wood…