Occasional Table episode 6
Posted 3 December 2014
This is an episode in a paid series. Want to watch it? You just need to sign up as a paid member, and you can enjoy this video and many other videos we think you will love.
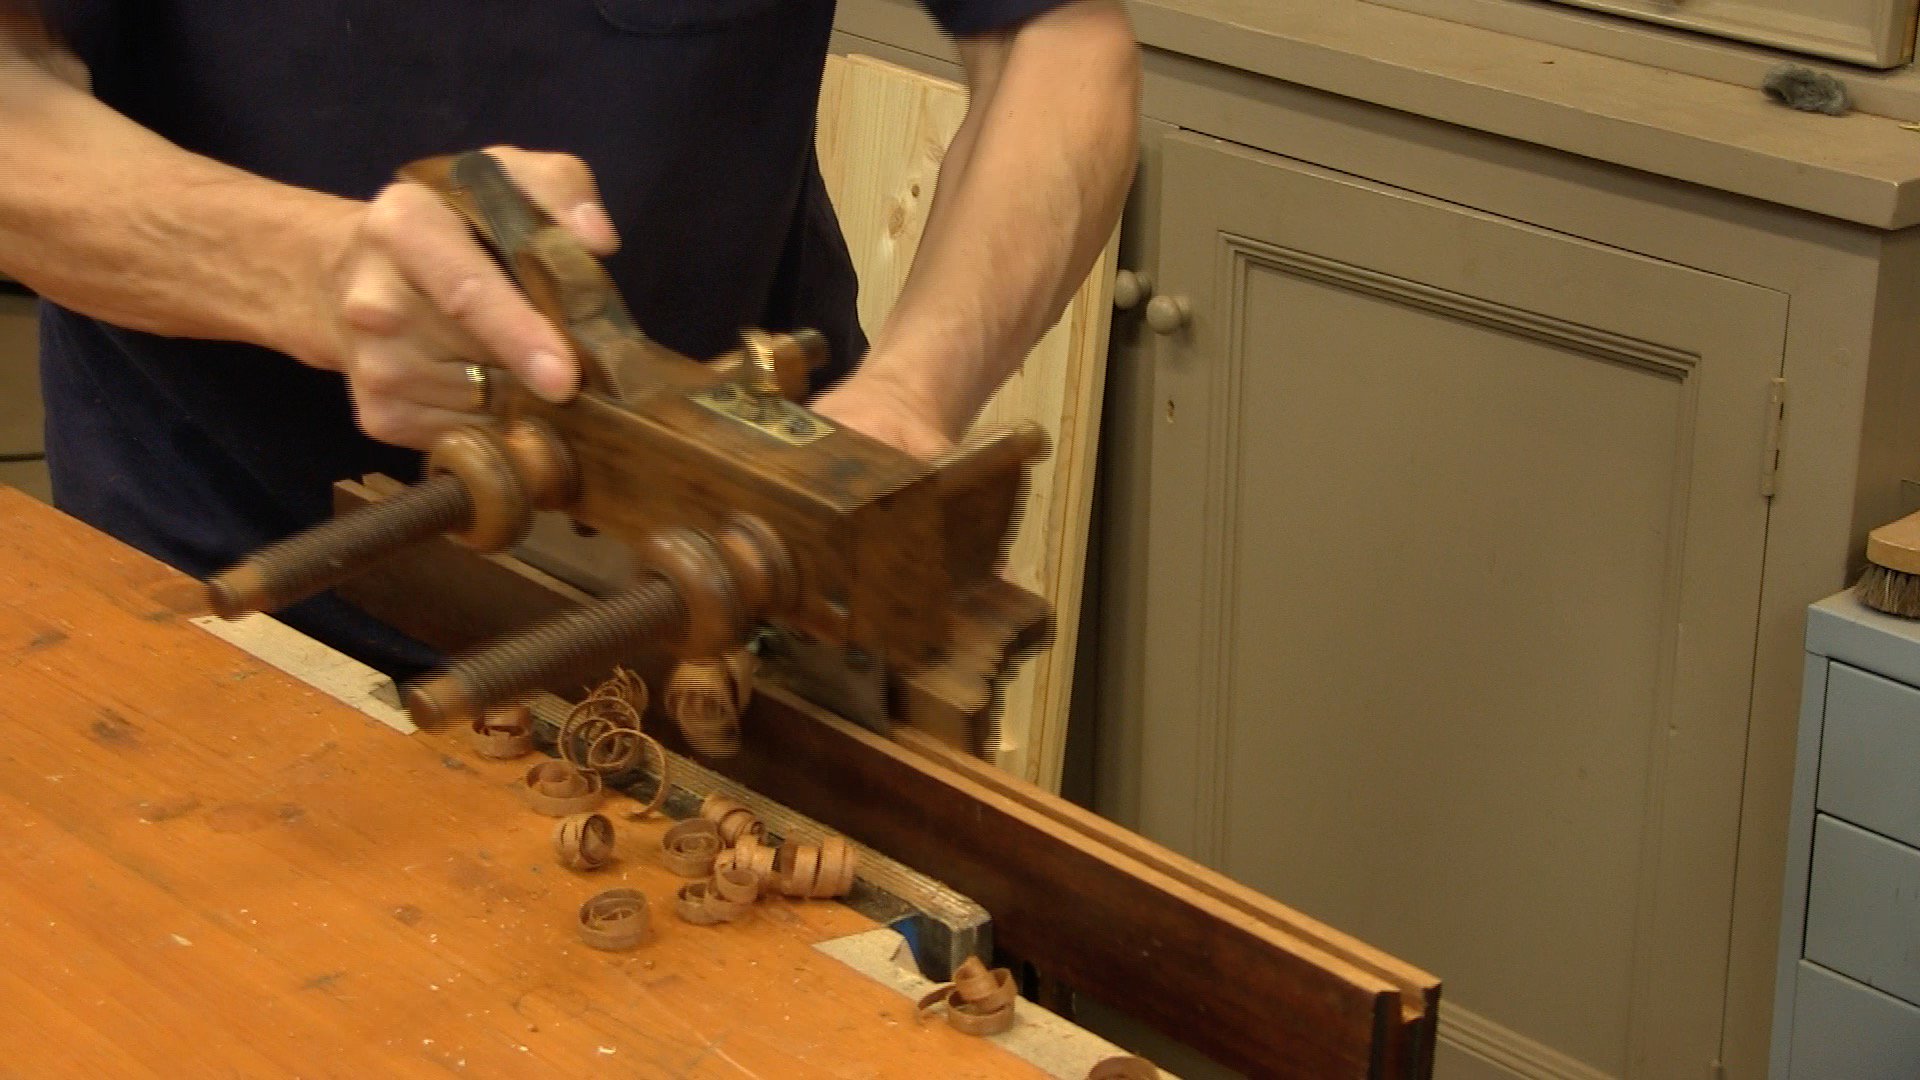
With the base frame completed it’s time to start on the table top. Looking at the original top introduces a number of interesting features such as the methods used to plane to thickness and the breadboard end with tongue and groove. Paul ploughs and mitres the end as well as cutting the mortises.


I’ve begun my hunt for Antique furniture if I can find them cheaply enough to study them but I will have to go interstate for this.
I wish you and your family a Merry Christmas and happy new year and to all members of this wonderful site. Stay safe everyone.
Paul this has been a great series. I have learned a lot of different techniques in reading and working wood, which for me is very exciting. I like the idea of using recycled wood to make a nice project.
Steve
Forensic woodworking. Very cool.
Wonderful video.
Could the marking under the second table have been a cabinet scraper? They are shallow and taking a narrow shaving?
no
I can’t recall any discussion as to why the breadboard end was fitted in the original.
Would it have been done as part of the original design? If so, why?
Was it fitted later to repair some damage to the edge? Or perhaps to control some warping – or would that have required breadboards both ends?
Why is Paul copying the original design so closely and yet leaving his boards thicker? Is this related, ie. to prevent warping?
Hi Claire,
I seem to recall Paul saying that the breadboard-end was used to stop any cupping/bowing of the tabletop over time – i.e. it is a preventative measure.
Claire, you really must watch the intro vid and episode 1 where Paul explains all and dismantles the old table. All will be revealed.
Thanks Gareth.
I have watched the earlier eps and recall Paul saying it was to reduce cupping. Nothing surprising there – that’s what bread board ends are for.
I’m just trying to work out why it was made so unusually. Bread board ends, as I’m sure you know, are usually put on both ends, not just one. And, normally, they would be symmetrical – either with a mitre end both sides or through joints both ends. This is a very odd design and I can’t recall Paul discussing why it was so.
Hello Claire,
We think it is partially to do with neatness and design, but also relates to shrinkage and how it will show on the piece.
I thought it was odd myself that it would only be mitred on one side and only have the breadboard end on one end, but I assumed it was due to the table being a production piece and one breadboard was enough. The economy of motion. It didn’t occur to me that it may have to do with wood movement, but it makes sense.
I’m curious, why did Paul glue up the tabletop from 2 boards? I thought the original tabletop was large enough, or did he use the extension for the aprons and the top?