Rocking Chair: Info Page
Posted 3 October 2016
This is the introductory page for a paid video series. Want to watch more of this project? Select the best option below to get started.
Description
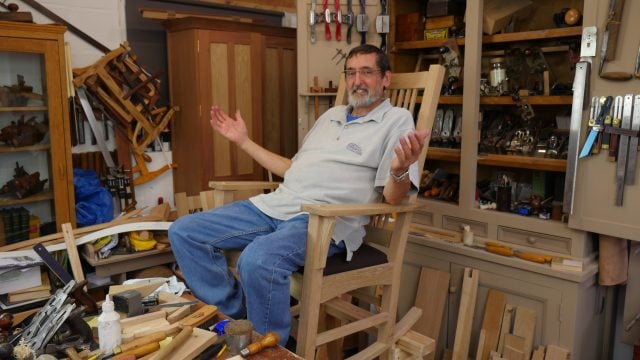
In this series, Paul shows how to make a Craftsman-Style rocking chair that he designed and has been making for decades. Working with oak stock, Paul shows how to construct the mortise and tenon frames, including arched rails and angled tenons for the side rails. He discusses how to shape the rear legs and rockers by hand, before upholstering and finishing the chair to round out the finished project.
The tools you will need are:
- Knife
- Square
- Combination gauge (or marking gauge and mortise gauge)
- Tape/Ruler (or both)
- Sliding bevel
- Chisel hammer
- Chisels (at least 3/8″ and 1″)
- Hand router (see how to make a ‘Poor Man’s Router here)
- Smoothing plane (No 4)
- *Jack Plane (No 5) (recommended if preparing your wood from rough
- sawn)
- Spokeshave
- *Scrub Plane (recommended if preparing your wood from rough
- sawn)
- Mortice guide
- Winding Sticks
- Handsaw
- Tenon saw
- Dovetail saw
- No 80 Cabinet Scraper
- Card scraper
- Brace & bit and hand drill or drill driver
- *Rasp
- *File
- Square Awl
- Small steel hammer
* = optional
Joints List:
- Mortise & tenon
- Housing dado


Paul,
What a great series, with many opportunities for learning! I am so excited.
Thank You,
Joshua
This project looks very inviting. However, if I had a good rocking chair, I might sit in it too long. 🙂
KUDOS to your audio/video editor. So often, I find that videos containing background music have it too loud, overpowering the speaker, making it difficult to understand the spoken part. This one was well mixed. Thanks!
After some energy gaining “smaller” projects we now know, why we had to make some saw-horses and an easy looking table.
The saw horse is essential for making the rocking chair and the table is necessary for the cup of tea, when we finally sit in the chair pondering about, how far we got with Peter…
Let’s try to be serious (oh, no. not me. In every man there lives a child and mine is big and full of … energy): I never thought it would come this far, the toolchest was one of the masterpieces for me (still on my plan). But the rocking chair… what a wonderfull winter-project.
Thanks a lot.
[Original Post Mis-filed, reposted below]
You may be getting your wood at a big box store, but Red Oak is a nice wood man, don’t get it twisted! (pun intended, that stock at HD or Lowe’s can be in sorry shape!, pick carefully!)
Red Oak is a classic wood, and will make a sweet rocker.
I may be using the same!
Nothing wrong with red oak. I like the pale red color once you get some oil on it. I use it a lot, too, because it’s available at the big box S4S for about the same price I get for S2S at the lumber yard.
[Repost, Original Comment Mis-filed by System]
I’m excited about this. My wife wants a nice rocker. I don’t have access to white oak though, and I know many frown on it, but I’ll be using Red Oak from *sigh*….the big box store. Still can’t wait to follow along.
This is going to be an awesome video series Paul!!! Can’t wait to get started.
Thanks,
Tim Turney
I am so happy about this project! I always wanted to build a rocking chair and now I know that thanks to this project, soon enough I will build one.
Thanks a lot Paul Sellers!!!
All the skills we’ve been learning will come together on this one. I’m very excited…
Just one comment. Oooohhh !!!
Have been waiting for this project for a long, long time. 🙂 Thanks Paul!!!
I just started the tool chest from pine, it’s all I had, and I’ll be saving some money just for this project.
It’s a beautiful chair.
Thanks Paul
At last a chair with rockers that will not wear a hole in the carpet. And it has a structure that will support a large person with little or no alteration.
I totalled some of the cutting list items for my own purposes; maybe this will be helpful. It does not account for wastage, mistakes, etc.
The tools you will need are:
nd drill or drill driv
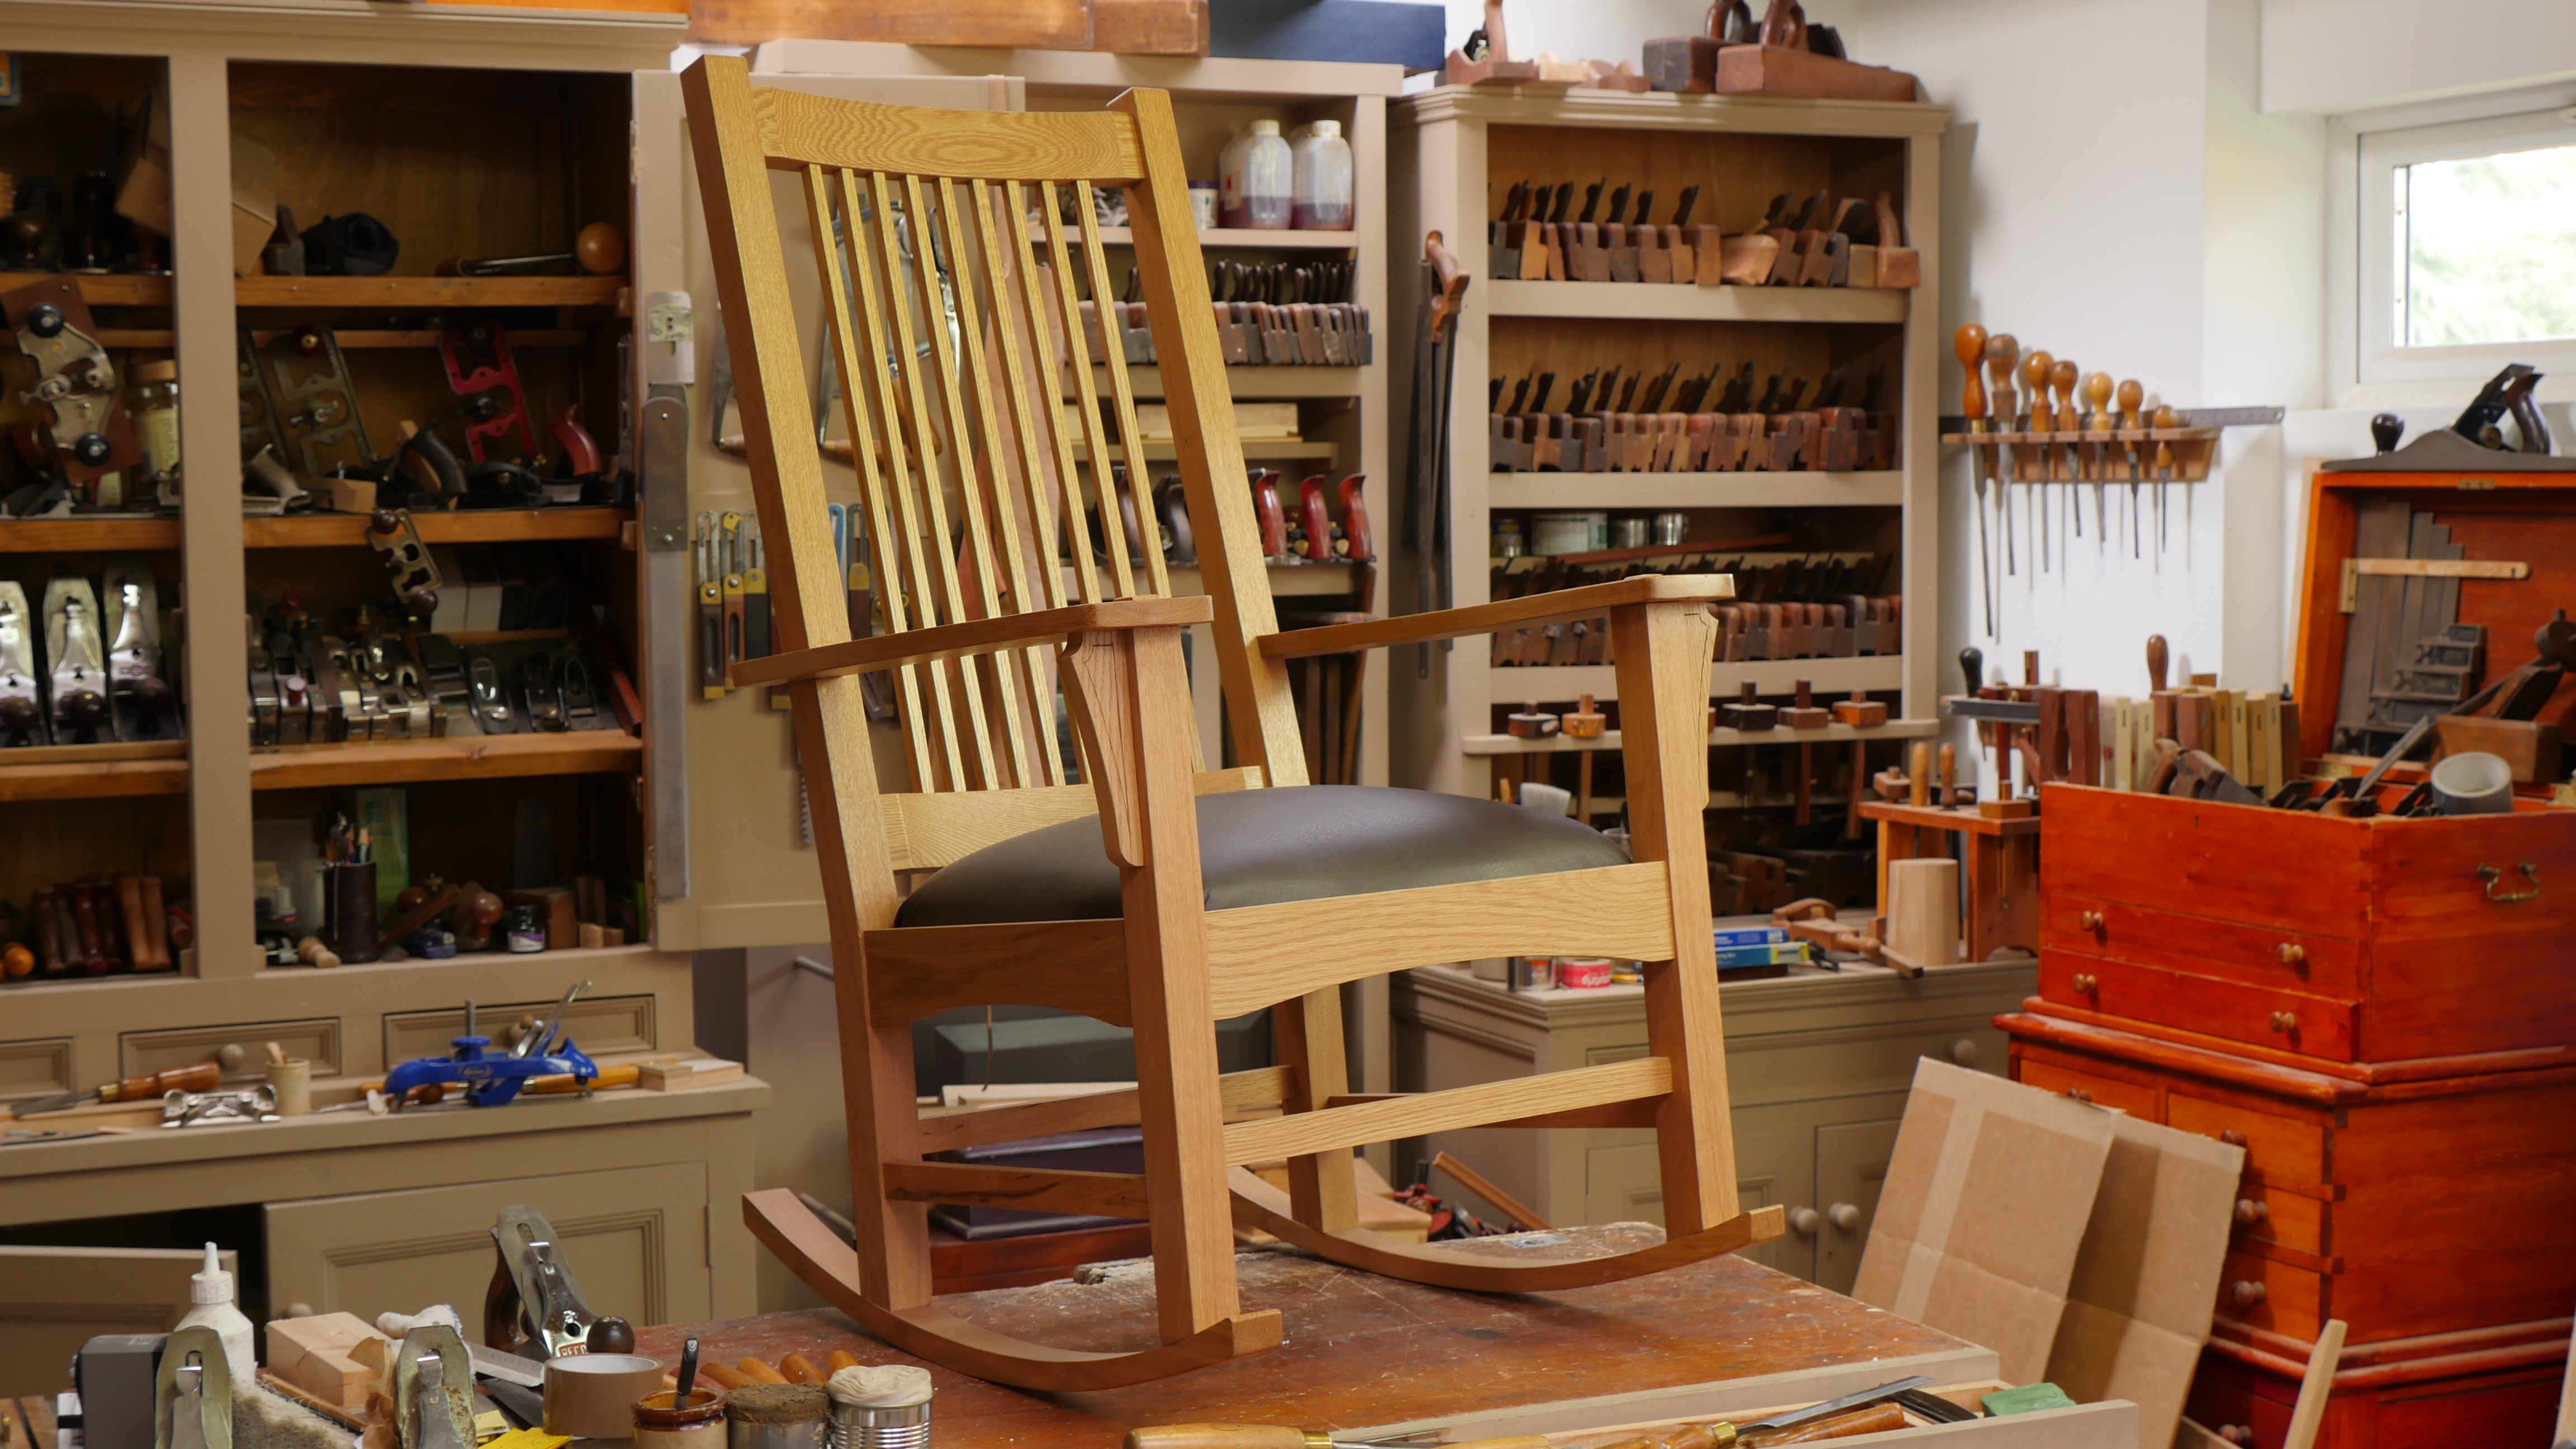
I really like the splash picture for the video, it shows 4 piece in a live setting from the WMC: coffee table pecking in on the left, the green bookcase in the background and the small occasional table front right all framing the new rocker project.
Woohoo! I don’t have to buy a plane ticket to England to take this course. Thanks!
What makes something “craftsman” style? I’ve tried googling it and all I can find are examples of craftsman style houses, wood trim, even craftsman fences. But there seems to be no unifying feature(s) that make it obvious from one example to another. So what are the definitive characteristics about something that make it a craftsman piece.
Extra credit if you can explain “shaker style” as well. Substitute the word “craftsman” for “shaker” in my paragraph above.
Also known as Arts and Crafts.
Craftsman style refers to the American interpretation of the “Arts and Crafts” movement of the late 19th and early 20th centuries. Gustav Stickley would probably be one of the iconic designers. Generally the idea was for craftsman produced furniture etc. rather than mass produced. The characteristics would generally be solid pieces with exposed joinery and not much ornamentation so the beauty of the piece would be in the design and the wood. The typical wood used by Stickley was fumed white oak. If you look up arts and crafts furniture you’ll see many examples. Mission style furniture is quite similar.
I believe that there are different Shaker styles, depending on the Shaker community. The general idea was simple designs with no ornamentation, so again the beauty of the piece is in the design rather than inlays and fancy hardware etc. The differences from arts and crafts would be lighter, more delicate looking designs and also they used a lot of turned parts. Woods used would generally be pine and cherry.
That’s off of the top of my head so take it with a grain of salt.
Excellent reply. Thank you.
This chair’s design is essentially a mix of Stickley rocker features.
Gustav Stickley was one of the main people in the arts and crafts movement. His work is pretty much what people think of for craftsman furniture.
Can’t wait to get started on this project. Thanks so much for doing it.
Paul,
This is what I’ve been waiting for. I can see your method o building the other projects first, to be ready for this project. Boy have I’ learned a lot. I can’t imagine what else lies ahead.
Thanks Rodney Hames
Awesome! I inquired about six months back if you would ever be doing this project and you said you had not planned on it. Thank you, thank you, thank you for your change of mind. I had made the dining chair and had so much fun I was in the process of studying other rockers to see how the arms were attached and the rockers made. Now I won’t have to tackle it on my own. Very excited for this project, getting my wood now.
jimmyb
Canton, GA
Back in 2004 I bought a copy of Woodwork Magazine, in it was a detailed article on building a rocking chair, I purchased the next issue of the two part series. I told myself that I was going to build that chair someday. I filed the magazines with others, that were for future projects. Teaching myself over the years and watching many You Tube videos especially Paul’s Sellers I decided it was time to build the rocker,what a surprise to learn Paul wrote the article I have been saving. I had oak from a 150 year old wagon shed that I salvaged and I started to build my rocker earlier this year. The front and back are dry fitted and the sides are made, I am in the home stretch and I very interested in seeing Paul do the side rail tendons and the slat layout, a very challenging part for me. Finally if you do this you will be very good at chopping mortise by the time your are done. I bet with the help of the videos this will be even more fun.
Paul,
Great project, thanks.
I have a concern though.
I was planning on buying the wood right away in order to have it dry and accommodate to the atmosphere of my workshop, but when I look at the dimensions of the rocker rails, I can’t figure out how this could be right.
The cutting list says (metric) 22mm for the thickness, which indeed corresponds to the thickness on the drawing, but then how can you carve the bend out of it? The piece would need to be way thicker at first (at least 2 or 3 times).
Same remark about the carving for the top and lower support rails which have the same thickness in the cutting list.
In the video, we can clearly see at 50 seconds a huge piece of wood from which is extracted what seems to be a rocker rail, and it definitely doesn’t match the cutting list.
Could you comment on this?
I know the videos will answer this, but I’d rather not wait this long…
Thanks!
Hello Philippe,
Thank you for pointing that out. The 7/8″ is the final thickness rather than the stock size required. It has been corrected. I have commented below on the correction for the back support rail.
Many thanks,
Phil
Hello again,
Thanks for the correction, I’m sure it will beneficiate many.
Regarding the support rails though, in the video of episode 1 of this project at 3:50, Paul says that he needs 2 thick pieces for the back support rails… What am I missing?
Thanks again.
Philippe
I’m with you Phillipe. I plan to secure 2 thick pieces for the back support rails. Thanks
Hello Philippe,
I see what you mean. The back support rails need to be 1 3/4″ thick and I will get those corrected asap.
Thanks,
Phil
Phil
The cutting list for the back legs shows 2 pieces at 1 3/4″ x 7 1/2″ x 45″. I think the 7 1/2″ allows for getting both legs out of the one piece as Paul did on the video – so I think the width should be 3 3/4″.
Barry Sutton.
Hello Barry,
Sorry for the delay in responding. You are indeed correct. Will get it corrected in the drawing asap. Thank you very much for letting me know.
Best, Phil
Phil
The cutting list for the back legs shows 2 pieces at 1 3/4″ x 7 1/2″ x 45″. I think the 7 1/2″ allows for getting both legs out of the one piece as Paul did on the video – so I think the width should be 3 3/4″.
Barry Sutton.
Hello Barry,
Due to the 5 3/8″ kickback, it is not quite as easy as halving the width to get the required stock for one leg. It is more like 7 1/2″ minus the 1 3/4″ for the leg stock, so 5 3/4″. I will get the quantity altered to 1 at 7 1/2″, as that is a more efficient use of wood and is probably more straightforward.
Thanks, Phil
Oooh, I’ve been waiting for this one…sharpening my chisels already!
Besides Oak, what other wood species would you recommend for the rocking chair?
Thank you
James
My local supplier has a nice rack of thick wide walnut, so I am going to make my first chair out of it. Walnut is such a pleasure to work – it is very forgiving and finishes beautifully.
If you are looking for a more rustic look, you might think about ash. Although ash can be splintery and coarse at times, it makes a very durable chair.
Cherry is very plentiful where I live, and would be a good choice as well. So many choices and so little time!
On the drawings, there doesn’t appear to be a rough lumber purchase list. The first video shows an 8/4, 8-foot, 9-inch wide board to start – but that doesn’t appear to be all we need. I could add up all the pieces in the cut lists… But do you have a recommended purchase list of rough lumber so we can pick out our lumber now and let it acclimate?
This is the chair I have been wanting to make, thanks for releasing this project. I have the same question as Ted, is there a purchase list?
Regards,
Erik Salmon
Hello Ted & Erik,
We don’t give out the number of board feet required as it depends on the dimension of the stock you can get hold of, such as the length and width. Due to this, we don’t calculate the number of board feet for our own reference either.
Sorry not to be more helpful.
Best, Phil
I replied to this thread in the Video #1 comments as well. I took the cut list on the drawing and mapped the pieces out to create my own “purchase list”. Here’s what I’m going to go shopping for, which turns out to be around 19 bf of lumber. These are all minimum dimensions – I always buy a bit extra length/width when I can:
2x, 6 foot x 7 inch 8/4
2x, 6 foot x 6 inch 4/4
This doesn’t include material for the seat pan, which isn’t on the drawing at this point. We’ll need to wait for the video to get instructions on that – but I assume it will be made from lower-cost stock or sheet goods.
I’m so happy to see this rocking chair is finally a video series! Many thanks, Paul, for making it available to us! And just in time to build over the coming cold months. yay! 🙂
Great series and one of my favourite projects so far.
One question, is it feasible to use 3/4″ stock instead of 7/8″ for the parts that required it?
The reason I ask is that the supplier I want to use only has 3/4″ or 1″ stock as options, and I don’t have a planer/thicknesser yet.
Thanks in advance,
@gnomenthusiast,
Paul discusses this in Rocking Chair Q&A 1 which can be found here:
https://woodworkingmasterclasses.com/2016/12/rocking-chair-qa-episode-1/
Best, Phil
Philip,
Thanks for your help I will have a look now, somehow I missed that video!
Cheers
GE
I am making my second chair. I changed the procedure some. I don’t glue up the front right away so I can transfer mortise locations easier to the rear legs if you don’t cut out the rear legs at the same time as you do the front ones. I also do the arm through mortise first and fit the front legs. This is a lot easier than waiting until the chair is almost done.
Can a normal wooden arm chair or something similar, be converted to a rocking chair? I’m thinking all I have to do is add the rockers. It sounds too simple, so I would like your thoughts. Thanks.
If the chair has the necessary strength to put up with the additional stresses, it can indeed me converted to rocking chair. To fit rockers, you need to move them along the arc of the rocker to determine the pitch which changes the centre of gravity. You can screw the rocker to the underside of the chair legs to determine the position of the rocker before cutting the joinery.
I’d like to make this chair as a “regular” chair, i.e., a non-rocking chair.
Do you have any suggestions on how long to make the legs in this case?
Thanks in advance.
Two hints, not directly answering an interesting type of question.
Lost Art Press has a book on Shaker furniture, the cover of which shows a shaker chair hanging upside down on a wall.
17th century chairs (cf Le Loirs drawings of the lunch at the procurator in Dumas’ The Three Musqueteers) also had high backs.
Common to both examples: quite tall legs.
Kindest regards
Sven-Olof
Hi,
Pauls says:
This is a trial and error question, the simplest thing I can give you is that dining chairs are generally no higher than 17”.
Kind Regards,
Izzy
I just discovered this series after years ! I am so excited to start making my own rockin chair !
Thanks a lot Paul
Théo
Hi is cherry strong enough to make this chair that it should be long lasting?
Would the rockers be better as a bent lamination glue up or better solid as it’s Done here?
Hi Nissen,
Paul says:
Yes, absolutely. I’ve made them in cherry and they’re fine. Also cutting the rockers to shape rather than laminated looks nice and is plenty strong enough.
Kind Regards,
Izzy
Just finished making this Rocking Chair. Absolutely loved doing it, even learning how to make Shellac, but all cut and carved by hand, its quite a project for a relative novice. Not sure I ever want to see another M&T joint! Thank you for the excellent videos.
Hi Justin,
Thank you for the kind words, I’m pleased to hear you enjoyed making it!
I will be sure to pass this on to Paul and the team 😀
Kind Regards,
Izzy