Making a Straightedge: Episode 1
Posted 6 March 2017
This is an episode in a free series. Want to watch it? It is free to do so, you just need to log into the site, and you can enjoy this video and many other videos we think you will love.
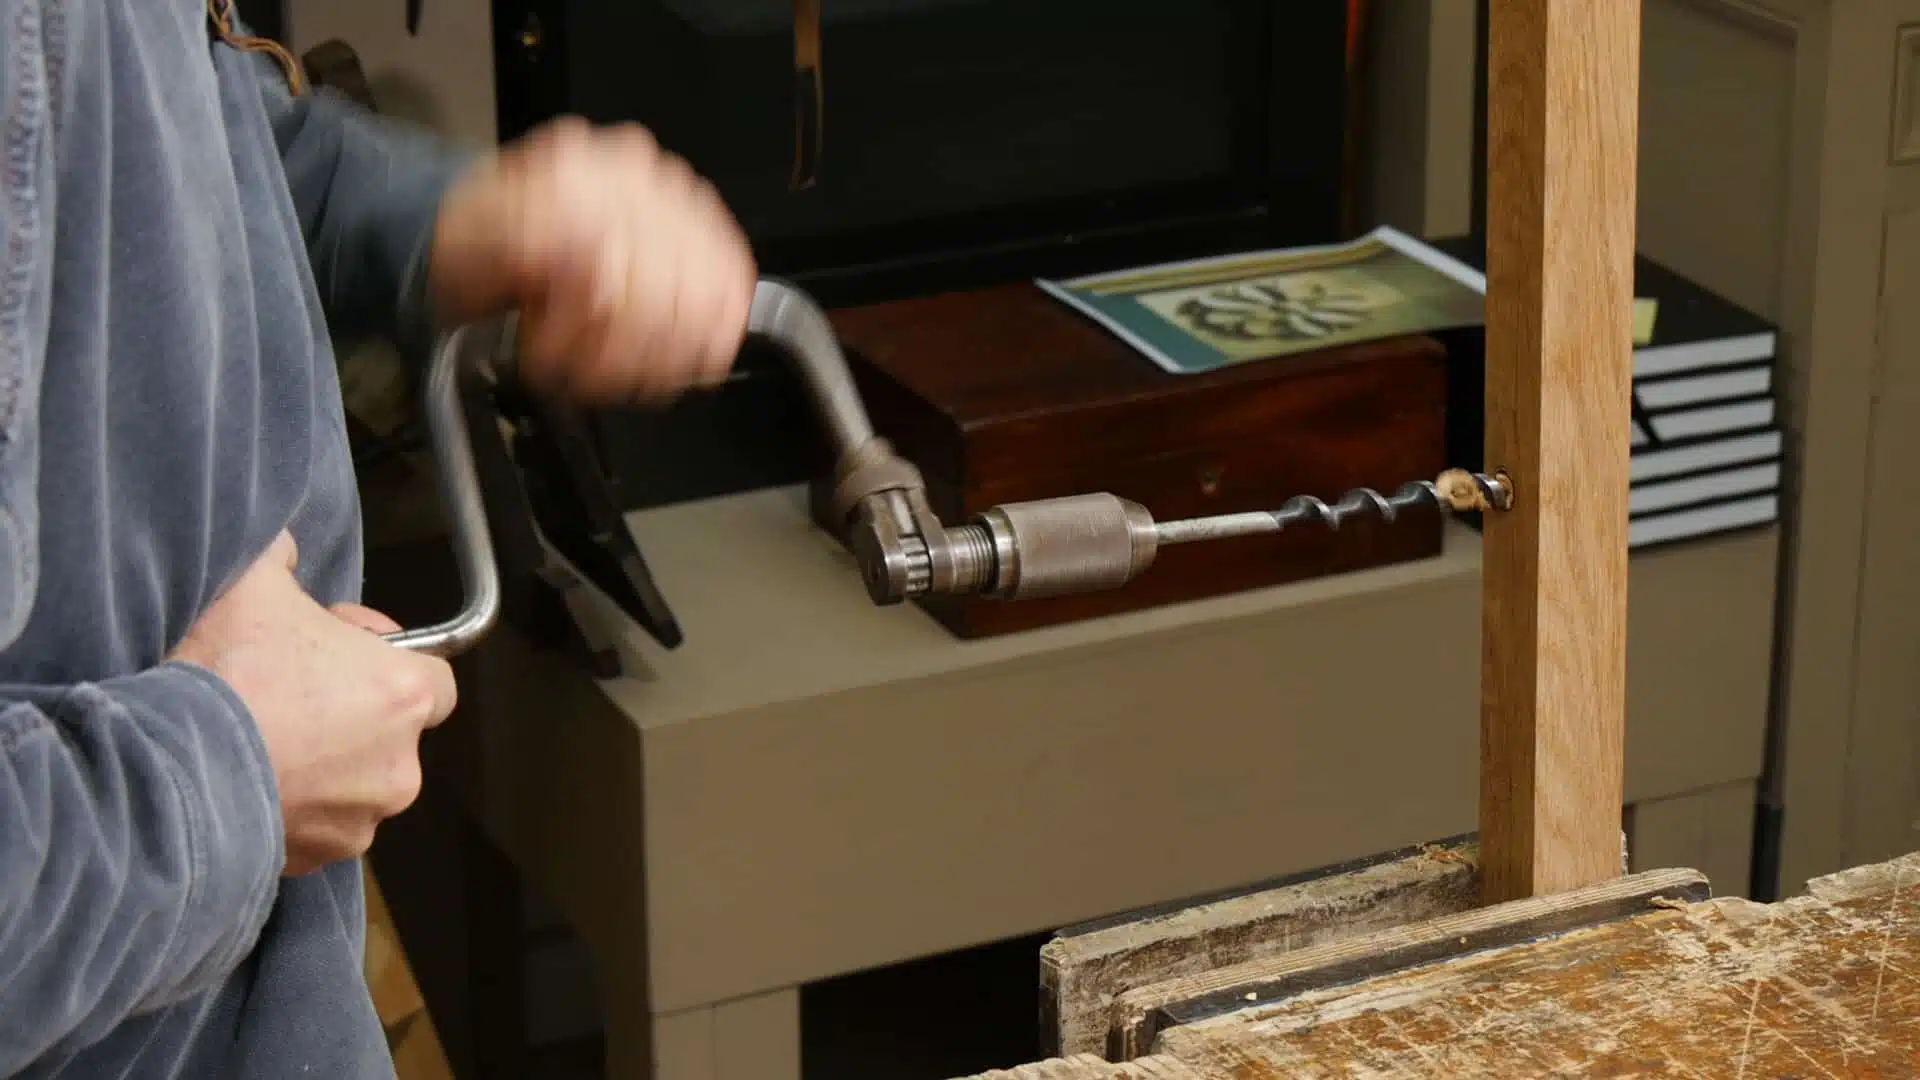
In this episode Paul lays out the handle section and taper, before using a drill either side of the handle to gain an even curve. He then rips the tapers, in preparation for the finessing.
Thank you WWMC team!
Would have liked a longer episode, seems like it could have been done all in one episode.
Hmmmm… If Paul’s crew had a good reason to break it up into shorter episodes, I’d take them with no complaints. These are FREE GIFTS from a master.
Spot on, Bob.
Absolutely.
I agree anything paul does is fine with me . I learn so much everytime and epasode
Well said Bob.
Agree
Team,
Does the grain orientation make a difference with a straight edge like this? Would it be best to use quarter sawn wood or does it really make much of a difference?
Thanks for the great tool videos.
kaetwo
I was wandering the same thing. It looks like Paul’s board is rift sawn.
Quarter sawn is best but rift sawn is ok as well, the only issue that could arise with rift sawn it may twist, but as long as it’s dried properly the chances are minimal. Don’t use flat sawn for obvious reasons.
I also was curious about the orientation. Also Paul says he has used his straight edge for 50 years. I wonder how often adjustments need to made to it? I assume that it changes shape over time. Maybe this will be talked about in the second video.
In this instance, milling orientation doesn’t really affect the long term stability. Different woods have different tensions after drying, so you may have to plane the flat edge straight after making it.
In reference to movement over time, Paul said that you may have to straighten the edge a few times, but after a while, wood loses it elasticity, and is less prone to atmospheric influences.
Best, Phil
Thx Phil! Appreciate all the efforts done by the team and Paul! Cheers
Adding the taper in the straightedge also exposes more end grain into the piece rather than having a constant thickness. That allows the wood to react to seasonal changes more quickly making it more stable over the long run.
One of the tools needed to make a straightedge is.. a straightedge. I’ll ave to make one of those first then :p
But sereously Paul, thanks a million for these tool videos!
Mic
I seen that he used a straight edge too and it made me laugh. Which came first…. the straight edge or the straight edge. 🙂
That is easy in fact I guess. You start with a small Straight Edge using a 30 cm steel ruler. So You get something like a 70 cm SE. From there You may go to the next size(s). Or You use a 50 cm steel ruler – but thats not the way of a sportsman – sorry – craftsman – does not it? 🙂
But thanks for this episode – it makes our garage look very classy.
No straight-edge? I guess you could make three straight-edges at the same time. When #1 fits to #2 and #3, and #2 fits to #3, they are all dead straight. I understand that is how engineers used to make surface-plates.
If you don’t have a straight edge a chalk line would do as well since absolute precision isn’t needed for that part of the straightedge.
Actually, I used a piece of aluminum angle as a straight edge for a long time. Not beautiful, but it works until you get around to making your own.
Two perfectly parallel lines constitute a straight edge!
I thought this video would start out with some descriptions of Lumber choices and how to be sure you picked up piece of straight wood, or could straighten one that needed a tweak …maybe that’s coming later
It was interesting to see how regularly Paul oiled his saw.
Thanks for the video. I’m looking forward to the next episode.
Thank you, your videos are very informative.
I am making another one of these as a gift to my fellow”REAL woodworkers”.
Thanks for the great sharing of the craft.
Great video both in information and production quality. Thanks!
Looking forward to the next video. Thank you
Thanks Paul, a true tradesman, the little tricks make life so easy.
Very nice video as usual. In my case I didn’t have any hardwood stock and didn’t want to drive 30 miles to get some. I ended up using some 3/4 cherry, laying it out per Paul’s instructions then used a scrub to rough in the ramps then smoothed with a No.4. Finally, I glued a block in the center for the handle. I may use a gouge to inlet the sides for easy grip.
Can’t wait to see how Paul verifies straightness. For now I just penciled a line on my bench and stretched a string along it. Looks pretty good.
Makes sense to glue the handle onto 3/4 stock. It seems to me to be a lot of unneessary work and waste of wood to cut this out of one solid piece. Actually, if you laminated the entire bottom piece out of 1/8 inch thick stock, it would be more dimensionally stable over time.
the number of experts that require instruction never ceases to amaze me
Here Here!!!!!!
While Master working in peace and brightening next generation’s minds with pure craftsmanship a router screaming from behind like a bugbear. We were used to hear the train whistle for years now we are hearing router screaming.
If you are fallowing Master for years like I do I think you can see how it is ironic and how Master was right.
God bless you Paul. You will born again with every new generation.
Thanks for the video great teacher.
Many thanks to Paul and team brilliantly executed as usual.
He makes it look so easy. I think I need to make a trip to his school.
What great gifts you give us – very grateful that share your knowledge and experience. One of my teachers (a Turk) told me that “…you must share or give away your knowledge to own it…”. Therefore you are a very wealthy and fortunate man, in many ways.