Rocking Chair: Episode 11
Posted 14 December 2016
This is an episode in a paid series. Want to watch it? You just need to sign up as a paid member, and you can enjoy this video and many other videos we think you will love.
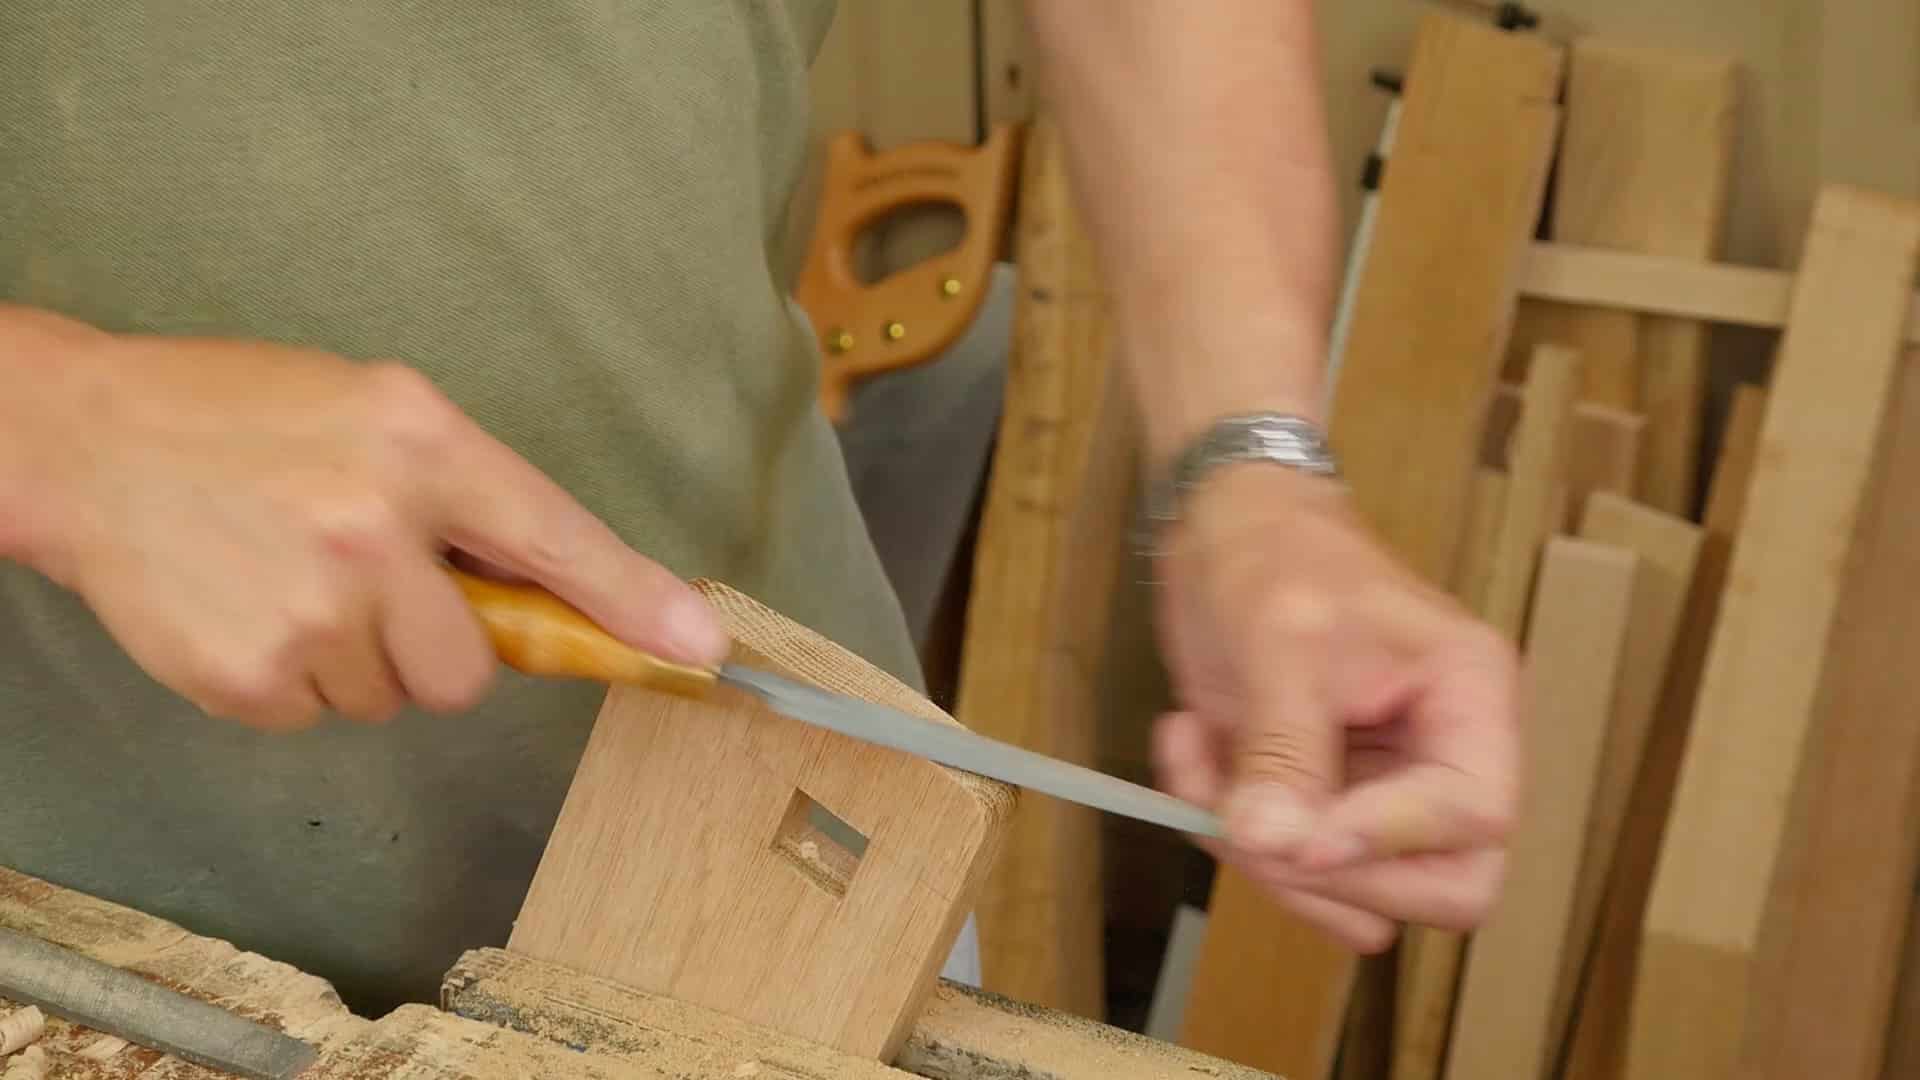
Before the arms are shaped, they are recessed into the side of the back legs. Special care is paid to layout and crisp angled cuts. Then the mortise in the arm is cut and fitted and the tenon rounded over. With all the arm joinery complete, it can be shaped using stop cuts, the chisel, rasp, file, spokeshave and plane.


Depending on how closely you cut your tenon to the scribe lines from previous episode, wouldn’t it be advisable to at least pare the back face of the tenon prior to laying out the angled cut on the back of the arm? If you lay this out first and then pare too much away on the tenon, that could leave a gap where the arm meets the back post. I assume that Paul had very little material to remove on the back side of the tenon but that might not be the case with others doing this project.
Did you use the first arm to trace the curves onto the second arm, or did you eyeball the second arm too?
Hello Sean, it was traced from the first.
You mentioned you were going to use shellac to finish. In the past you’ve explained you use the sandpaper to give the surface some bite for the finish. If you were to fume this piece with ammonia and then just wax it, would you still use the sandpaper to give the surface some bite? Many thanks.
How many hours would you expect for a beginner to take to make this? With your 50+ years of experience how long would it take you to make it working undisturbed?
In one of the first videos he mentions it takes about a week for him to make. Not sure if he makes one at a time or in pairs or something. I’d assume he does other projects during glue-up as well.
Thank you very much for the lesson.
In the video Paul says there will be a drawing to work to for the shaping of the curves on the arms. Is this available please?
I have the main frame in glue up now and after the rockers I will be starting the arms.
Cheers
Jim
@yachtie, the drawings have been updated on the info page and now include the arm dimensions.
Best, Phil
I am unable to find drawings of the arm shaping as you suggest. This would make it much easier …
Great stuff so far. Nice project. A couple of questions though. First if not for the camera thing, would you fit the arms prior to the rockers? Seems like it would be way easier to do this with a nice solid base.
Second, it seems like putting a slight chamfer on the arm tenons prior to fitting the arm mortise might save a disaster in popping a chip off the top of the arm if fitting the mortise while still a little tight.
I haven’t built a chair in a while. I’m going to put a pair of these on deck.
Hello Michael,
We would clamp the chair in the vice either way, so I think the order is not critical.
If you watch from 24:53, Paul chamfers the inside of the mortise. I would be wary of doing any more than rounding the top of the tenons as shown, as any chamfering may effect the fit of the tenon on the visible face.