Chest of Drawers: Episode 14
Posted 10 May 2017
This is an episode in a paid series. Want to watch it? You just need to sign up as a paid member, and you can enjoy this video and many other videos we think you will love.
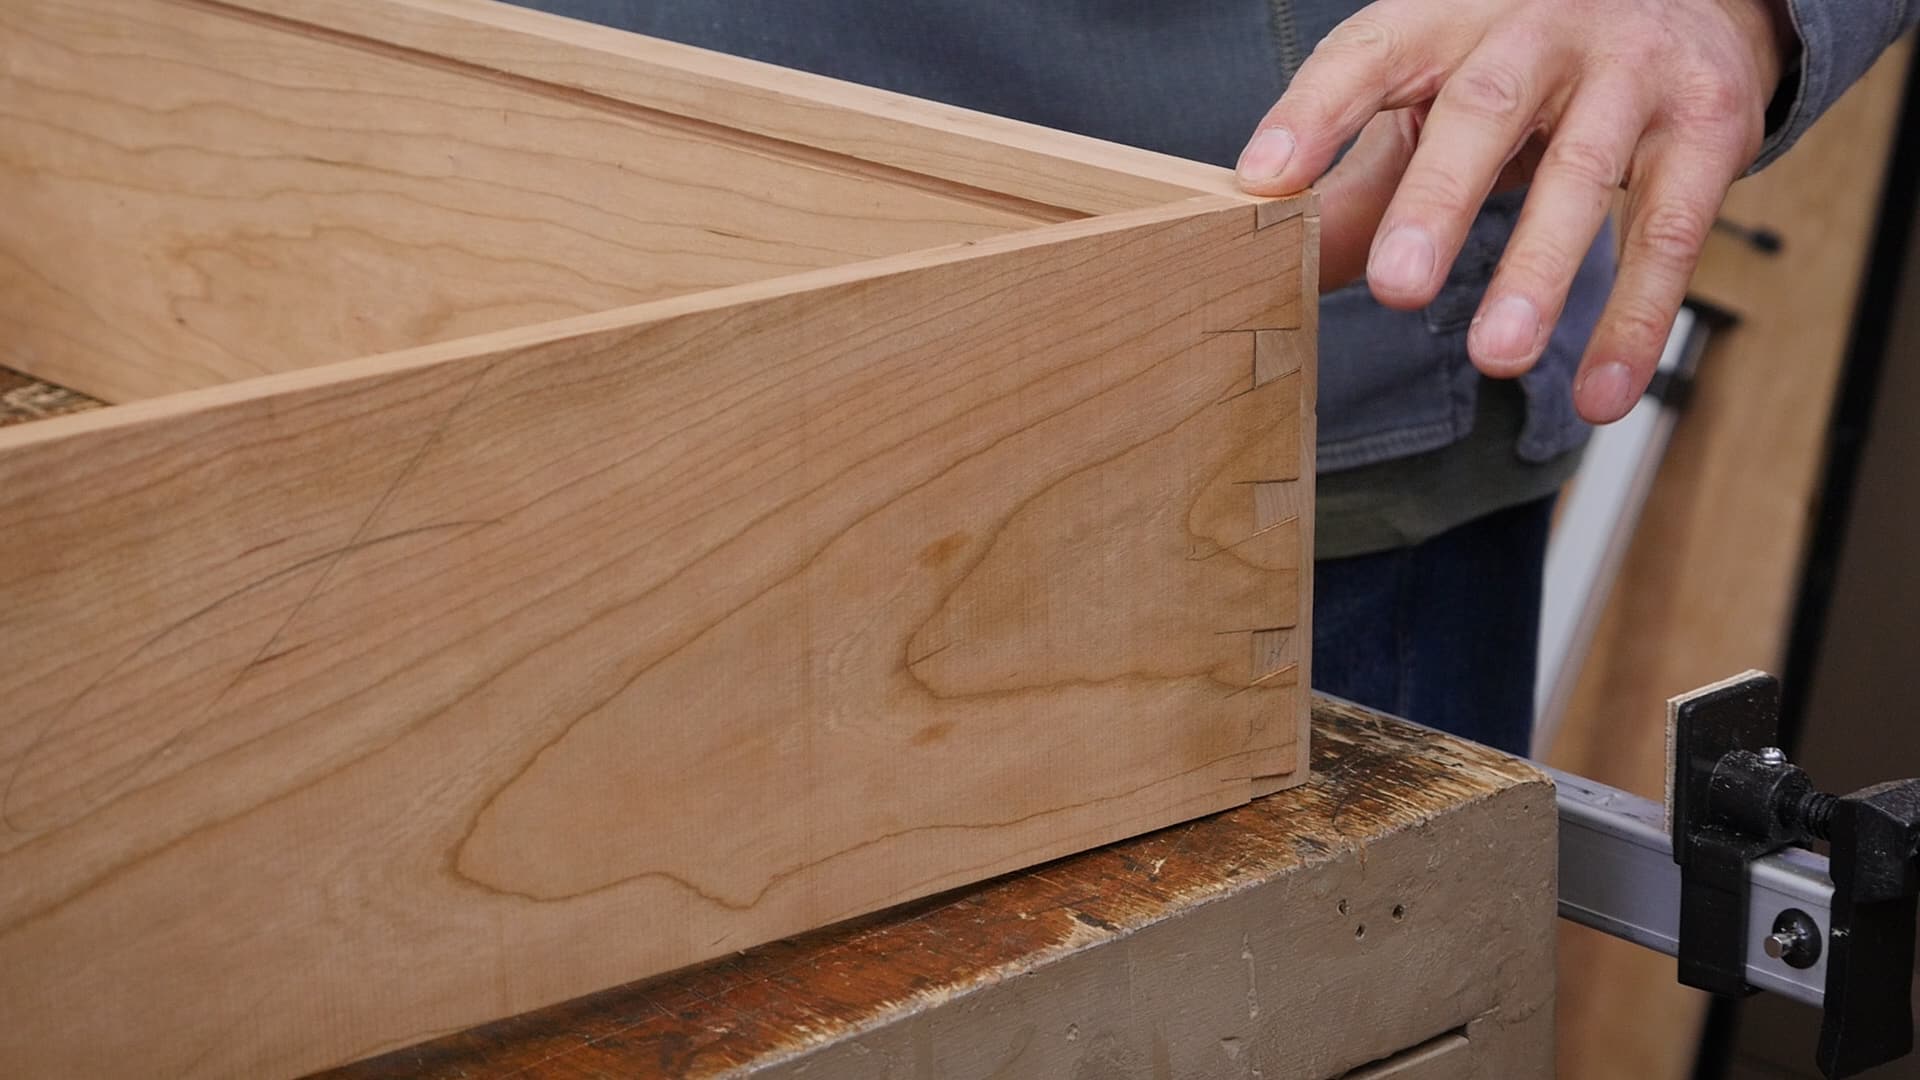
We’re ready to put the grooves in the draw bottoms. Paul holds the piece using the clamp in the vise method and a cuts the groove with a carefully set plough plane. Then the draw backs are planed in preparation for cutting the housing dado. These are then cut using the knife, chisel and router, before the backs are fitted to the correct length.


Hi Paul
is there a reason for having no tenon on the dado joint. On old hand crafted furniture dovetails on the front and back where the normal way I was told is that correct.
Thanks
Hello Daniel,
You can add a tenon to the housing dado, which is a development of Paul’s. It means you can wedge the tenon, but it is not necessary. Dovetails front and back is a conventional method. The method of using a housing dado at the rear corners was something that Paul was taught as an apprentice, and means that you can pull the drawer out to the point where you can get right into the rear corners without it falling out, especially with stops (as seen in the next episode).
Best, Phil
Paul,
I didn’t notice when you cut the first line of the dado for the back , would that be the back line ? And is that So as to keep everything square. The front line of the dado was taken from each individual back as to be a perfect fit. Thanks that was some wonderful work. I was hoping to see you fit the bottoms but I suppose that will be in the next video.
Chris
Chris, I think the first knife mark (set 2″ from the back) was the nearest to the front.
Can be seen at 16:12, where Paul also uses a drawer back and pencil line to indicate the positioning of the housing dado.
Hi Paul – I notice on all your draws the back of the draw is a few inches back from the end. What is the reason for that and how do you decide where to position the back of the draw relative to the back of the cabinet?
I think that 2″ give a visual warning to the user who opens the drawer not to open any further…the 2″ (if tightly fitted) will self support the drawer from falling down.
I agree with what Jake has explained, but I have a generic comment on this that occurred to me when I watched it as well. I really would like to see Paul covering more of the ‘why’ in these projects. We’ve seen the ‘how-to’ over the years (multiple times for housing dados) and now more discussion during the build on design considerations, wood selection, joint considerations, drawer construction, environmental considerations, etc. would be a welcome addition.
That’s a great comment Greg.
I’m designing a chest of drawers that’s slightly wider than this chest of drawers Paul has designed and built.
I’ve ran into a couple of issues so far…that is, unfortunately, I won’t be able to use a stub tenon at the back of the carcass, because the top and the sides of the carcass are joined with twisted dovetails.
So I’ve put two dovetail joints at the bottom instead. I’m hoping that the wood won’t warp, causing problems with the drawers.
I’ve seen many other type of drawer runners in old furniture…but the problem with it is that eventually they break.
I would like to second you and join your proposition—that is, we would love to hear from the master about other methods. Maybe these could be done in a separate masterclass—let’s say, masterclass on drawer runners, types of drawer boxes, cockbeads and so forth.
Thanks Greg for this comment. I agree as well. The why’s become especially important to me if I am going to make something that is a hybrid of what Paul is doing and some other design plan. Right now I’m building night stand dressers for my daughters room that are of a mission style. I bought the plans for it but they are geared to machine tool woodworking so not everything is applicable. As such, I’m taking what Paul is using for this and adapting to the night stands.
I suppose Paul has a great problem. We have come to trust and rely upon him for what he teaches to the point where we want more and more information to further our knowledge. I’m excited that in the next build it looks like we are going to get to learn about veneering.
I could almost see a justification for having several different “classes” in session at the same time much like a university does for what you major in. I could see a class dedicated to design, one dedicated to finishing, etc. I think Paul is doing an excellent job and is likely fully busy. I wish I had the time to go to a full time woodworking school (College of the Redwoods is near where I live) so for a couple of years I could be completely bathed in woodworking knowledge.
Around 25:10 Paul says he holds the chisel off square by holding the chisel “away” from the knife wall — I’m confused, it seems to get the “tightening” effect we’d want the dado wall to angle inwards slightly towards the bottom of the dado, but it appears he’s angling the other direction?
Paul is angling it so that the bottom of the housing dado is ever so slightly narrower than the top. Angling the chisel moves the edge inwards slightly.