Laptop Desk: Episode 7
The triple bin for the top of the desk is next. It has an arched front, a few housings for the dividers and a half-lap dovetail in each corner. Once the dividers are fitted it can be glued up in preparation for the veneering.
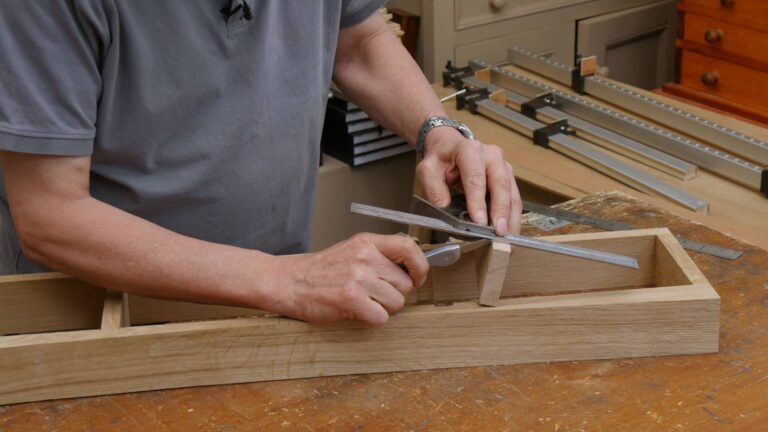
The triple bin for the top of the desk is next. It has an arched front, a few housings for the dividers and a half-lap dovetail in each corner. Once the dividers are fitted it can be glued up in preparation for the veneering.
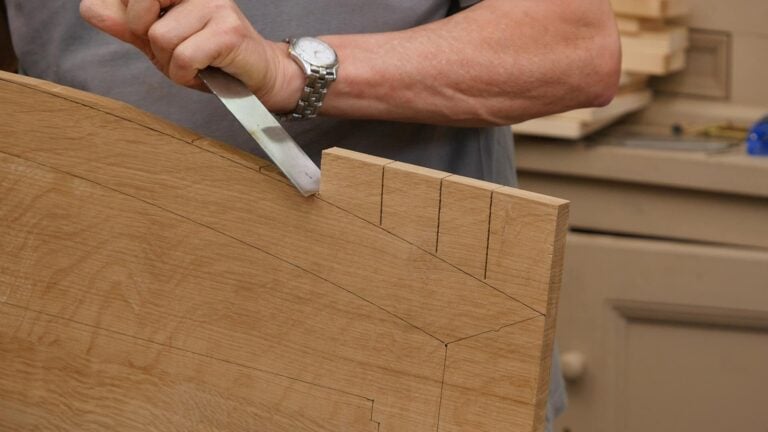
Once the apron skirt is glued and screwed in place, the tabletop can be cut to shape and chamfered to give a sleeker appearance. Then, using a combination of screws and turn buttons, the anchor points can be established to fix the tabletop to the leg frame.
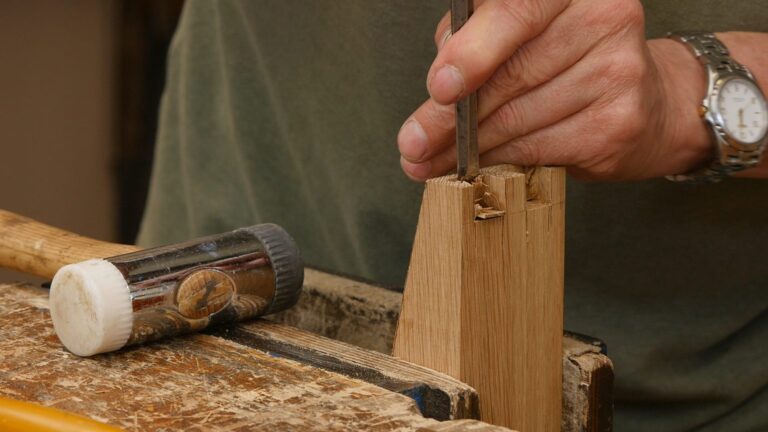
The shaping of the back rail is the final step before gluing up the leg frames. The next section to prepare is the desk top. While the glue dries, Paul makes a start to the front apron piece which is curved on the front edge. Once shaped, the side rails can be dovetailed into the ends.
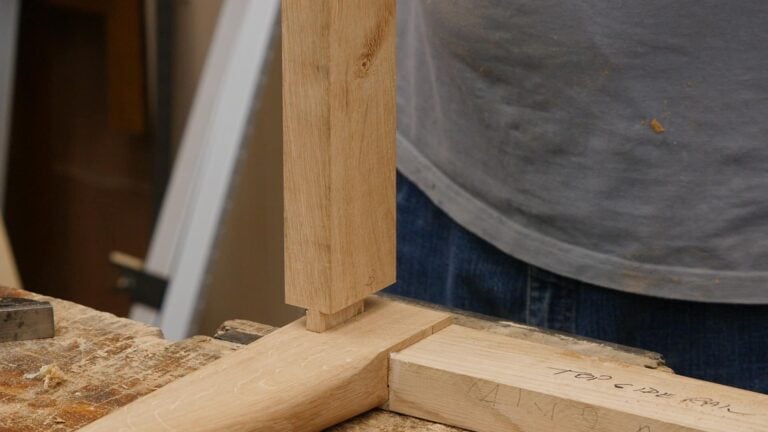
With the initial shaping done, Paul shows how to refine the leg shape, including mitring the intersections and rounding over the profile. The end frame tenons are ready to be mitred and glued, before moving on to cutting the tenons of the cross rails.
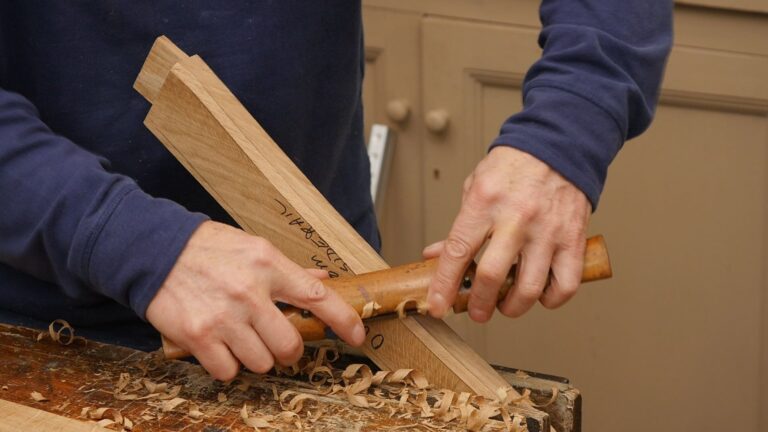
There are a couple of mortises to layout, and then the curves can be marked onto the frame in preparation for shaping. With those laid out, Paul makes the initial angled cuts, chops the sideways mortises, then continues the leg shaping. This includes rounding many of the faces.
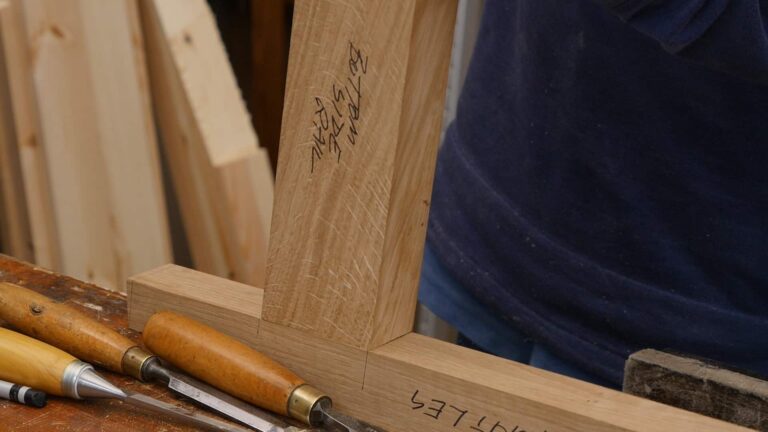
First, the mortise gauge is set to the chisel and marks out all the mortise holes, registering from the outside face. The mortises and then the tenons are cut, with special attention paid to the angles and crispness of the tenon shoulders as well as a tight fit.
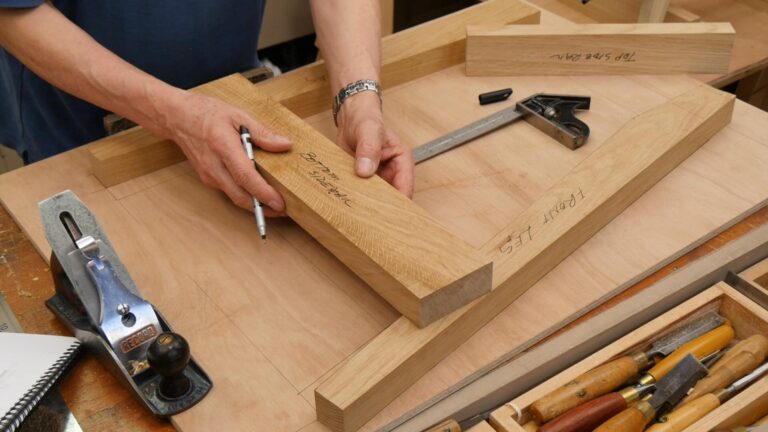
With the wood milled, we’re ready for the first stage of the project, laying out the joinery on a storyboard. Paul goes through the details step-by-step to get all the correct angles and tapers cut. Then the mortises can be laid out onto the legs.
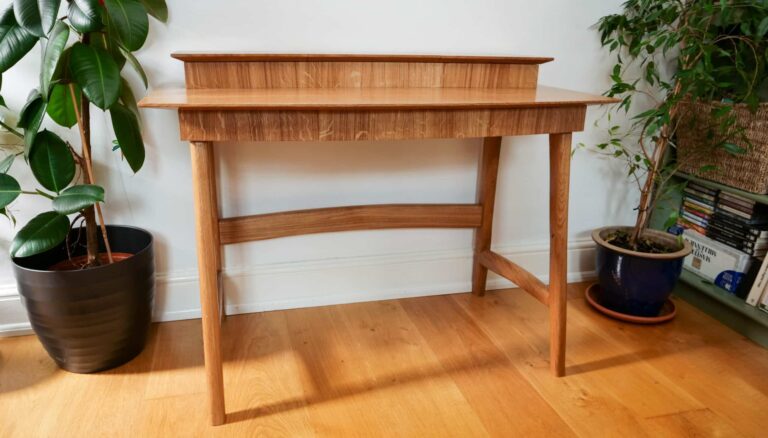
Paul’s latest design for a laptop desk combines opposing curves and rounded sections to create a new and modern look. It features shaped legs, dovetailed aprons AND desk-top bins for convenient storage with neatness. This is a great project for developing new woodworking skills and techniques including creating and using your own veneers.
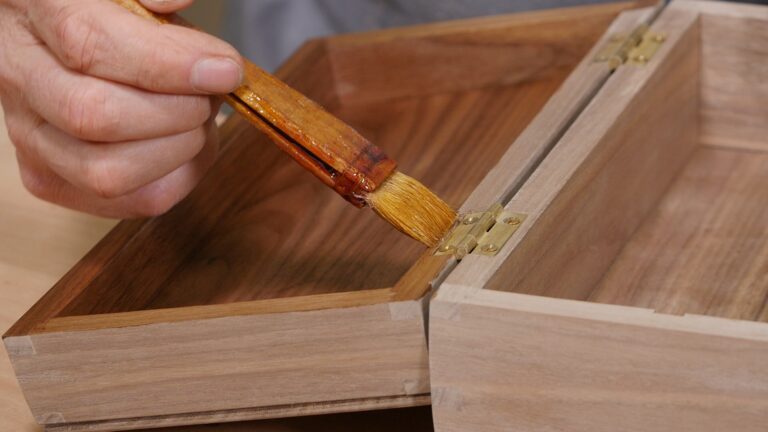
With the box construction complete, it’s ready to be finessed. Paul refines the shape of the feet, and scrapes and sands the surfaces in preparation for applying a finish. Shellac is then applied with a brush for an even, durable finish. The last few finishing touches are to fit a stay, in this case using epoxy, and fit a leather lining in the bottom of the box.
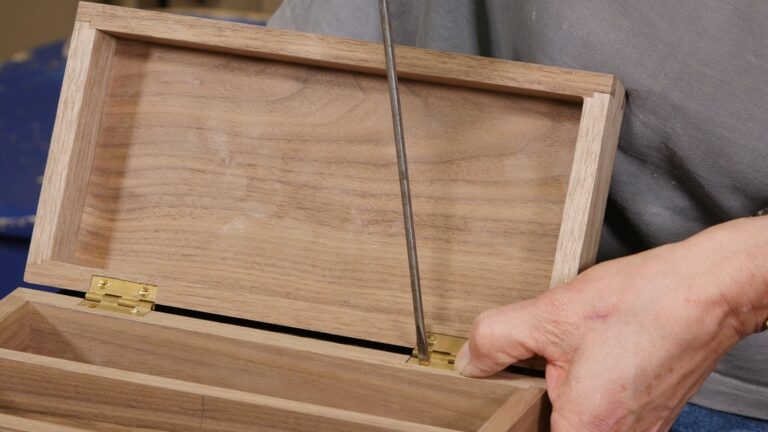
Paul fits the optional divider to the inside of the box before laying out the hinging. The hinges are fitted to the lid, then onto the main body of the box, with care taken to transfer and align the hinges. You may need to make some micro adjustments for alignment of the lid. With the box back together, the joint lines and overall shaping of the box can be refined. Then Paul carves out a small finger recess and cuts and fits some feet.