Repair of my "Occasional Table" project – success!
Welcome! / Forums / General Woodworking Discussions / Projects / Repair of my "Occasional Table" project – success!
Tagged: occasional table, repair, split
- This topic has 12 replies, 10 voices, and was last updated 8 years, 12 months ago by
Chris Bunney.
-
AuthorPosts
-
28 April 2015 at 10:27 pm #126814
Hi All,
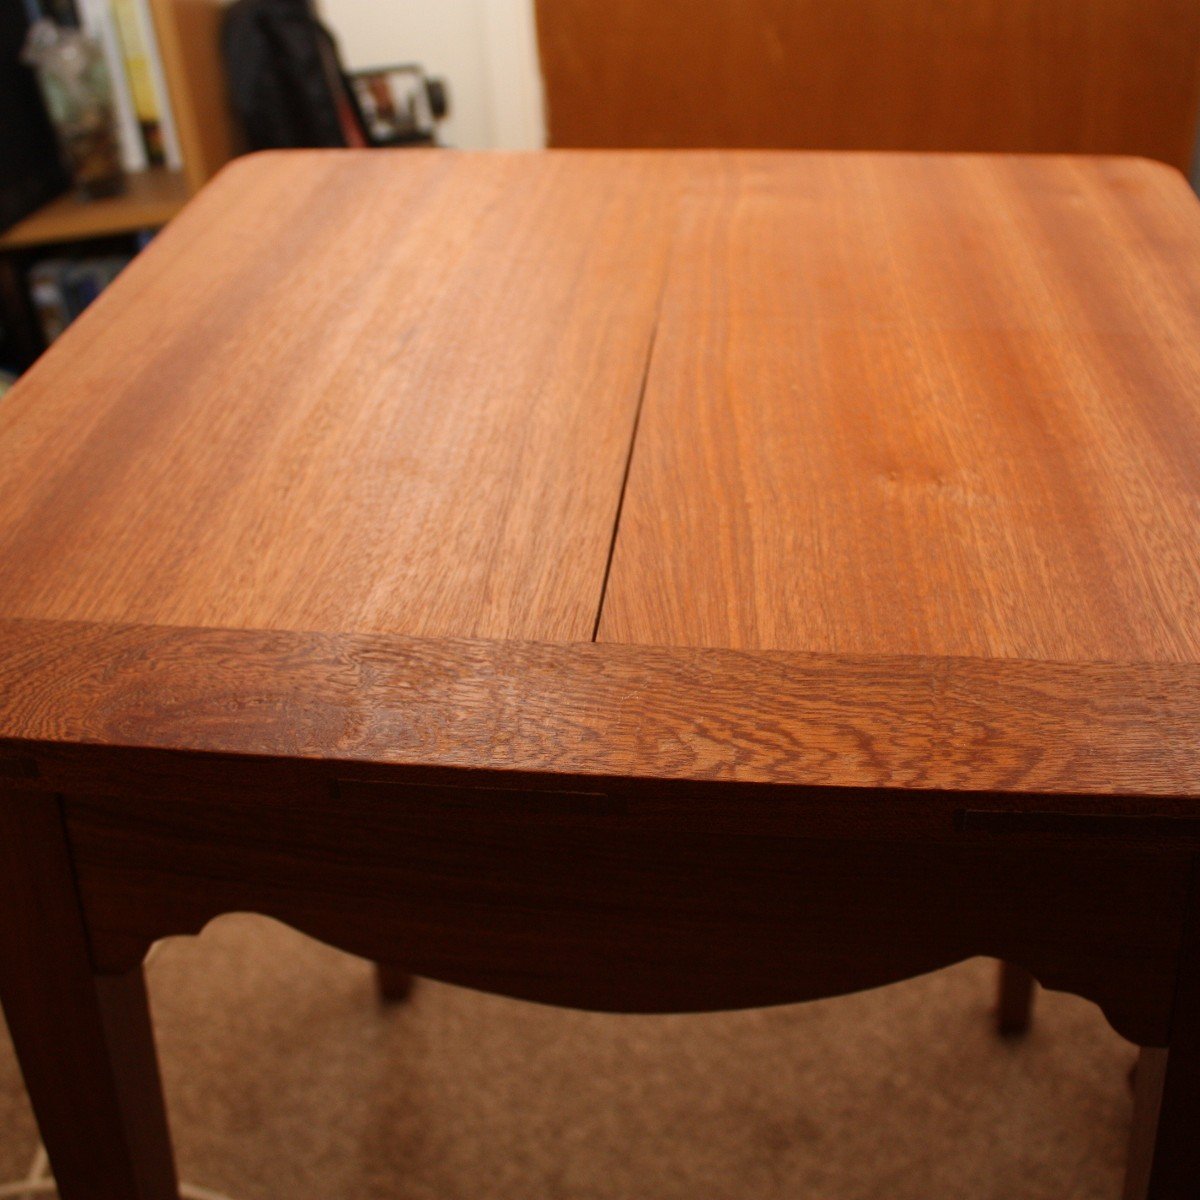
I posted a while back about my “Occasional Table” that I build following the masterclasses project: [link to forum post]. After the table had been in the house for a few weeks, it split down the middle due to shrinkage of the wood. The breadboard end exacerbated this by allowing one edge to move, but not the other. This was the result:
The good news is that I finally go round to repairing it! I thought I would post the results to get some opinions.
I had a good think about how to do it and decided that inserting a thin slip of wood was likely to be difficult as the gap was narrow (although it did get a bit bigger than in the picture – about 1/8″ at the breadboard end) and I was worried about the slip snapping. I decided to repair it with a T-shaped piece of wood that is wider on the table top (so as to ensure a good fit with no gaps) and narrow below (to fit in the spilt).
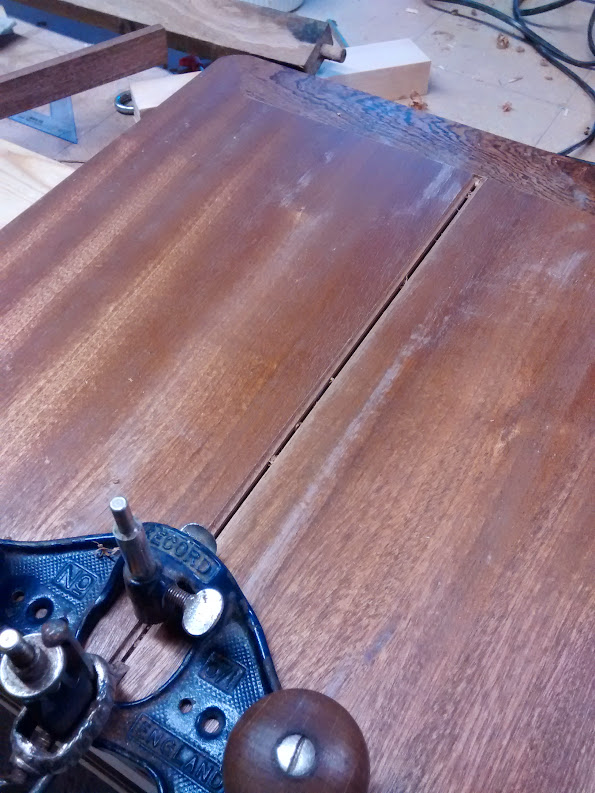
I cut a narrow, shallow dado to a depth about 5/8″ wide and 3/16″ deep on the table top, centred over the split. I inserted a small flat file at the opposite end to keep two pieces separated at a constant distance. The actual width of the dado was taken from the piece of wood I was using to repair the split. I first marked the edges with a knife wall, reinforced the wall with a chisel cut, then cut to depth with my #78 router plane.

This left me with a T-shaped gap between the two boards; I now need to cut the piece of wood that I am using to repair the table to fit. I took very light shavings from the repair piece using my #4 until it just fit into the recess. I then flipped the table top over and marked the edges of the narrow side (bottom of the T) from underneath with a knife. I used my #78 rebate plane to cut the T-shape into the repair piece. Because the wood is so thin, I could not put it in the vice, so I held it in place with a small screw that I screwed into some scrap wood and butted the edge up against the head.
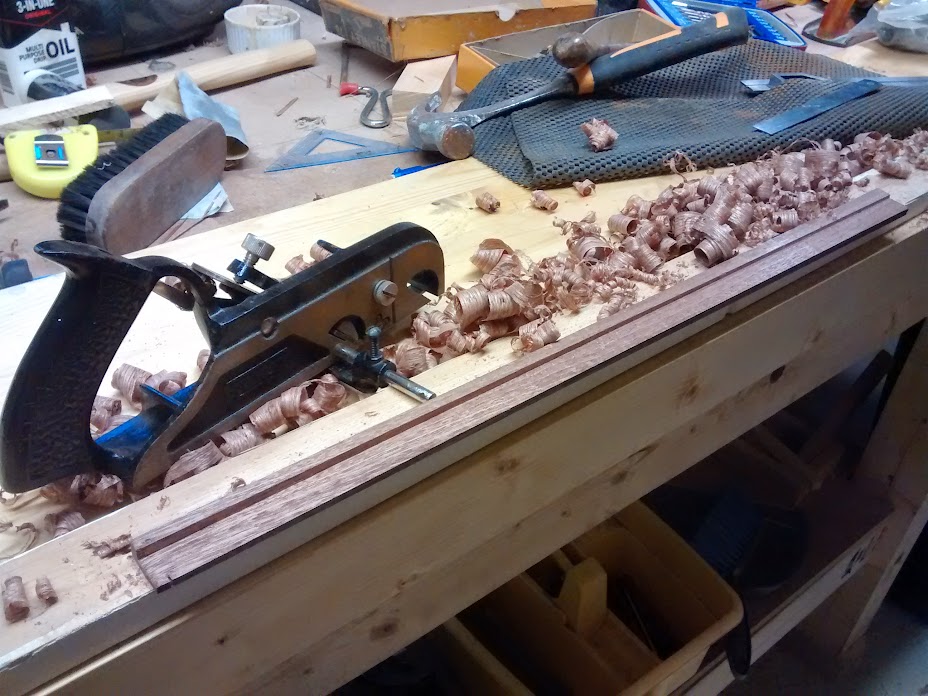

The result is a repair piece that comprises a narrow slip, to fill the gap, with a wider top section that will fit neatly into the recess on the table top:


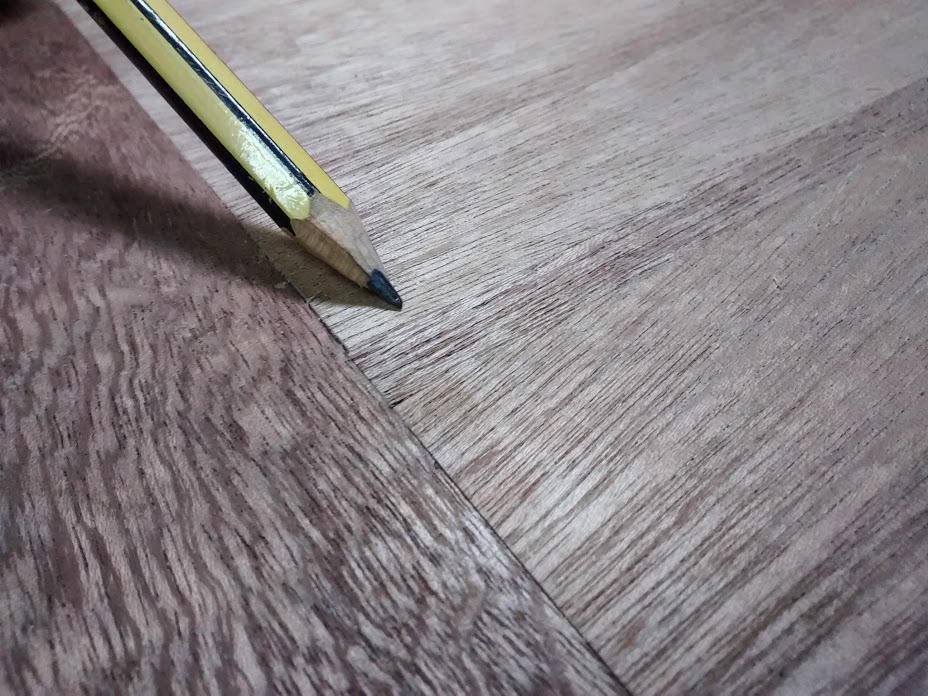
After the glue dried, I planed the protrusions flush (the table looks lighter now as this removed the shellac finish). Success! I have a nice neat repair that almost looks like a feature!

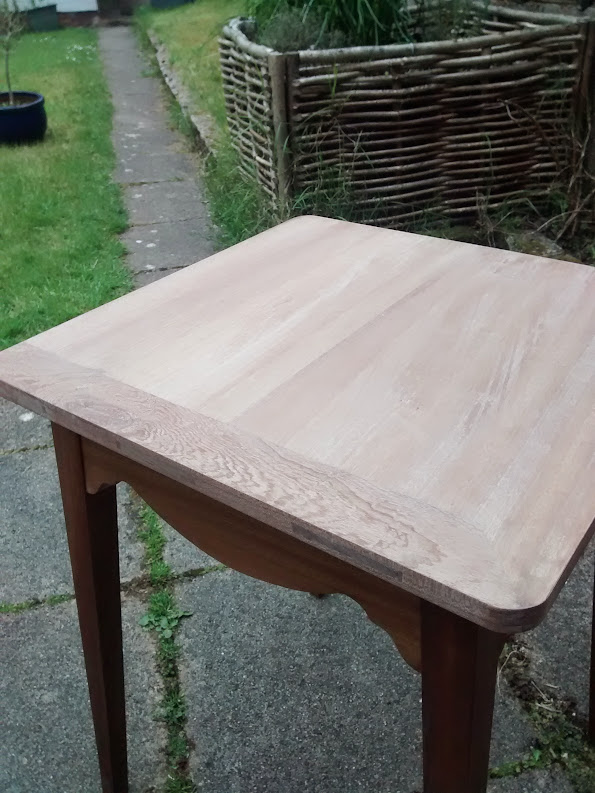

I just need to put a shellac finish on it now and re-assemble! This is my first serious repair job, and I am very pleased with the results! I would be interested in Paul’s opinion on the split in my table and whether he considers the breadboard end to have exacerbated it. I shall make more effort to let my wood acclimatise in the area that I intent to have the finished piece in the future!
Comments and opinions welcome!
Chris.
 28 April 2015 at 11:07 pm #126817
Excellent Chris!
It looks to me like you matched the grain very well as I can’t see the repair unless it’s pointed out.
what a great example of creative thinking/problem solving. I’m only guessing, but I venture to say that puzzling this out was at least as hard as the actual fashioning of the components. AND, of course, the end result is absolutely smashing. If that is a “feature” it is a fairly sub-tile one. Congratulations, and thanks for posting. I learned something new–it’s not over til the fat lady sings, or until Chris has had a go.
jim

 29 April 2015 at 6:09 am #126824
Wow, that must have been some very careful fitting of that piece. Congratulations on a great save!!
29 April 2015 at 10:09 am #126831Thanks all!
I was so dissapointed when the table top origianly split. However, I think that this has turned out to be a project that I have learnt a lot from! Not only is the original project fairly complicated, the repair was a learning experience too.
Saying that, I don’t want to make a habit of having to repair my joinery! 🙂
 29 April 2015 at 2:37 pm #126864
Fantastic solution and execution! Practically invisible. Glad you were able to get it sorted out.
29 April 2015 at 9:54 pm #126880Hey Natxo! Thanks for the kind comments. I have put a few coats of shellac on and its looking good. How are things with you? Are you working on any projects at the moment?
 30 April 2015 at 11:36 pm #126900
Very nice job, I wouldn’t have thought of doing it that way.
I’m impressed you managed to make the ‘leg’ of the T so accurately. When it came to cutting the second side did you have to prop up the side you’d already cut?
Matt
1 May 2015 at 1:43 pm #126907Hi Matt (@checmical_cake),
Thanks! Yes – cutting the other side of the T-section was tricky! I supported it on a thin piece of scrap wood that I cut to the same width as the rebate cut. I put a small screw at the end of this peice that I then butted the T-section up against so I could plane without it sliding.
I was a bit of a delicate operation! To get the fit, I got it close then iterated between offereing it up and taking a few shavings where it was too tight. I made sure my rebate plane was super sharp as I did not want it to snag the grain and rip the T-section off!
Chris
-
AuthorPosts
- You must be logged in to reply to this topic.