Tool Chest: Project Info
Posted 17 July 2013
This is the introductory page for a paid video series. Want to watch more of this project? Select the best option below to get started.
Material dimensions:
Materials: Paul uses mahogany, as well as some 3/8″ and 1/4″ plywood, but you could use pine, oak walnut, cherry, maple, sycamore etc.
Main box:
| Name | Qty | Size |
| Front | 1 | 3/4″ x 5 7/8″ x 24″ |
| Back | 1 | 3/4″ x 11 3/4″ x 24″ |
| Sides | 2 | 3/4″ x 11 3/4″ x 18″ |
| Rail | 1 | 3/4″ x 1 1/2″ x 24″ |
Lid and bottom frames:
| Name | Qty | Size |
| Long rail | 4 | 3/4″ x 3″ x 26″ (allows 1″ extra length) |
| Short rail | 5 | 3/4″ x 3″ x 16″ |
Important Note:
Panel material will be sized to finished frames after joinery is completed as there may be some variation depending on individual sizing by participants. Suggest participants add 1/2″ or so to be safe and then cut and fit to exact size later.
Plywood panel for bottom frame:
| Name | Size |
| Ply for panel | 1/4″ x 13 3/4″ x 19 3/4″ |
Solid panels for top frame:
| Name | Size |
| Panels | 5/8″ x 8 3/4″ x 13 3/4″ |
| Plywood compartment bottom | 3/8″ x 17″ x 22 3/4″ (must be cut and planed tight) |
| Panel support | 7 linear feet @ 1/2″ x 1/2″ |
| Internal trim | 7 linear feet @ 1/2″ x 1/2″ quadrant or triangle |
Drawers:
| Name | Qty | Size |
| Fronts | 1 | 3/4″ x 3″ x 23″ |
| Fronts | 1 | 3/4″ x 2 1/4″ x 23″ |
| Sides | 2 | 1/2″ x 3″ x 17 1/4″ |
| Sides | 2 | 1/2″ x 2 1/4″ x 17 1/4″ |
| Backs | 1 | 1/2″ x 3″ x 23″ |
| Backs | 2 | 1/2″ x 2 1/4″ x 23″ |
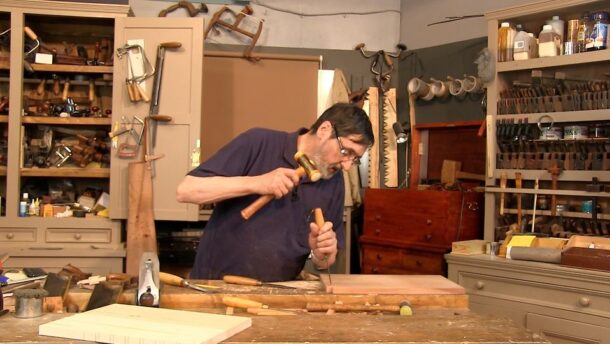
Tools list
- Knife
- Square
- Combination gauge (or marking gauge and mortise gauge)
- Chisel hammer
- Chisels (at least ¼″, 3/8″, ½″, 3/4″ and 1″)
- Router (hand router that is, you can see how to make a ‘Poor Man’s Router here)
- Tape/Ruler (or both)
- Smoothing plane
- Jack Plane (optional but recommended if preparing your wood from rough sawn)
- Winding Sticks
- Handsaw
- Tenon saw
- No 80 Cabinet Scraper
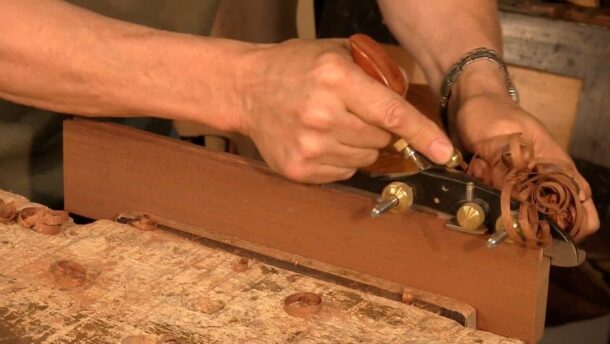
- Plough Plane
- You will also need 2 or 3 hinges and some form of stay.

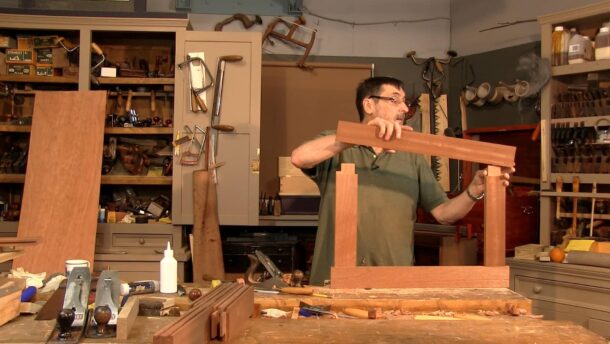
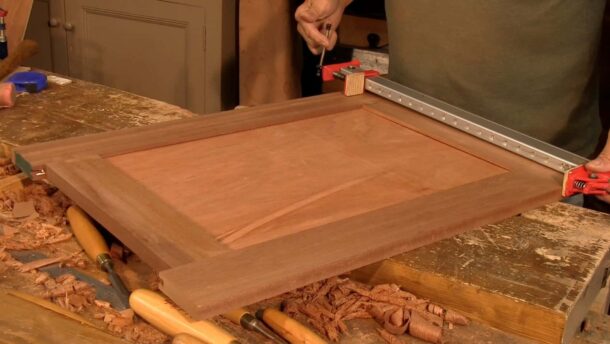
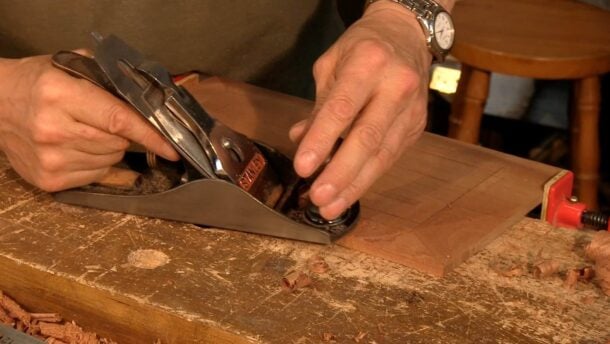
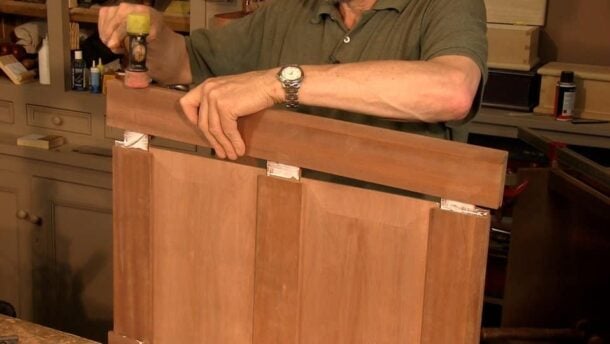
I think a few of us have been waiting for this one. I’m not sure if I’m up to sawing the top of though. 🙂
yes, indeed – I am with you there, Ken – I have been waiting for this one, too. 🙂
You’ll do fine Ken. Last week, I made mine in Paul’s month long in US. It was an easy thing to do, just takes a bit of time, patience, and energy.
Thanks David, time, patience, and energy I have. Sawing skills I can saw to a line great, It’s getting the edge square thats the problem. 😉
the top off, even 😉
Wonderful. I am very excited about this build.
How very exciting! I’ve been waiting a while for this one…and just in time for my birthday. Thanks!
Excellent, as the others have said. Very much looking forward to this. Thank you
Sawing the top off was quite some fun. Seems scary, but once you get going it’s pretty easy. Ofcourse, you’ll need to have a sharp saw 🙂
This should be fun. Thanks Mr. Sellers.
I am truly looking forward to this project series.
Really looking forward to this. I have some other smaller projects I need to finish first though.
Let’s get to it! Been waiting for this one too!
Alright! I’m with y’all, I’ve been eagerly awaiting this class!
I’ve been eying that toolbox since episode one of the clock!
Thanks Paul and Joseph for yet another great up coming project. I have really been waiting for this one so i can store my tool’s after i finish my bench ( Paul’s bench ) . Can’t wait to get started on this one.
Steve
When I sawed the top off there must have been some internal stress relief because the top and bottom of the chest failed to a line when I put the hinges on!?
Is there a list of tools and equipment required/recommended for building the tool chest? The other projects seem to features such an information, but I couldn’t find it here.
Hi David, thank you for pointing that out. I will put one together.
Phil
Hi
I know this is and old post but did the tool list every get uploaded? I can’t find it
I have not tried to source the timber yet, but presumably, if using hardwood, most of us will need to joint boards to get the required width (11 3/4″) for the back and sides?
Hi John,
That’s right. If you can’t find wide enough stock, edge-joining is the way to go.
George.
Hello Boys,
I’ve been following The Olde Master (“TOM”) for a short while now. I am so thrilled to finally become a member. I cannot wait to start creating my tool chest. I am very grateful to TOM for his commitment to the cause of real craftsmanship, i.e. The Real Woodworking Campaign. It has lit a fire in my belly that I have not felt for many years.
Thank you, Sir, thank you very much.
Cheers from New York City,
Wil
PS anyone in the Westchester area, please reach out. I’d love to start a ‘guild’ with like minds.
Brilliant series, loved every episode and learned so much. I would like to ask this though…does anyone have a rough guid to how much the materials for this tool chest would cost? Obviously the price would differ from wood to wood but let’s say for argument I could choose between Oak, Pine and Mahogany….roughly how much might this tool chest cost to make in each wood…..I’m very new to wood working so I have very little knowledge about sourcing wood and how much I should be paying for it. Any help would be greatly appreciated.
I remember many many years ago when I was just starting out as a machinist I wanted a Gerstner tool box but never could afford one, now perhaps I can make my own facsimile.
I really want to make this box maybe not quite the same but very similar. Now all I need are the skills.
Thanks for this Paul,
Peter
I’m excited to start this project, but I don’t have a plow plane and I’m already buying a router to get started. Has anyone substituted a flat board for the top and bottom panels instead of the raised panels and plywood? This would eliminate the need for the plow, but might add some extra weight to the box overall. Any thoughts?
I did a very serviceable job with a tenon saw and a chisel/poor man’s router. Takes a lot longer though. I just ran a pair of gauge lines down the centre of the piece I wanted to plough, then slowly worked along the cut with the saw and removed the waste with the chisel. The depth is a bit variable, however
Hallo Paul Seller (and the rest of the group),
You’re doing a very good job, thanks.
I wonder if there is also a plan for the tool chest and I cannot simply find it.
Thanks for all the really fantastic teaching you do Paul.
Hello,
Unfortunately there are no plans available for the early projects.
Best, Phil
I know it’s an old project, but were there ever any drawings made up for this that I can download? Thanks!
I’m afraid not, but some people did upload SketchUp files in the forums: https://woodworkingmasterclasses.com/discussions/forums/project-series-discussions/tool-chest/
Can we get drawings for this one?
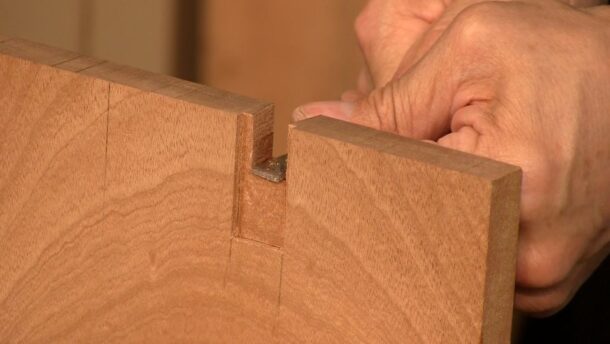
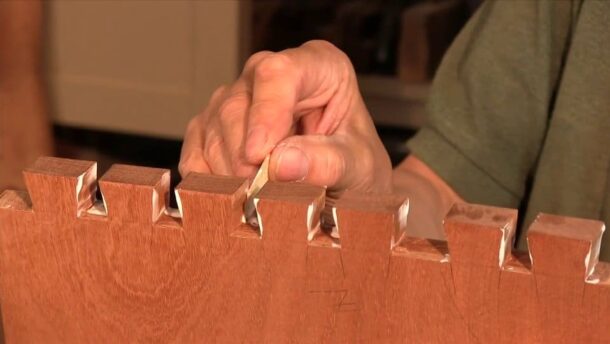
For the life of me, I can’t find where Paul lays out and cuts the dovetails on the front upper panel of the box. Was this skipped over or am I missing it somewhere?
I answered my own question: Paul covers layout at 22:00 in episode 2. Fortunately, he laid it out the same way I did; yesterday I cut the dovetails!
I’d like to be able to access more episodes. All I can get now is the intro. Once I got e1 but not anymore
Mike
As explained elsewhere by Joseph, this may take a while to get fixed. For now follow the instructions in the “LOOKING FOR THE OTHER VIDEOS IN THIS SERIES?” paragraph at the bottom of the introductory description of each project.
For this particular project that would take you to https://woodworkingmasterclasses.com/category/tool-chest/ which will show links to all tool-chest episodes. Tedious, but useful until they fix the navigation.
I have a question that is related to one of the other toolboxes that was shown. It is the third one, pine or something similar I think, the one with the door that opens down and the tills in the top. I’m pretty sure I can see that the door and the back panel are frame construction, but I am curious how the frame and panels are attached to the sides.
This too chest will be perfect for all the tools I have to go out and buy to build it!
Was there an adjustment to the dimensions later on in the series? It would appear that the short rail length is listed as 16″. However, the Main box side length is 18″. Did I miss something or have I read something wrong? I realize that this series is 7 years old, but I find that I need just this type of tool chest.
Also, do you anticipate any drawings for the series in the future?
Hi William,
Happy to help.
Those short (16″) rails you are referring to are part of the lid frame and because the are joined into the long rails they via a mortise and tenon that isn’t a through joint they don’t span the full depth (front to back) of the box which is why they are shorter than the depth (front to back) of the box. This should all make sense when you watch the part on lid joinery.
Drawings are something we added part way through producing WWMC and it would be quite a bit of work to go back and complete drawings for past projects. I don’t rule it out altogether but our focus is on the current and future series.
Best,
Joseph
Thank you for the response. I had forgotten when I watched videos that he did mortise and tenon work for the lid.
Are there likely to be any problems with widening the case to 30” or so? I’m guessing the existing sizing is so it can be got out of an 8 foot board with a bit of leeway. But I’ve realised, from a pic in the gallery, that a typical 20” or 22” panel saw will not fit, so am thinking to widen it accordingly.
Btw I find this the most inspiring project in the whole of WWMC! I have been deferring it until my skills improved to meet the challenge – and I believe that time is now! (Or actually, as soon as I’ve sourced the lumber, hence my question!).
Hi Andrew,
Paul says:
No problem. I have several such tool cases in use that are 24” long and more. The idea of this one is that it is a traveling joiner’s toolbox and that meant carrying it into homes and offices or on a bus or train.
Izzy
Brilliant, thank you Izzy, and Paul. It’s a good point that there’s a tradeoff in portability, particularly if carrying solo!
Hi
I notice that Paul lays out his dovetails on the two end pieces for this project, but the older tool chest he displays in this “project info” video has the dovetails cut on the front and back sections of tool chest. Is there any structural advantage to the tails being cut in the two ends, or is it just a matter of preference?
CJ,
the only thing I could think of is that with dovetails on the front, you have a 1/2 dovetail above the drawer — which sort of looks awkward compared to a 1/2 or whole pin.