Moving Workshop Table: Episode 2
Posted 29 May 2019
This is an episode in a paid series. Want to watch it? You just need to sign up as a paid member, and you can enjoy this video and many other videos we think you will love.
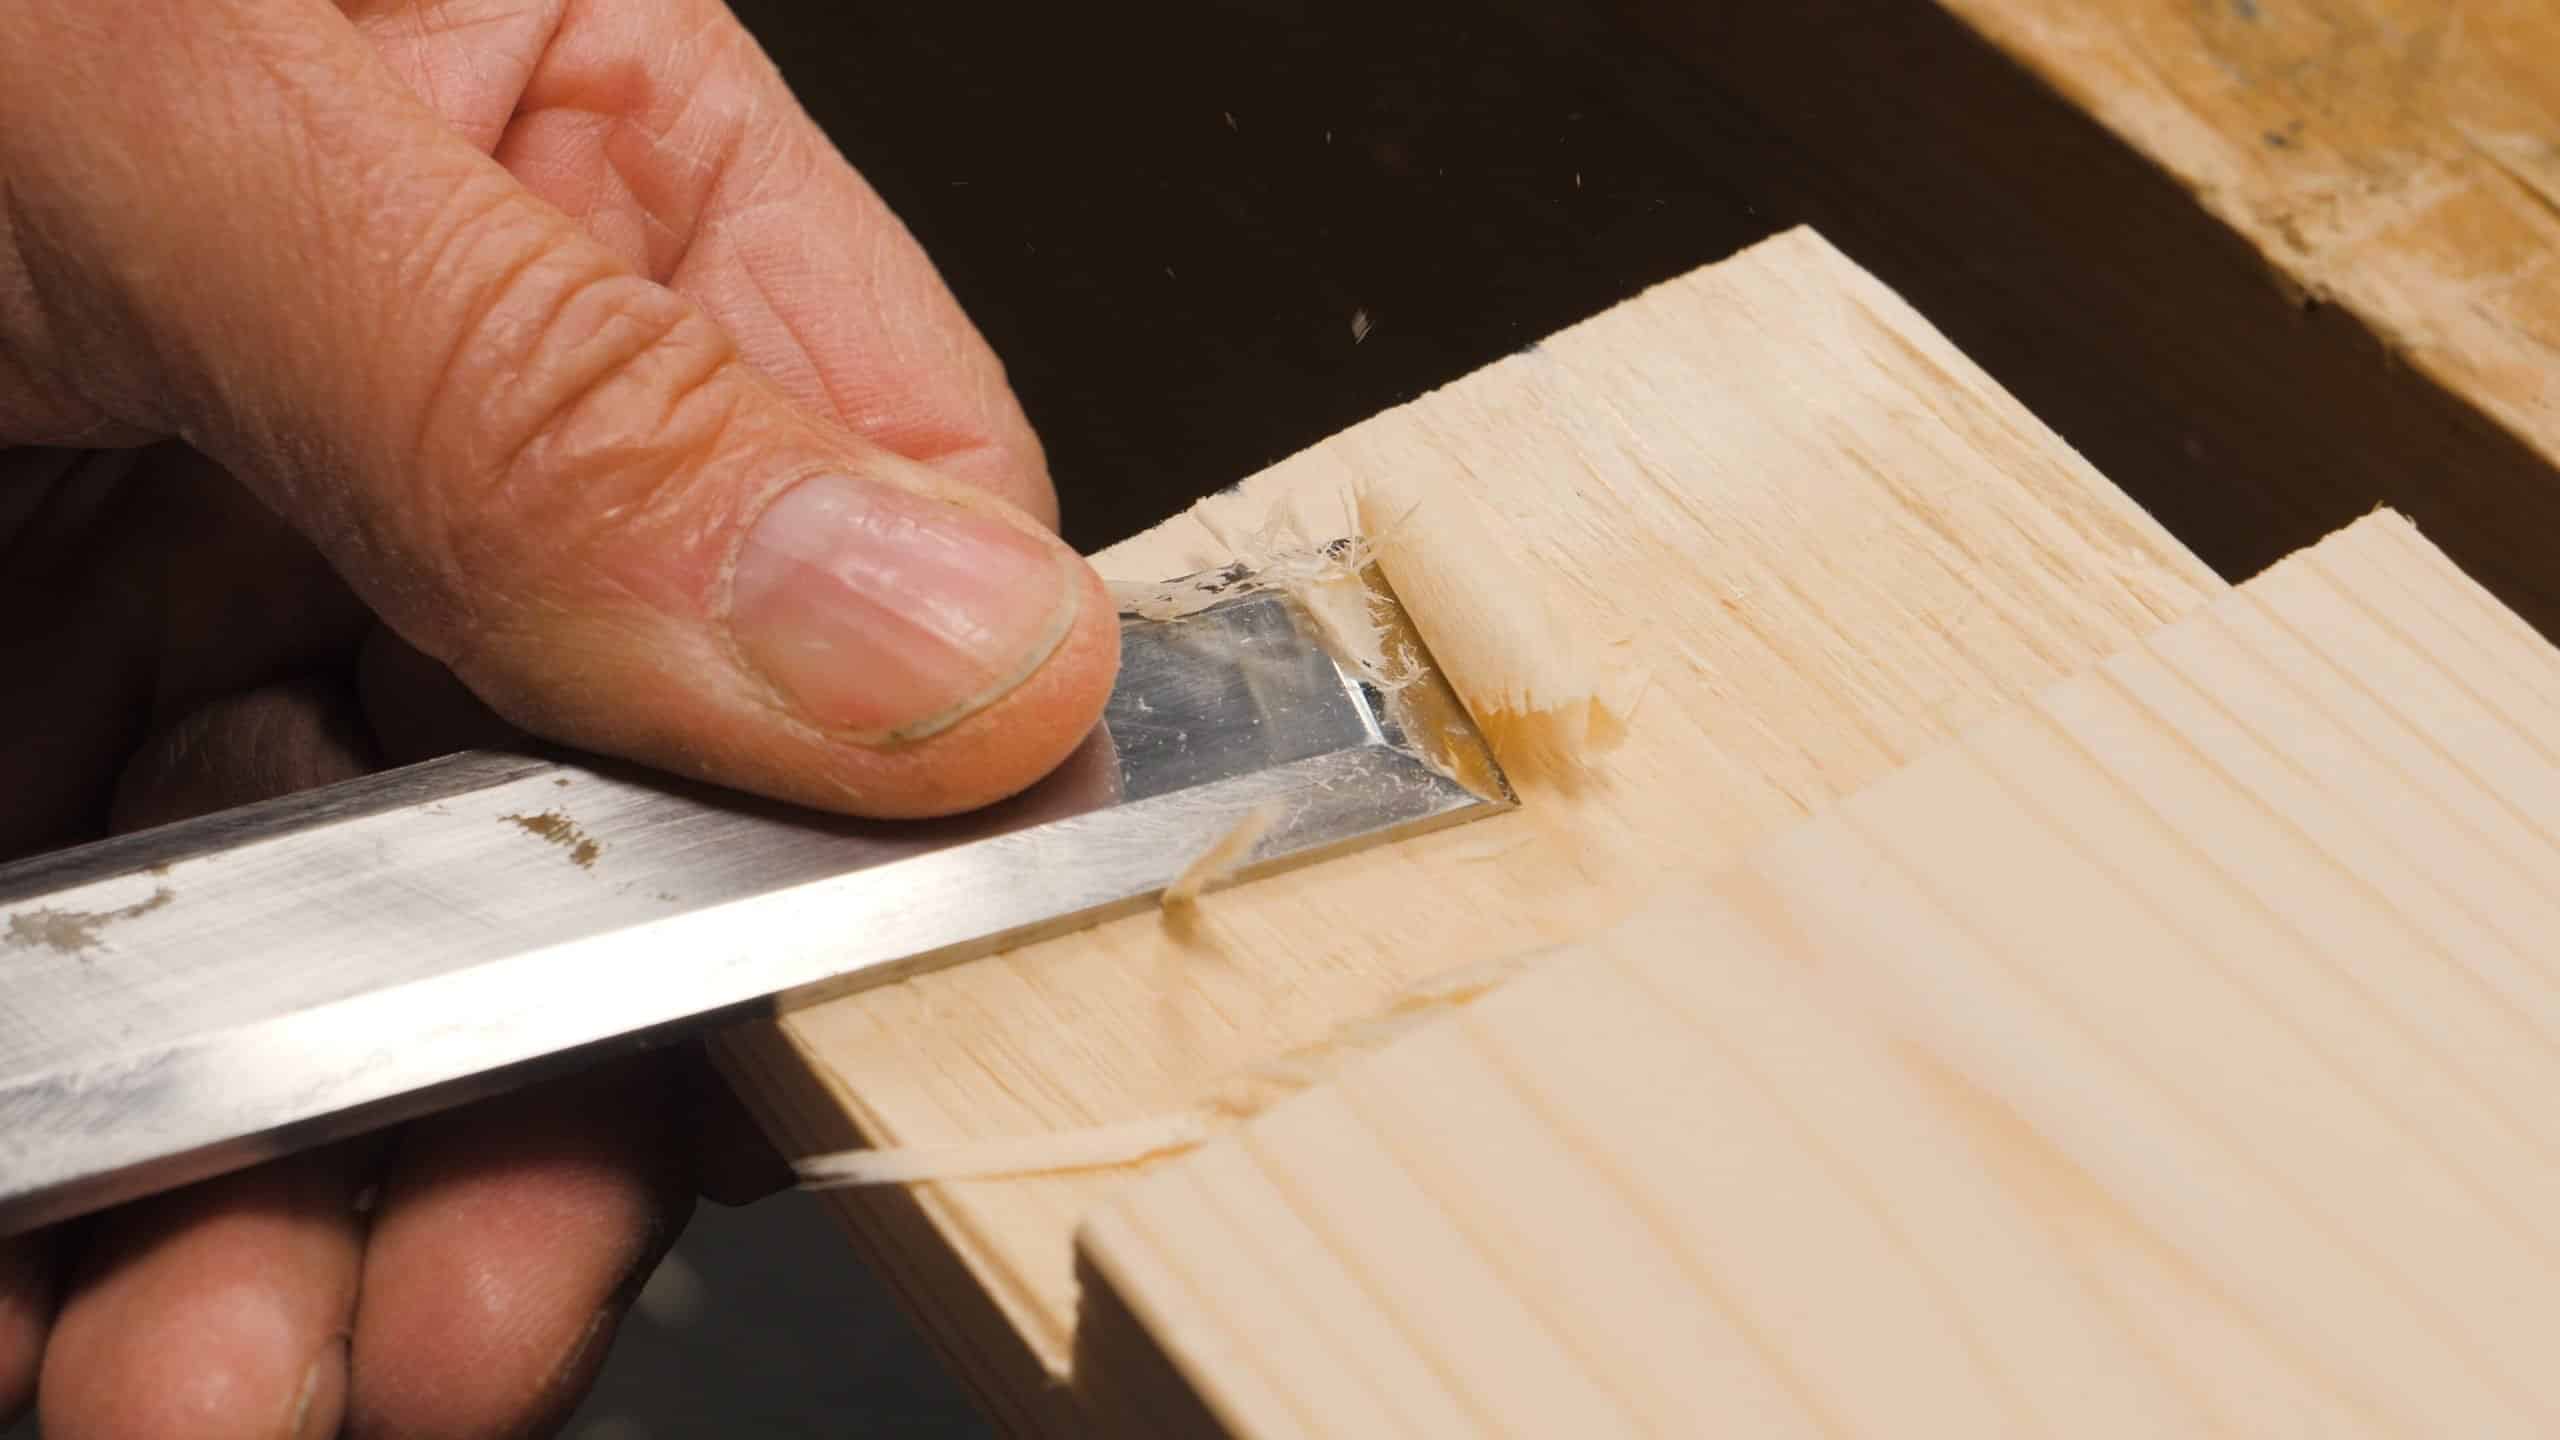
It’s now time to layout the tenons for the end frames. Once these have been prepped, Paul moves on to demonstrating two different ways of cutting your tenons. After cutting these, it is time to fit them into their respective mortise holes. Don’t forget to add the haunches to the mortise and tenons, though!


Thank you for the shots in close-up. I love
are the haunched tenons cut at an angle just so they don’t show?
Wondering about that myself. I must be missing something, because I can’t see the reason for the angle.
“My dad touches on this briefly in the second episode. It is sort of a halfway haunch. It adds more strength than leaving it off would but is less effort. We are trying to show some slightly nuanced techniques that might not be used in furniture making but are appropriate for workshop fixtures. There may not be a huge difference but there is a slight time saving element which adds up given the number of joints.”
Hi,
Paul says:
No, it’s just a quick alternative way.
Kind Regards,
Izzy
Why has Paul not used his router plane to get the tenons to thickness, I think it is something he does usually
my guess is the same reasoning as the angled haunch. save some time since a workshop table isnt as critical as other furniture?
Hi David,
I have passed on your question to Paul and below is his answer:
Not always, and it is good to pare cut and keep in practise. This is all about body training.
Kind Regards,
Izzy
If it’s not too much trouble, please let us know how many times you stopped to sharpen your chisel when cutting these tenons
Hris i am not paul by a long stretch but time has no bearing on chisel sharpening the wood dictates it. When you use one you will soon feel it sliding on the wood and needing a higher angle to shave as well as harder to push and a rough texture left behind. As long as it shaves wood smoothly it is sharp. As you chop and pare stop occasionally and just run it one time over pine end grain if it does anything other than make a smooth shaveing it needs touching up.
As you get more acquainted with the tool you start to feel that it is dull its hard to explain but you sense the tool is not cutting the same as when it was first sharpened
Yep – agree with that last observation. If you follow Paul’s freehand sharpening technique it really takes no time at all.
Hi Chris,
Paul says:
I didn’t stop to sharpen as far as I can remember, because the pine was very consistent in density and had no hard knots.
Kind Regards,
Izzy
I like that Paul gives some history in this lesson, one it’s a reference but also gives an insight into how things were done. Working fast is obviously something you must work up to, and never to rush the process of learning things in time.
The number of tenons in this project is fantastic. Great practice for beginners like myself.
There are so many subtle lessons hidden in plain sight in these videos. I must have watched Paul cut the faces and cheeks on his tenons half a dozen times during the time I spent cutting mine. Every time a new lesson presented itself.
Thanks for this.
I felt in my bones that end grain blast out. However, it’s reassuring to see that it happens to the best of us.