Rocking Chair: Episode 6

Rocking Chair: Episode 6

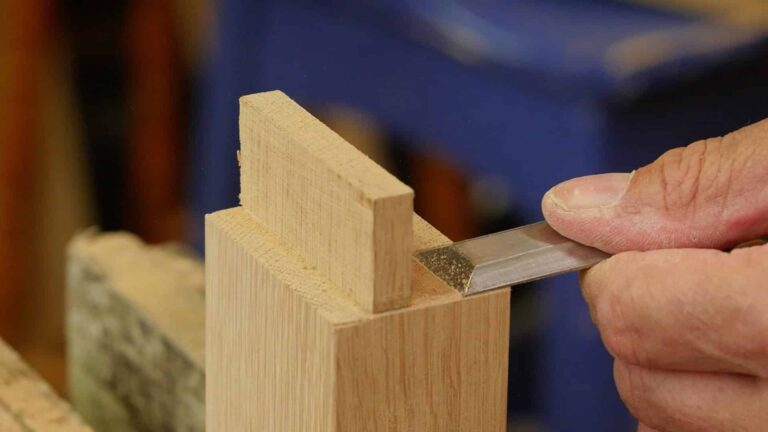
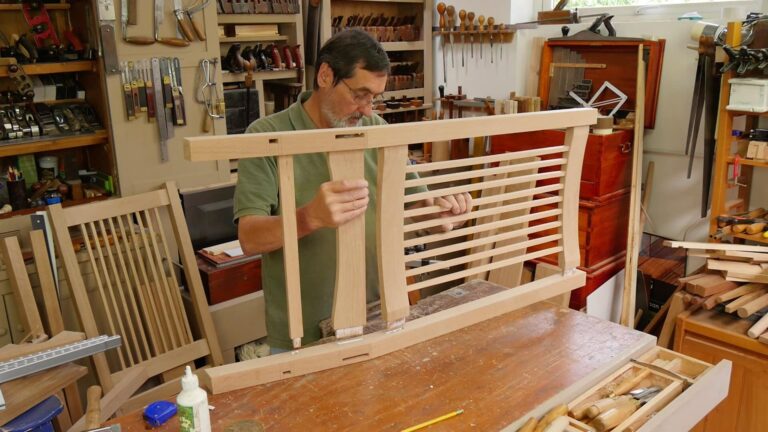
With the spindles cut, Paul fits them to their relevant holes making careful use of the bench plane. Then there are the final steps to finish off the rear frame, which is cutting the legs to length, then rounding the top. Once the components are checked and cleaned up, Paul gets the back frame glued up.

Rocking Chair: Episode 5

Rocking Chair: Episode 5

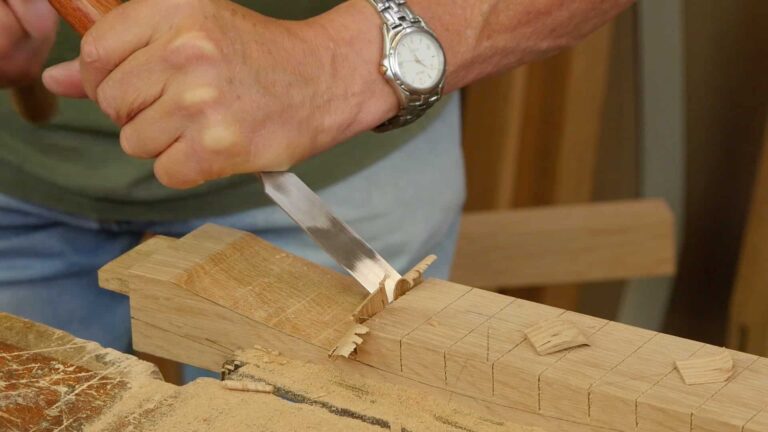
Paul drills the recess holes to an exact depth, and then chops them square to receive the spindles. The next step is to cut the spindle stock to length and then rip all the spindles, cutting them so they are all bookmatched. Once they are planed smooth and square, they can be individually labeled and fitted to the spindle mortises.

Rocking Chair: Episode 4

Rocking Chair: Episode 4

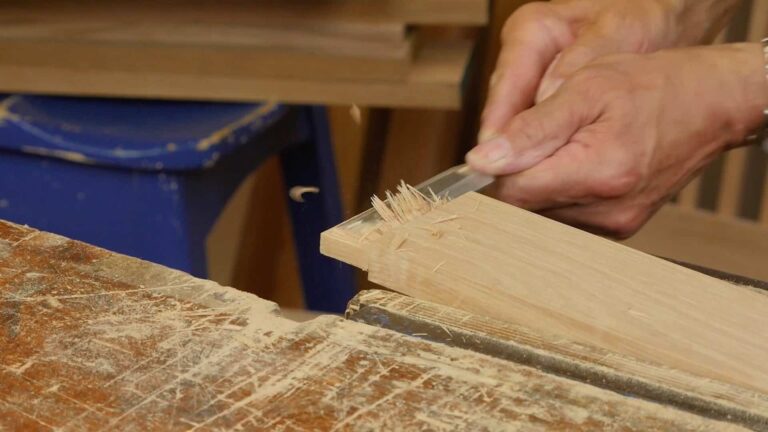
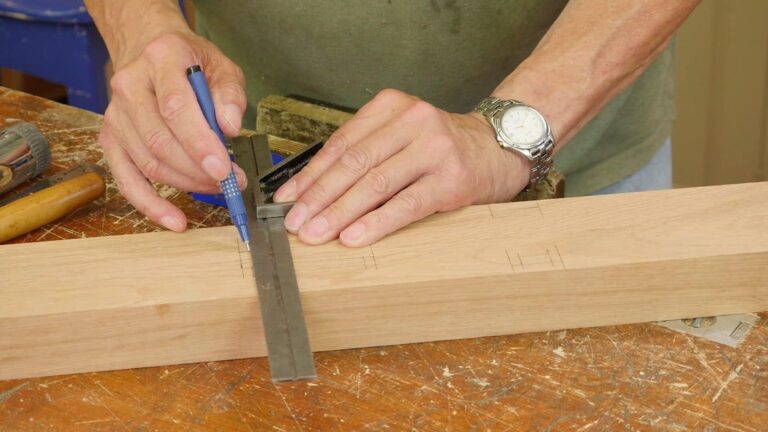
The next step is to put the arches in the back support rails using stop-cuts. They are shaped on the front and the back. The shape is refined with the spokeshave and the plane. Then Paul lays out the spindle mortises, making sure to get them accurately positioned in preparation for drilling and chopping them.

Rocking Chair: Episode 3

Rocking Chair: Episode 3

The first step with the back frame, is to layout and cut the back legs to the correct shape. This prepares them for the layout and cutting of the mortises for the back and side rails. With the mortises cut, Paul moves onto laying out and cutting all the tenons for the back frame, paying particular attention to the offset tenon on the back support rail.

Rocking Chair: Episode 2

Rocking Chair: Episode 2

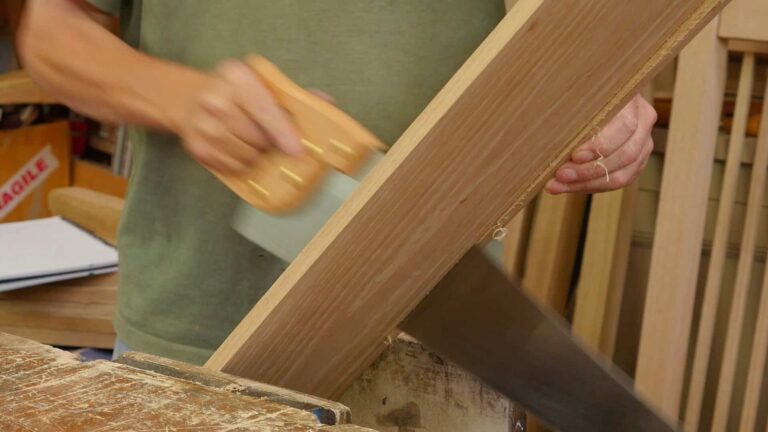
With the rails orientated, Paul lays out the tenons, being careful to get a consistent distance between the shoulder lines. Then we’re ready to saw the shoulders and split or saw the waste before fitting them to the mortise. The wide rails are then arched using stop cuts and the chisel before refining with the spokeshave. Once everything has been cleaned up, we’re ready to glue up the front frame.

Rocking Chair: Episode 1

Rocking Chair: Episode 1

Paul starts this project with the preparation of stock and by discussing how to make best use of the material to minimise waste. With the stock for the front frame ripped and cut to size, the front frame is laid out, making sure to mark the mortises on the correct faces. The mortise jig is used to align the chisel for chopping the mortises parallel. Then the leg top tenons are laid out and cut, which will be mortised into the arms.

Rocking Chair: Info Page

Rocking Chair: Info Page

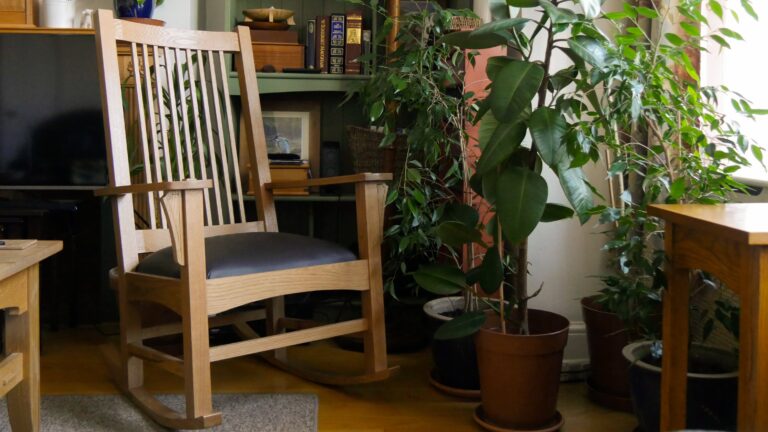
In this series, Paul shows how to make a Craftsman-Style rocking chair that he designed and has been making for decades. Working with oak stock, Paul shows how to construct the mortise and tenon frames, including arched rails and angled tenons for the side rails. He discusses how to shape the rear legs and rockers by hand, before upholstering and finishing the chair to round out the finished project.