Saw Rack / Storage project
Welcome! / Forums / General Woodworking Discussions / Projects / Saw Rack / Storage project
Tagged: project, Saw Rack, Saw storage, workshop storage
- This topic has 7 replies, 7 voices, and was last updated 9 years, 9 months ago by
 Derek Long.
-
AuthorPosts
-
 18 October 2014 at 4:35 pm #119666
This was meant to be a work-in-progress, but it’s actually already done. The great benefit of doing it this way round is that I already know it’s turned out OK!
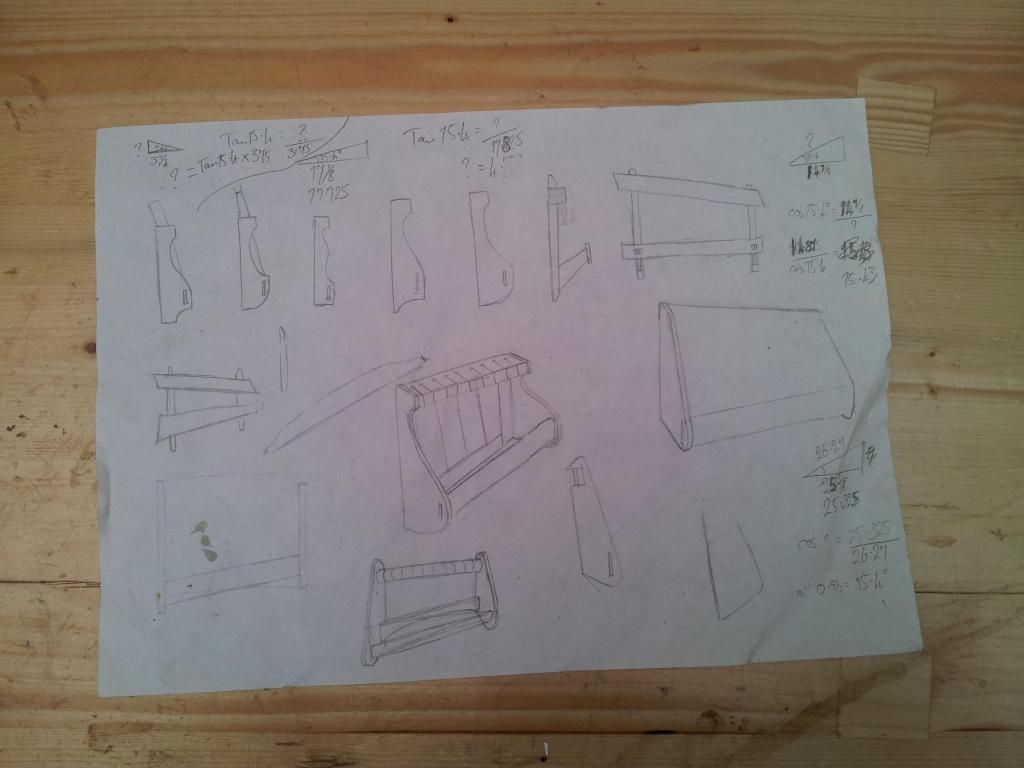
I’ve been looking for a way to store saws that doesn’t either hog space or leave some of them inaccessible, and a few weeks ago stumbled across “saw tills” online. It was immediately obvious that this way of storing saws leaves them all accessible in a very space-efficient way, so I stole the concept and started thinking about how I could fit it to my needs and space. After a few scribbles this sketch is what I came up with.

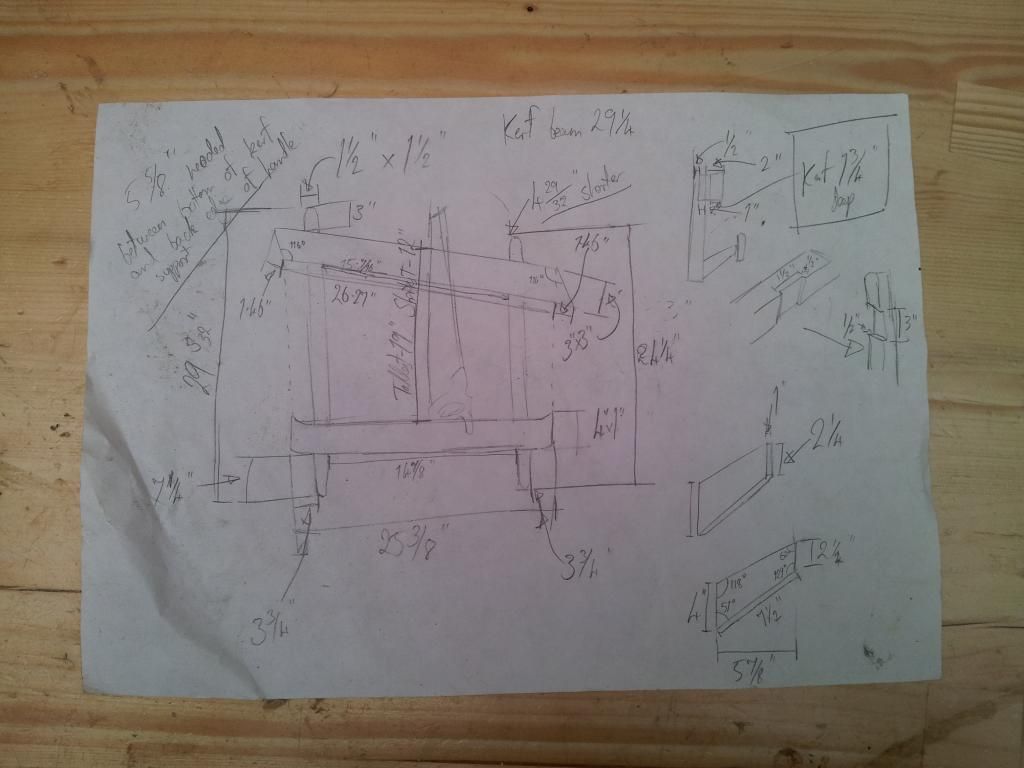
Well it was a sketch to start with. I wanted to fit all my regular user saws in one design, from the smallest dovetail saw to the largest rip saw, and settled on the slanting kerf beam as the simplest solution. I had already decided to make it from the 4x2s leftover from building my bench, so I started by laminating two together for the kerf beam.
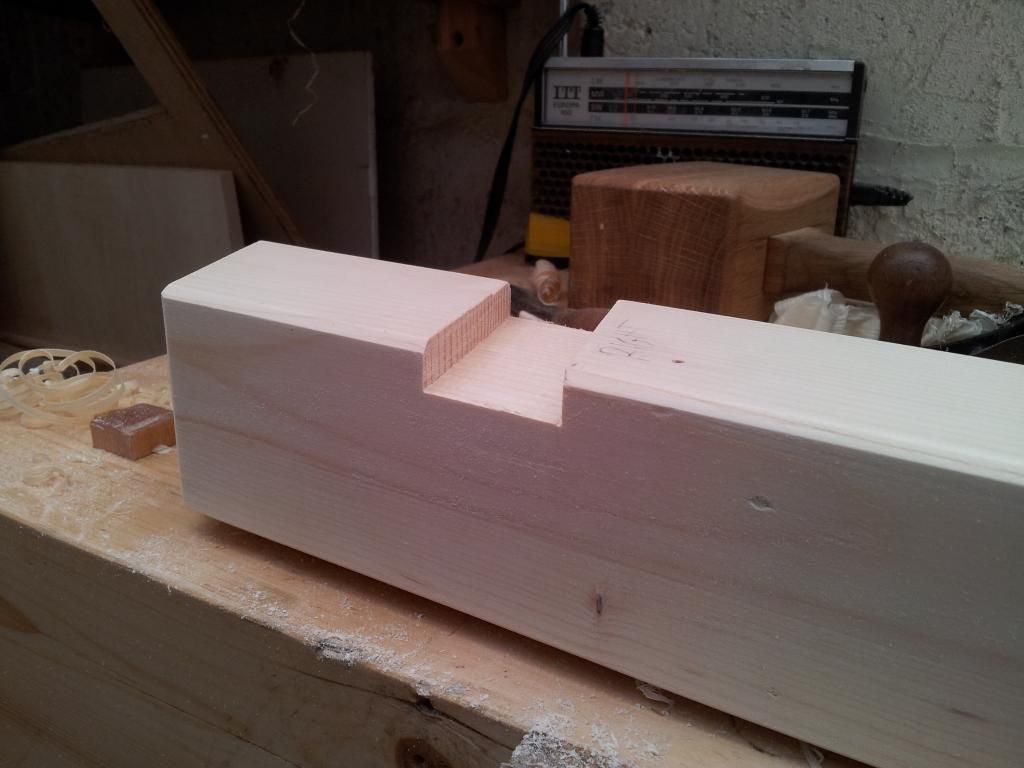
Once this was ripped down and squared up to 3×3, and the 1 ½”sq uprights were prepared, I cut angled half lap joints to join them.
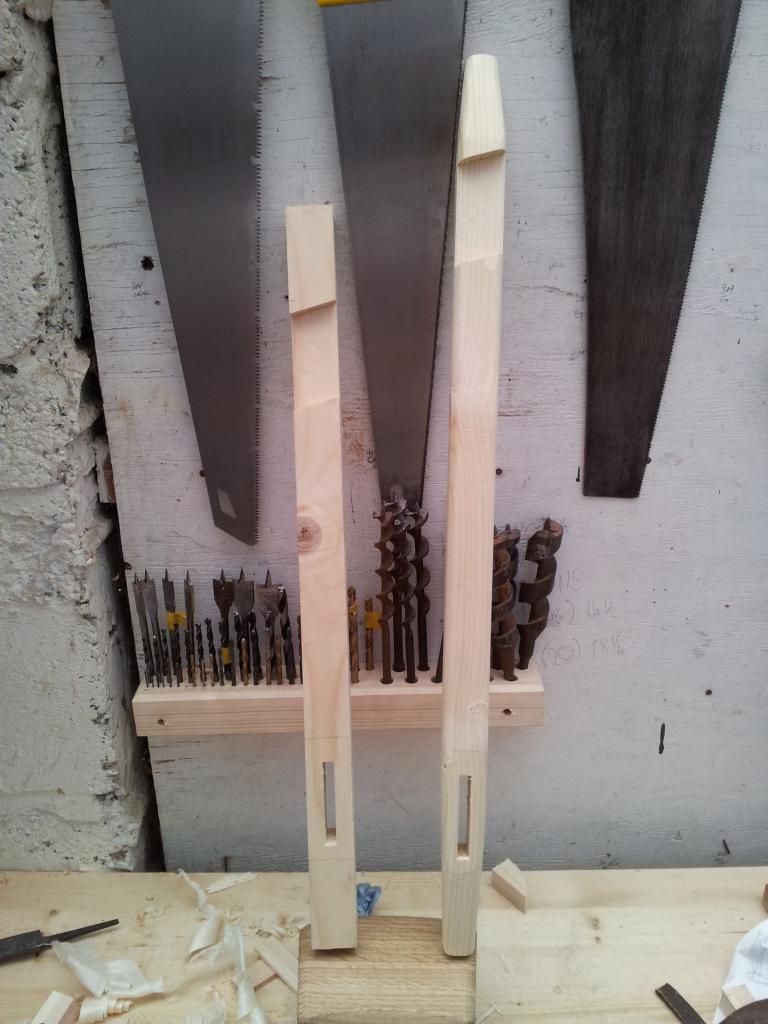
Each lap is ½”; I think if I’d made the upright lap ¾” and the kerf beam lap ¼” I’d have been able to shape the upright more. The longer upright is already shaped, and the mortises for the brackets, which will eventually hold the saw handle rest, have been cut.
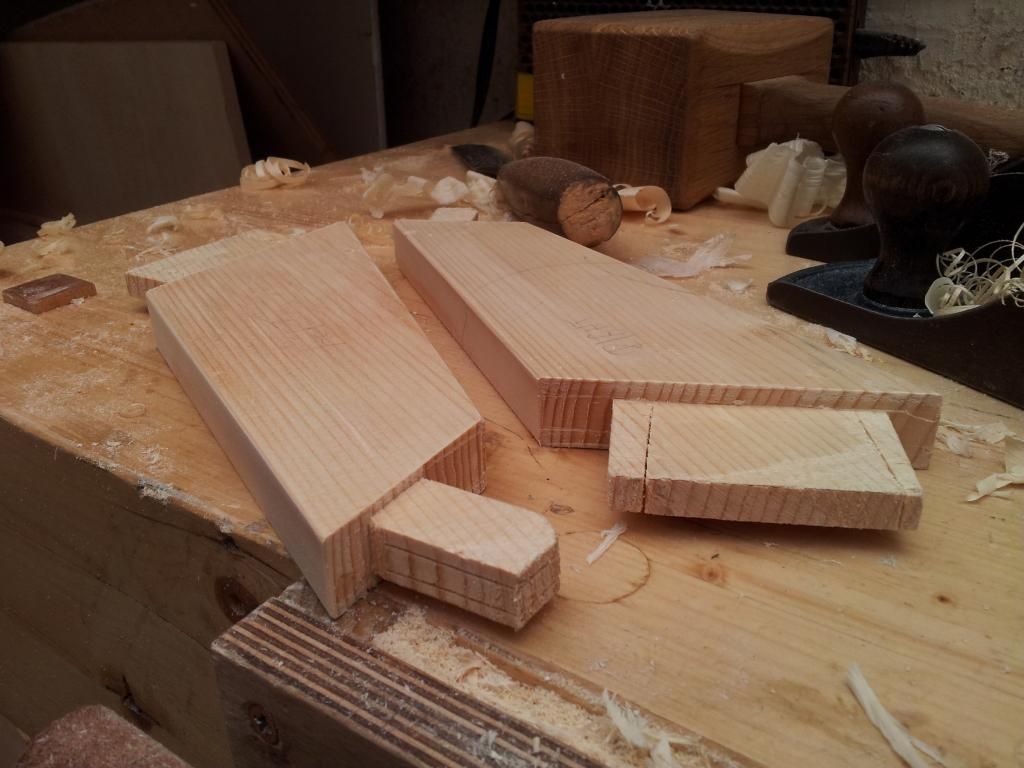
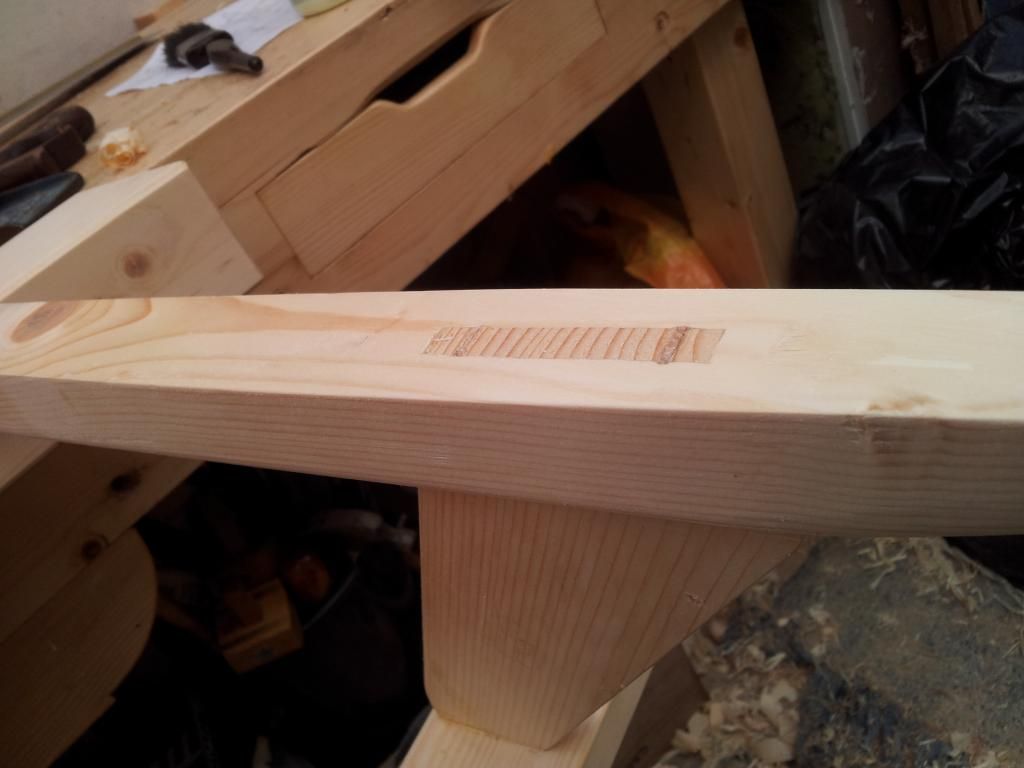
To make the brackets I cut and planed a block of 4×2 to the right shape, then ripped it down the middle to get a perfectly matched pair. The tenons at both ends are kerfed so that they can be spread into a dovetail, in the way that Paul has shown in several projects.
It will be immediately obvious that the kerfs on the larger tenons are badly cut; I followed the tenon rather than the grain and it’s left only weak short-grain on the outer portions. The frustrating thing is I’d thought this through beforehand, decided to follow the grain, and for whatever reason went ahead and followed the tenon on autopilot anyway. Still, nothing to be done now.
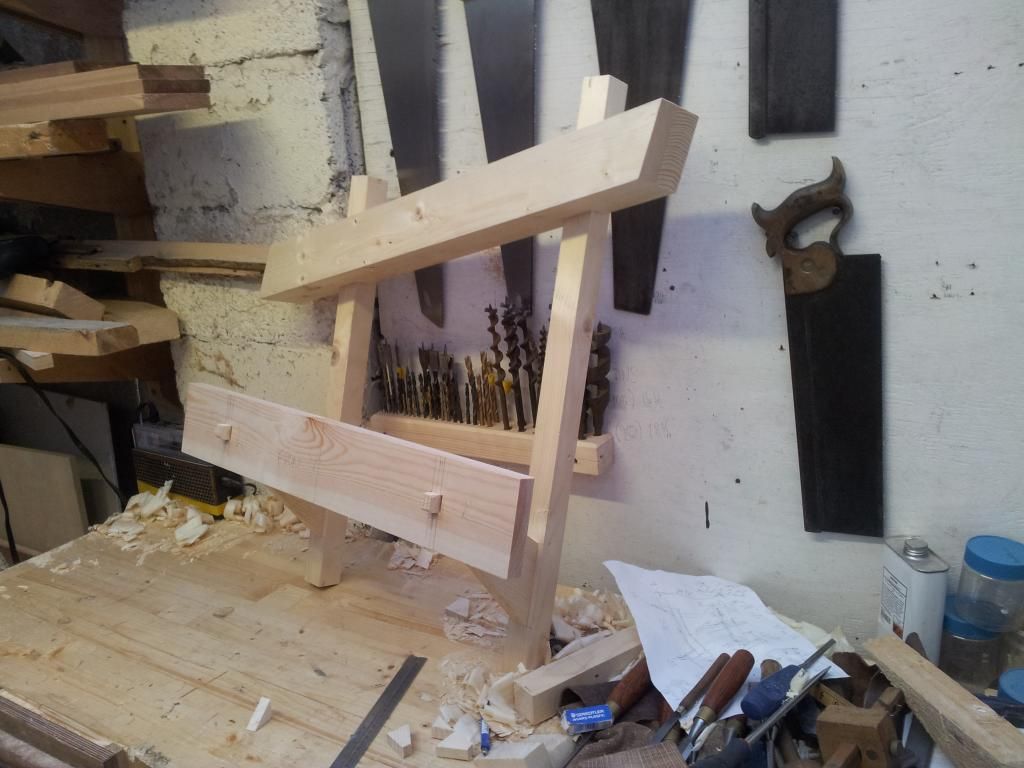
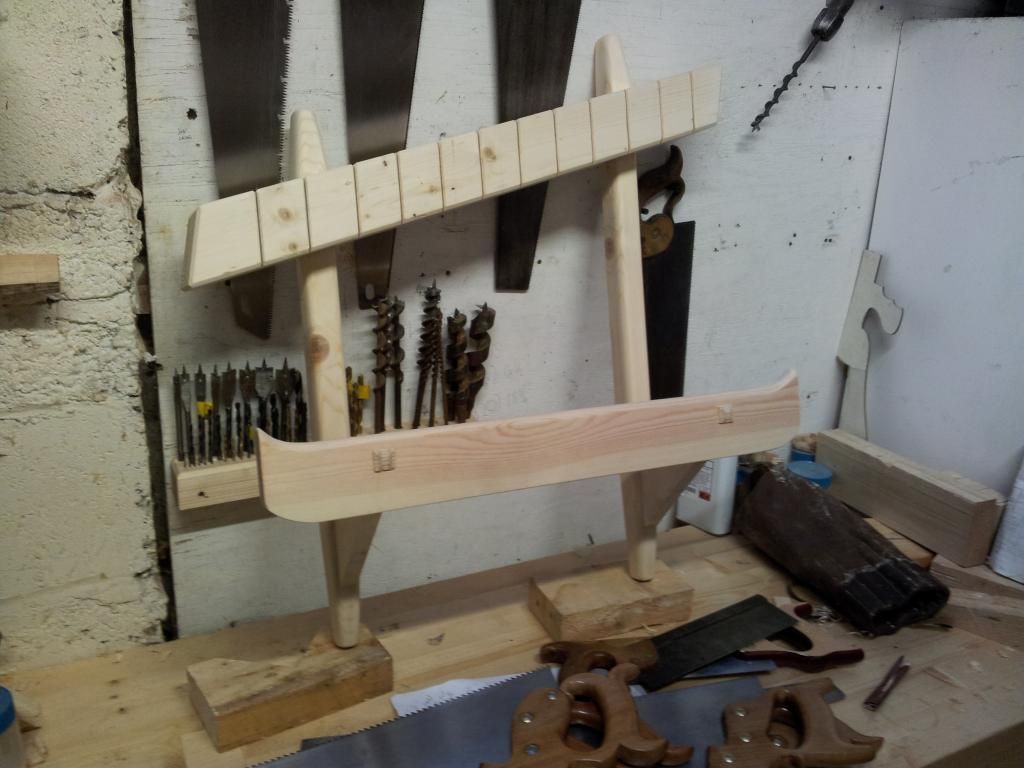
So with all the joinery cut I couldn’t help putting it together; this is one of my favourite parts of any project.
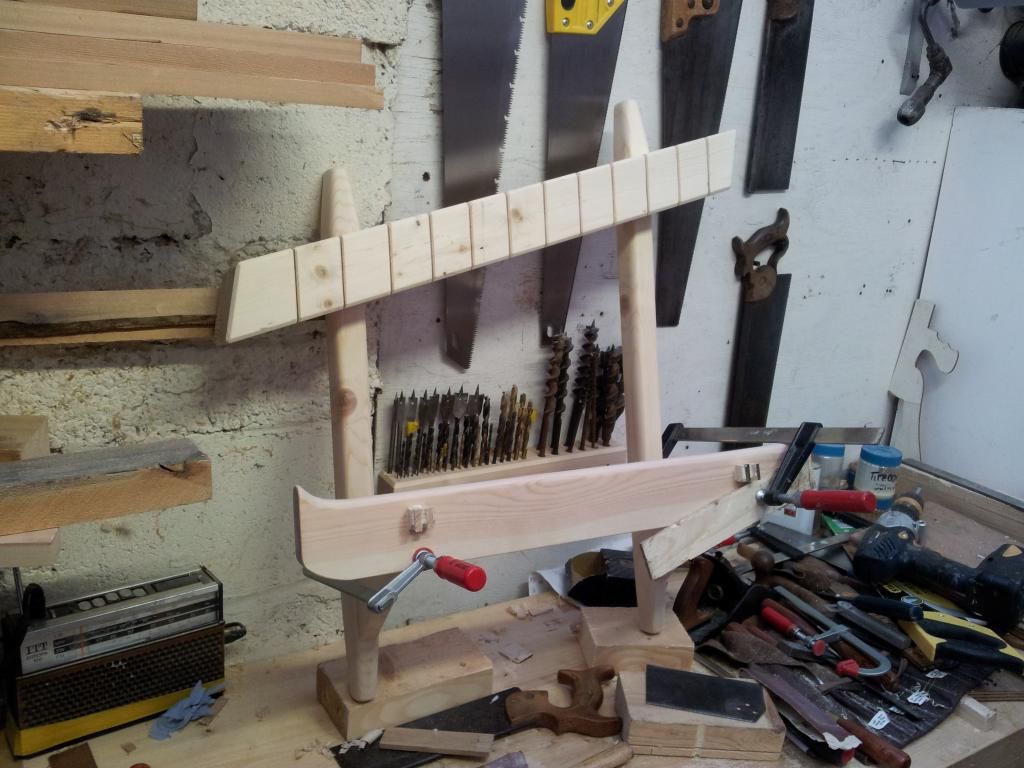
Just the shaping of the saw handle support and the uprights, and kerfing the kerf beam, and it could all be glued together.
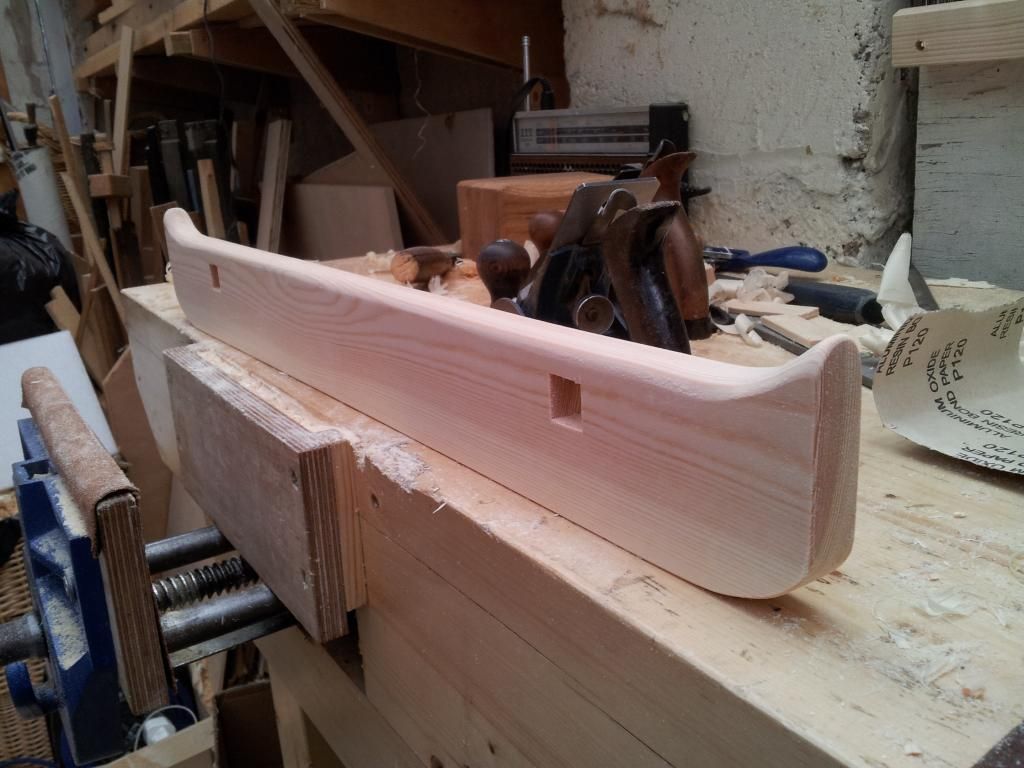
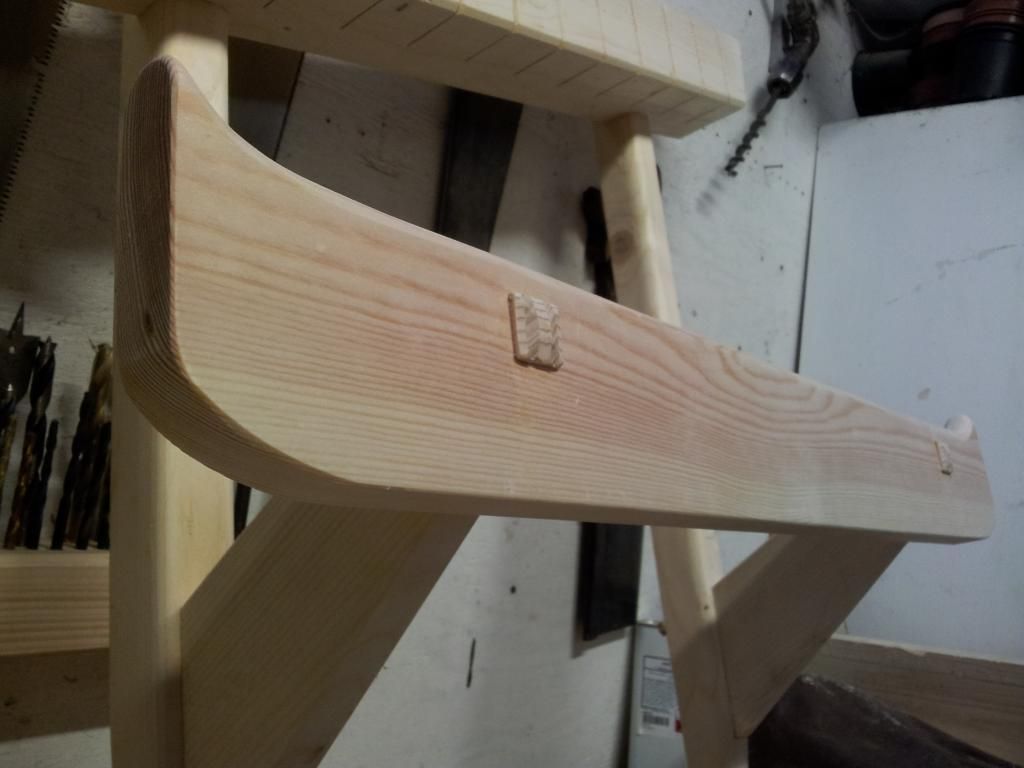
A few photos of it all glued up. The lap joints were glued and screwed, the front tenons have been shaped to make a little feature. I had always intended to paint it because of the cheap wood, but looking back at it I almost wish I hadn’t bothered.
During gluing up, I cut one of the wedges too long and too thin and it split off the bottom of the right-hand bracket. That bruised my pride a little, though luckily it glued back on fine and you couldn’t really tell.
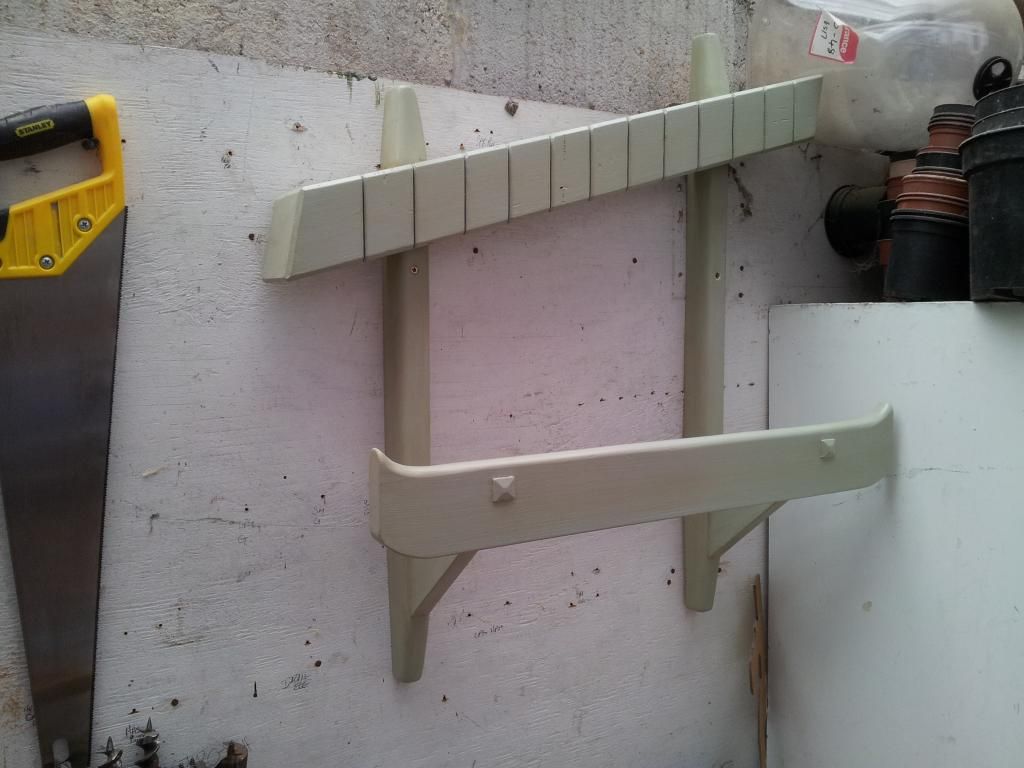
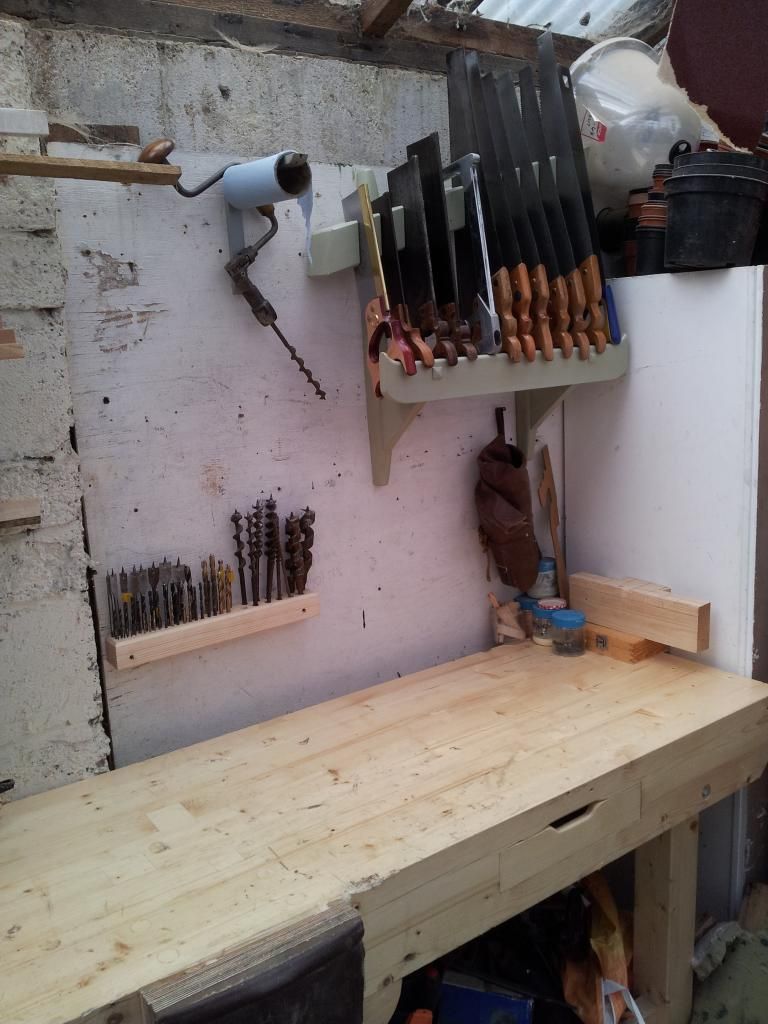
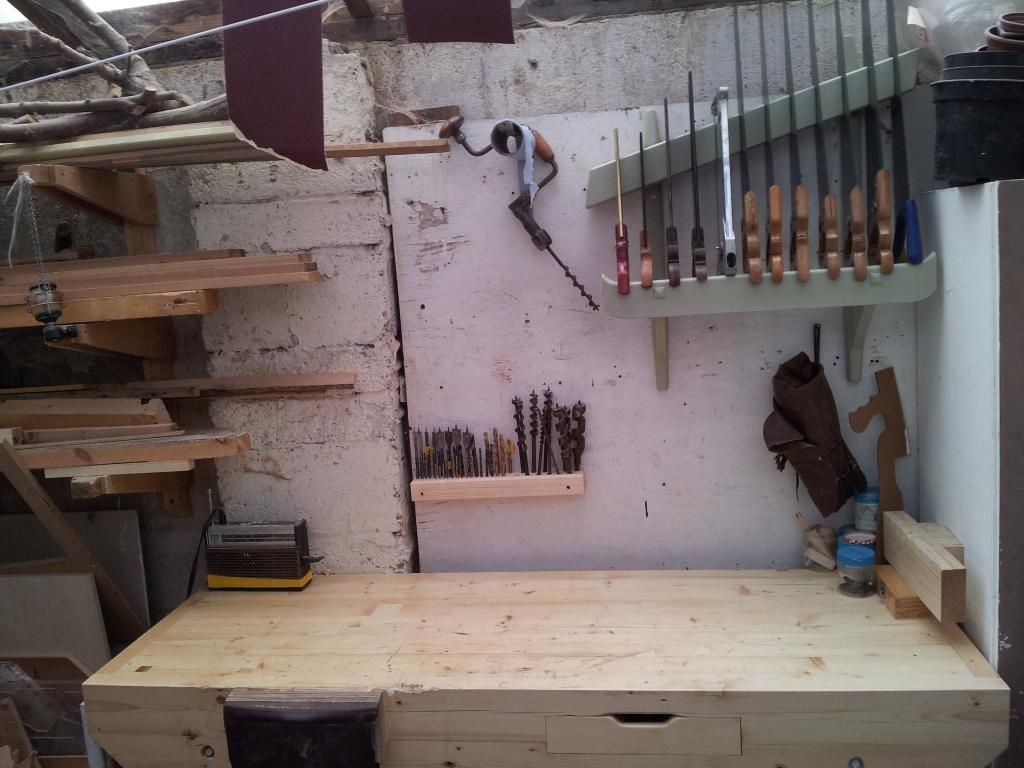
And finally, all painted up and in-situ.
The finishing was a bit of a disaster; it’s two coats of plain house emulsion and three of shellac on top. I had wanted to try shellac and so bought the Liberon Blonde flakes and alcohol online. Blond is certainly not clear; somehow I’d confused “bleached” and “blond” in all the time it took to find the cheapest stuff, and when it went on a sort of caramel colour I just prayed it would dry clear. Of course it didn’t, and my technique certainly left a lot to be desired, so what I have is a lot of yellow runs and blotchy stains. Frankly, it looks like someone’s urinated on it from close up. Luckily you don’t see the worst bits when it’s covered in saws!
Also I had slanted the ends of the kerf beam more than would make them plumb; this looked fine on the sketch and was meant to be a feature, but I don’t think it works.
I’m pretty please with it though and it works just as well as I had hoped. For those who’ve read this far, thanks for indulging me.
Matt
18 October 2014 at 5:27 pm #119668Some neat features there and some nice looking saws.
I wish I had some wall space to do such a thing but I do not. 🙁
18 October 2014 at 5:30 pm #119669I like it, don’t worry about the paint / finish it is a shop tool ( appliance ) any way. I have to get busy on mine soon but need to find some space to hang it. I don’t have much wall space left. I have a couple of my most used back saws hanging on my front apron like Paul’s, and have a couple 12″ aluminum bracket’s screwed to the doors of a tall cabinet for may hand saws. This is not the most convenient way to store saws as I am all ways moving them to get to the one I want.
Steve
18 October 2014 at 6:47 pm #119670Thanks all. My wall’s looking a little empty now, I must not be working hard enough.
I know what you mean about the paint Steve, making workshop projects is a dilemma for me between knocking something together that works and getting in some good practice for more important things. It was disappointing but I’ll live, and very glad I made my mistakes on this and not something important. Good luck with your build, and take lots of photos, I’d like to see how you solve the problem.
18 October 2014 at 7:34 pm #119671great project i could do with one of these myself another item on the list thanks for sharing
-
AuthorPosts


- You must be logged in to reply to this topic.