Bench Plane: Sharpening & Setting
Posted 7 November 2016
This is a free video, want to watch it? Just log into the site, and you can enjoy this video and many more!
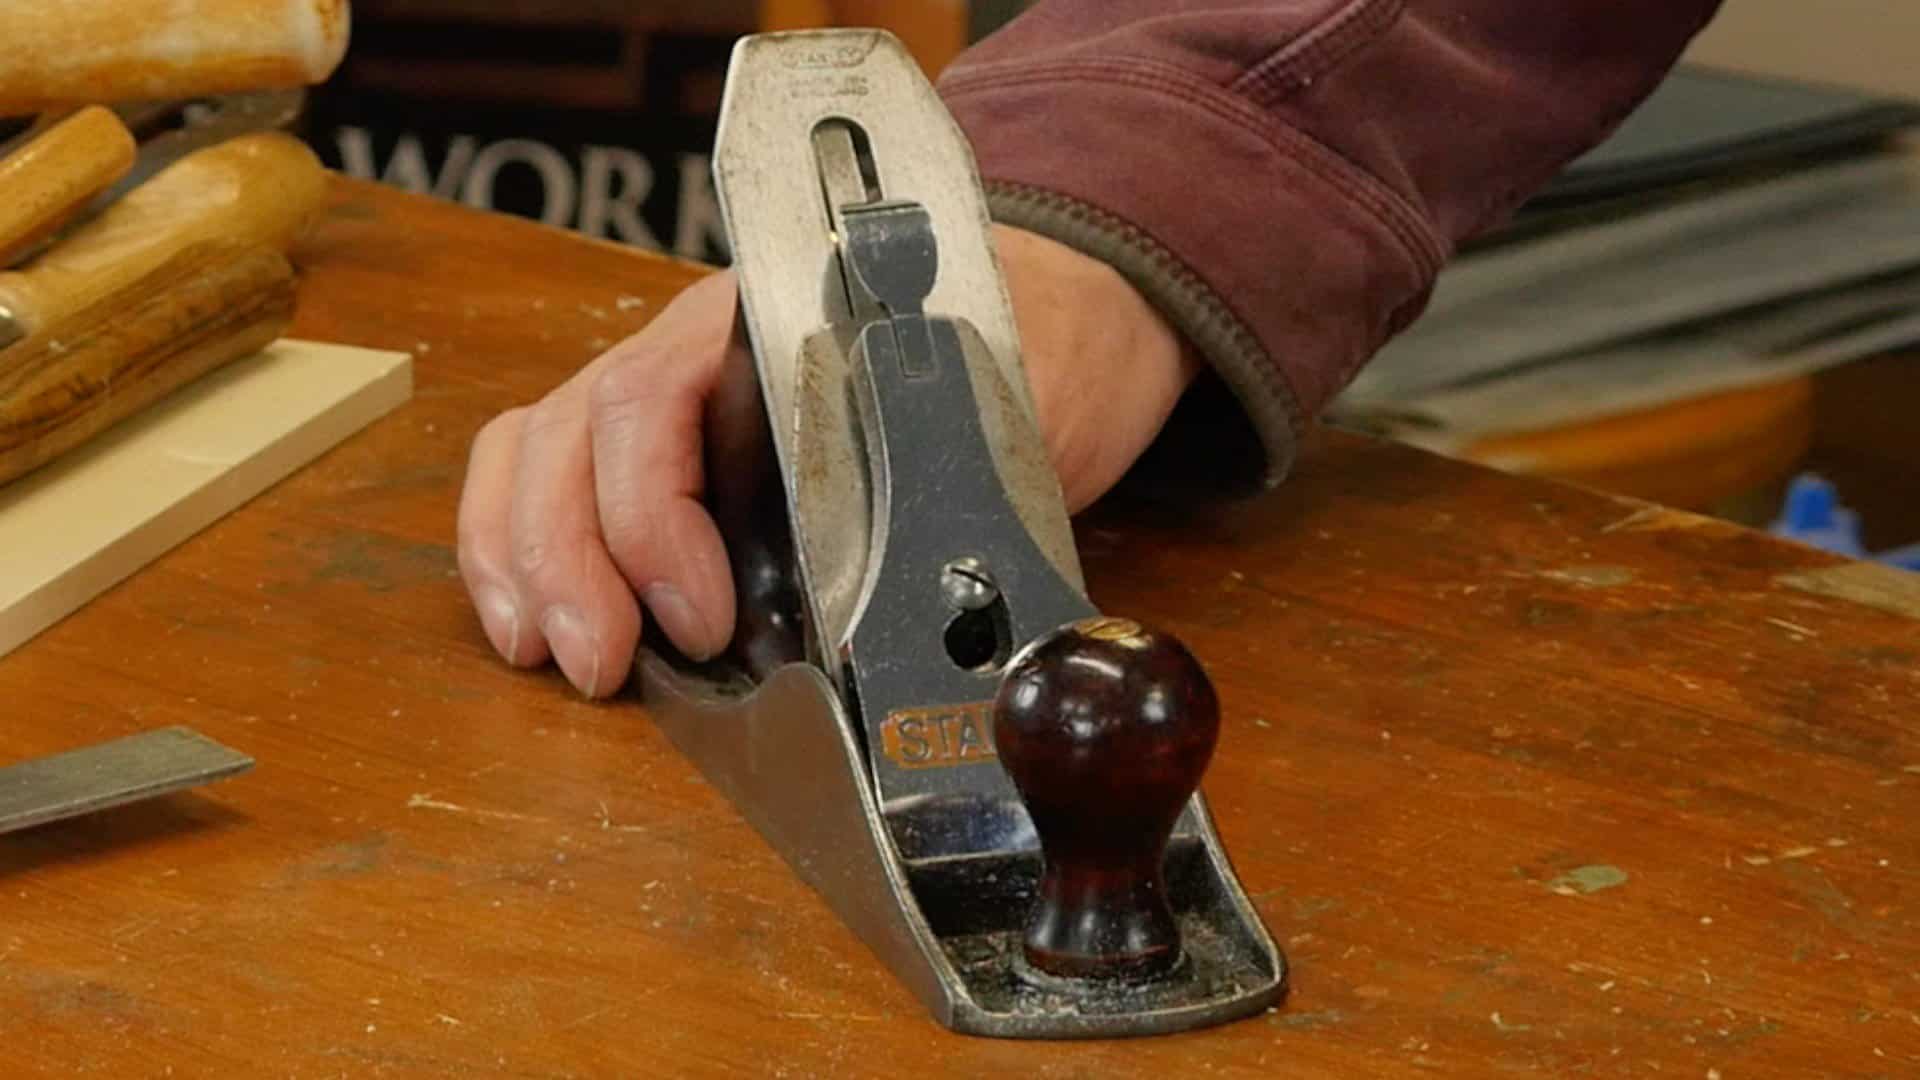
Paul shows how he sharpens and sets a bench plane in his everyday work. A quick and easy guide to get your plane working.


if ever there was an definitive demonstration this has to be it no need for anyone else to cover this its been done .
Thank you WWMC team
I am having a really tough time with some quarter-sawn red oak and tearout. The tearout is deep and happens very fast, and all my adjusting and sharpening aren’t getting me much of anywhere. Is this just a tough type of wood to plane, or am I missing something obvious? I am using a Stanley 4 1/2 sharpened just like Paul says. I have no problem planing pine or cherry to a mirror finish. I noticed some wood stuck between my blade and chip breaker and am working to fix that. Depth of cut is as small as possible (I sneak up on it is 1/8th turn increments). Is there anything else I can check? My 1″ panels (14″ by 26″) are turning into 3/4″ panels…
Thanks,
Justin
close up the mouth to about 2-3x the thickness of a shaving. Take as thin a shaving as you can. Getting that chip breaker to 1 shaving thickness away from the edge, and meeting all the way across is key when dealing with PITA grain.
Some times a cabinet scraper or card scraper is your best friend.
If it tears going in any direction , it’s time for the scraper.
Thanks Dean,
I am working on perfecting the card scrapper sharpening, and I have been using that to get a better finish on these problem areas. My bigger question is “Did I try hard enough to make the planing work, or is this wood just not going to cooperate no matter what I do?”
Hello Justin,
If you’ve tried planing in both directions and you are still getting tearout, you can plane across the board at 45-90 degrees to get it close, before moving onto the cabinet scraper for the final finish.
Hope that helps
Thanks Philip,
I have had decent success doing that. After fitting my iron cap better, I have seen much improved results. I try to minimize the amount of scraping I have to do as the feel of a fine planed finish feels much better than a scraped finish to me. Although, I am sure it all gets roughed up equally during my light sanding before my stain.
I also didn’t plan well enough ahead of time with the direction of grain of the two boards I joined. The grain of both boards ideally would run in the same direction to avoid tearout near the seam. Lesson learned…
What is used to lubricate the strop around minute 8:00 of the video?
It is Honing Compound. You can find it all over the internet for a reasonable price and it lasts a very long time. I believe it id usually made up of aluminum oxide.
Here’s some more info:
https://paulsellers.com/2014/05/buffing-compound-for-chisels-and-plane-irons/
I would like to thank you from bottom of my heart. And wish you all the best.
Paul – I should like to pay you a compliment and say thank you, if modesty permits. A while back, the store was short of a needed plane blade. So; I purchased a ‘plane’ for 20 odd dollars, thinking I could always use the steel. The ‘plane’ itself was a cripple, I shelved it for a long while as it simply would not ‘take’ a shaving. Then I watched your scrub plane conversion – and I wondered. It was a job to get the plane body to working condition (don’t ask) but I managed. Then I followed you guidelines and turned the cripple into a scrub plane. It now sings as it works, every bit as effective as a friends purpose bought job, matched stroke for stroke against a hollow ground, thick blade tool of a serious professional. The ‘how to’ video was a gift; but the insight into ‘how’ a plane should work – priceless. I did not mention to my mate the figure of eight sharpening method – let him keep to his grindstone. That’s it, thank you for my scrub plane – dubbed Gunga –Dunnit, oiled, sharp, clean and residing in the ‘working’ tool box. Cheers.
Just got back after adjusting my no. 4 smoothing plane, it was gouging and now gives great long shavings.
Priceless video !!
Hi
I’m using Veritas bevel up planes, can I use exactly the same process as described for the Bevel down blades ?
David
Yes.
This might be helpful:
https://paulsellers.com/2014/10/custom-sharpening-your-bevel-up-jack-plane/
I give up my woodworking skills now Paul Sellers. I am not getting anything right
@Lee – We can’t give up our skills, only our efforts in applying them.
Brilliant explanation. Thank you.
I had my planes working well. Sharpened my blades, now I can’t seem to get them back working again.
At the time I started my hand tool woodworking, this seem to be a fairly complicated video to replicate, but the way master Sellers keeps his explanations makes it a breeze. Now, just a couple of years have passed and I still look up for this videos to see if I can learn new things or even re-learn things I’ve forgotten.
Brilliant work as usual!