Linen Cupboard: Episode 1
Posted 23 September 2020
This is an episode in a paid series. Want to watch it? You just need to sign up as a paid member, and you can enjoy this video and many other videos we think you will love.
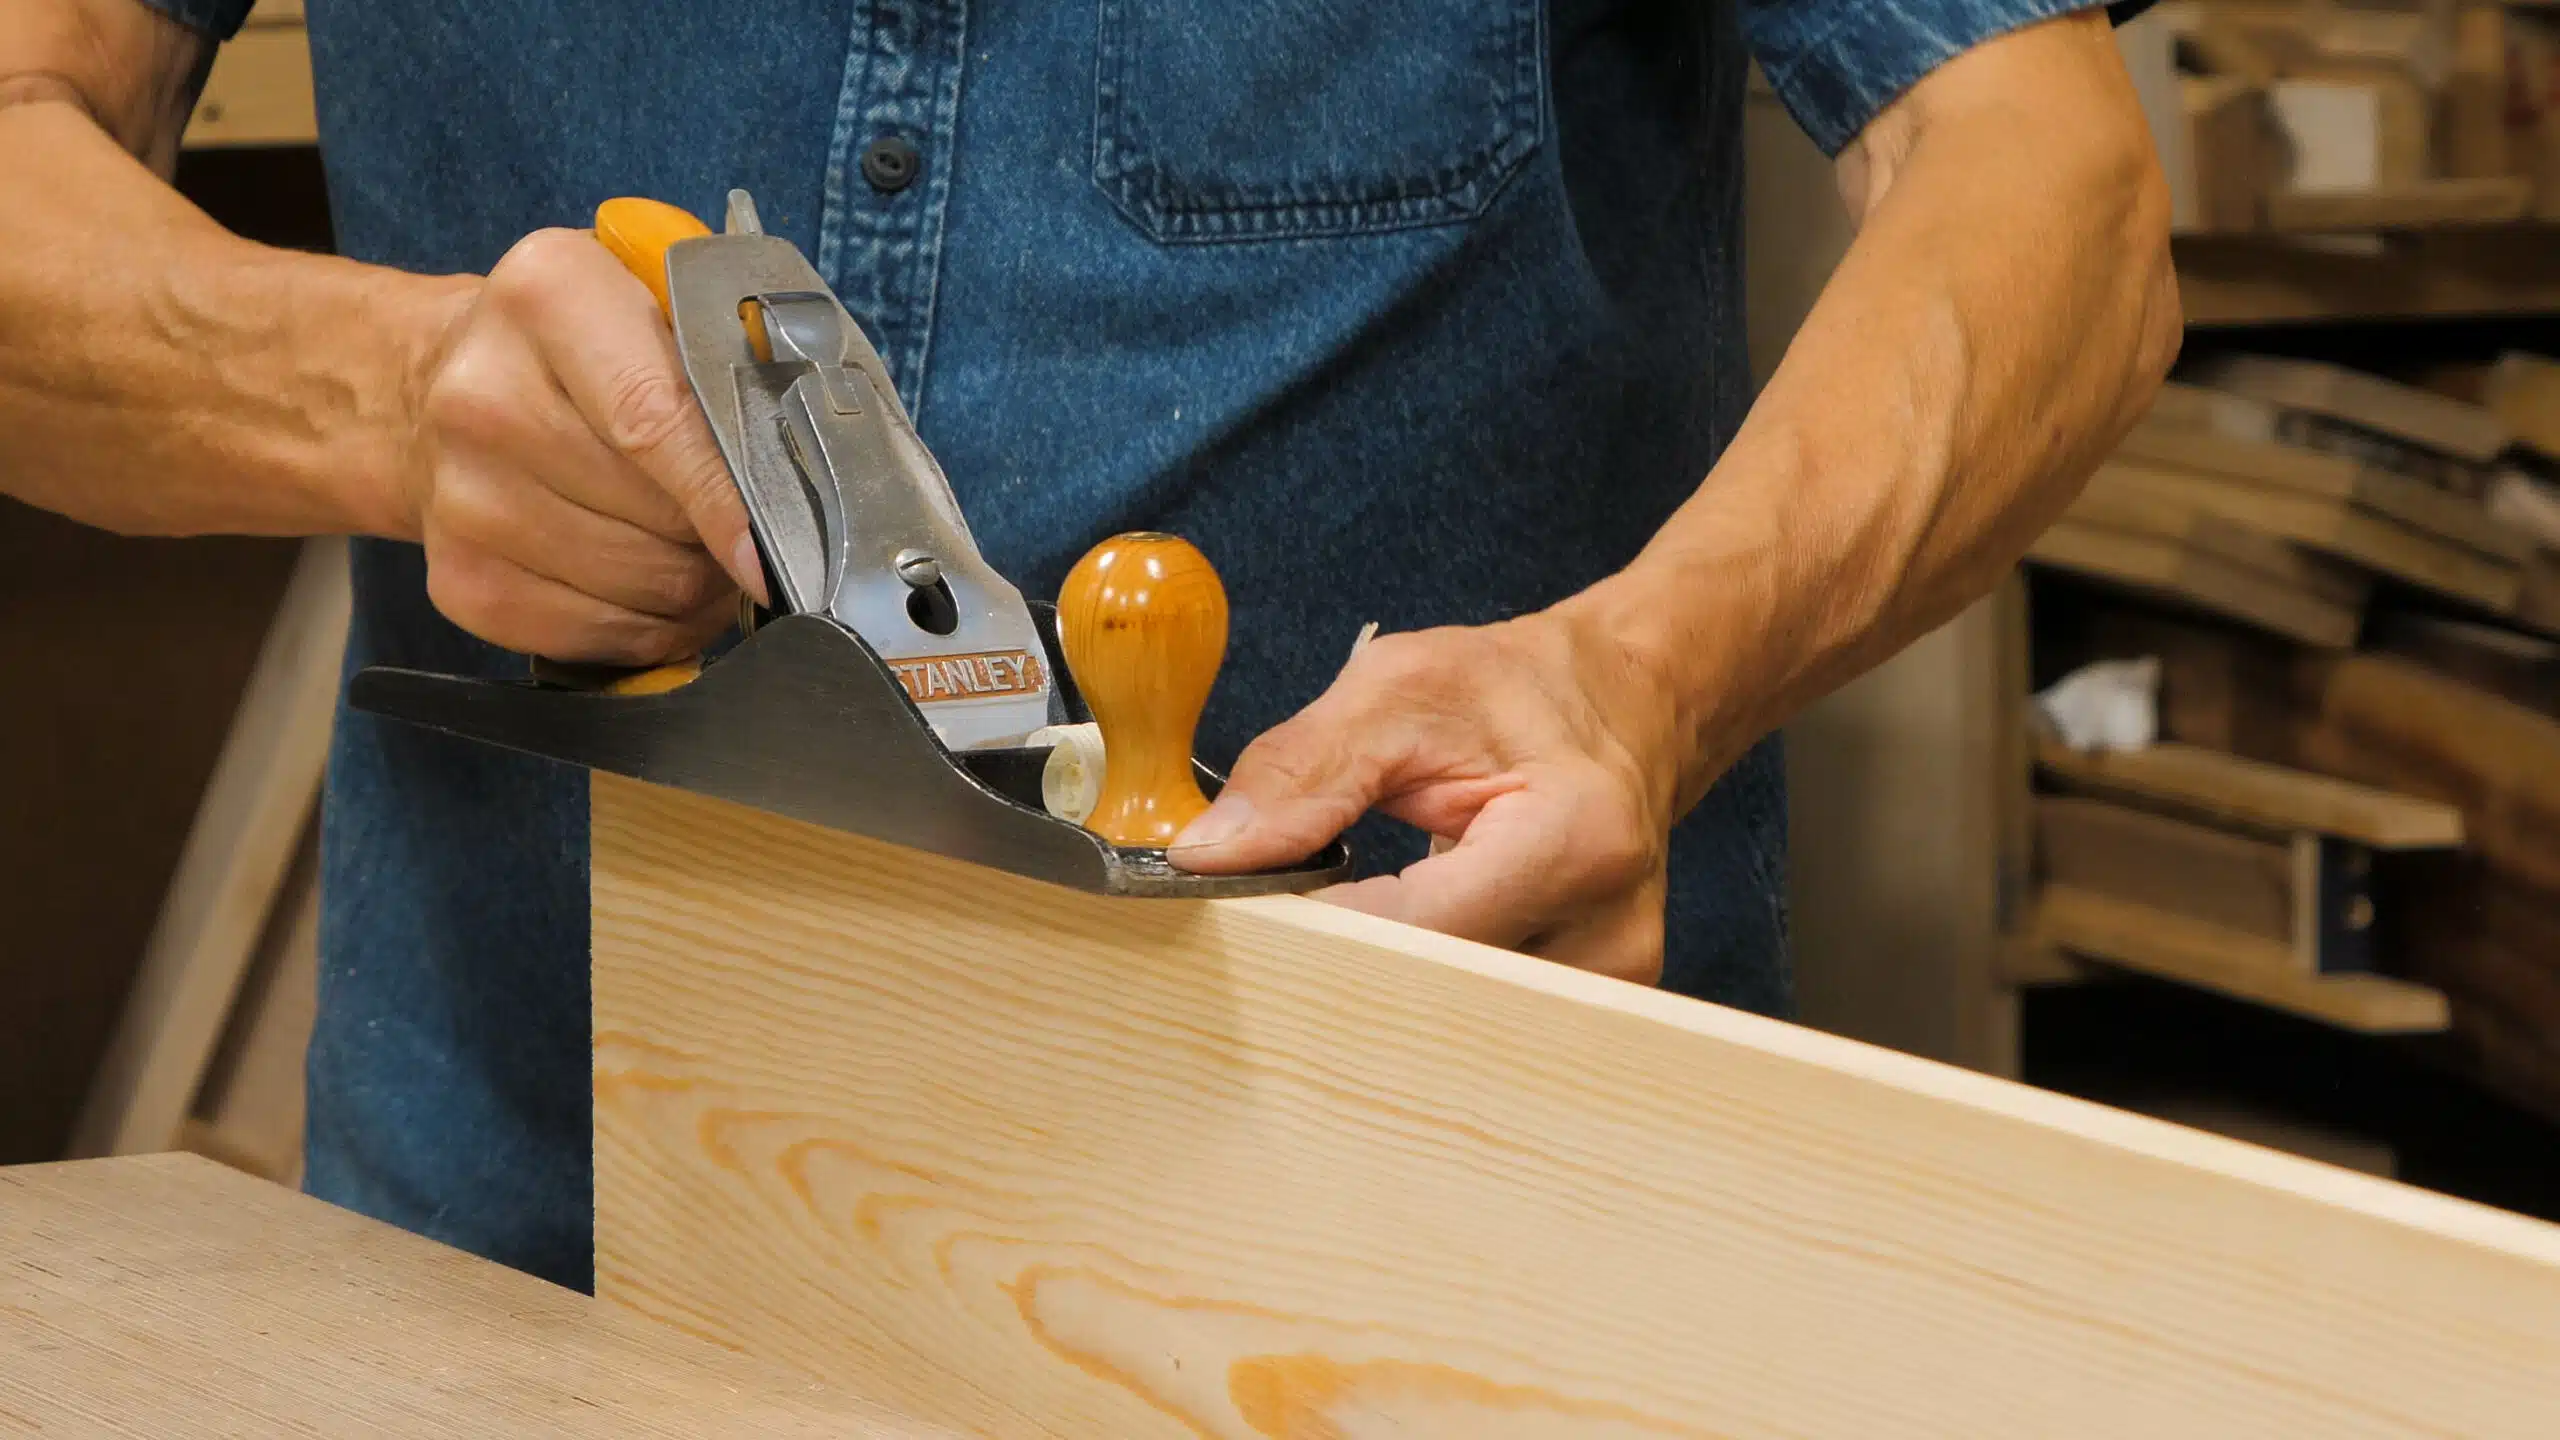
This is the opening video in the series, making a linen cupboard and, throughout the instruction, Paul wanted to ensure the important details for wood selection and preparation paved the way to a successful project. The things he looks for in these areas are discussed throughout, as well as the methods he uses to reconcile discrepancies. We edge joint with the jack plane for a pristine joint line, and crosscut to knifewalls so that planing the ends ensures a dead square cut to a planed finish, ready for the joinery yet to come. We take the wood from the wood suppliers at machined levels to finished panels jointed, glued, and clamped in a matter of minutes.
Where is the introduction? I’d kind of like to see what it is Paul is about to build before deciding whether or not this series is for me.
@CHUBBARD @JOHNRF @LUXWOOD
Hi,
We are currently filming the final episodes and then we will replace the picture with the finished project, along with drawings and a cut list.
Thank you for your patience.
Kind Regards,
Izzy
Great video! It’s so nice to see more of the process at the start of a project than we usually see here on masterclasses. It really helps. Another area I wish we would see a little more of is the joint fine-tuning needed to close up smaller gaps and such. I look forward to the rest of this series. Thank you Mr. Sellers.
I agree, nice to see what the end result is before you start. It’s been a while since I’ve viewed any videos, but originally, in many projects, there was a dimensioned drawing along with a material list as well.
I think the whole “Leave a comment” concept should be reconsidered as it seems to have harmful effect on some members mental health.
The timing of this video is perfect for me. It reinforced techniques I am putting to use in a different project. I also recently picked up a Stanley 5 1/2 and enjoyed seeing it in action. Extremely grateful for your work.
Thanks Paul.
I love my number 5 type 9, and swear by it (and my number 4 type 9). Given a pine board 60 inches long, l think the majority of us would do a better job combining it with a shooting board to tackle the end grain rather than straddle it like a cowboy
Greetings, Paul!
A suggestion on trying to hold the two boards together when flipping. If you have two of those inexpensive spring clamps you can set your boards on the pencils, then place a spring clamp on each end of the boards. When you flip the boards they stay in place and you can remove the clamps quickly and easily when you are done.
I’ve really enjoyed your videos/techniques/projects over the years and recommend you, The English Woodworker, and Chris Schwarz to all my wood working friends who want to get started or get better with using hand tools in the shop!
Thank you for sharing your life and skills with us!
Don B
True… generally there is a preview:)
Question: can it be done – the glueing – without clamps, like in the olds days, just putting them aside ?
Hi Hugo,
Paul says:
Yes! If it’s a good glue line, you can rub them together and leave them standing and it should be just fine.
Kind Regards,
Izzy
Question for the masterclasses team or members here – Paul mentioned something offhand In the beginning about fixing a severely cupped board by ripping the board down the center, jointing the edges, and gluing it back together. Can anyone offer more detail on that? It’s not a fix I’ve seen before, but it sounds useful. Is the idea you joint them with one board flipped so that the cup is more of an “s-curve” or something?
Hugo, personally I haven’t had much luck with the approach you’re referring to with a big glue-up like edge jointing – I think it has something to do with the way PVA glues cure. I just haven’t had that good of a bond unless I find a way to clamp it. One alternative you can look into if you don’t have large sash/bar clamps like the ones Paul uses are “nail dogs” which Paul has used in the past. You can imagine they’re like big staples, where the prongs are canted in toward each other. You set them in place straddling the joint line and tap them into the end grain, and that gives you a little pressure on the joint without clamps. I’ve got a half dozen of them or so, but they could easily be made.
@MMahan
That’s not quite what he’s getting at. This can be hard to explain without a picture.
Think of the cupped board as a large “U”. The idea is to cut the “U” in half and flatten the faces independently. Then you’ll square and joint the edges and reglue which “pulls” the U flat.
In effect you’ve removed the cup by taking additional material off the two face-edges.
Dear Matt,
Cupping and bellying, to me, stand for warp perpendicular to the length of the board. Ripping the board apart at the maximum of the cupping generates two new boards, each with half the cupping/bellying of the original one; thus necessitating the removal of 50% less stock to get them flat.
Ah, got it – thanks Austin and Sven. Makes theoretical sense to me (will have to put it into practice). So essentially if you have a board that has a 1/8” deep hollow due to cupping, then by ripping it into two new boards you’ll only be looking at A 1/16” deep hollow to remove on each. And you still have to hit the belly on the opposite face, but same theory would apply there. Thanks again!
I’m sure @sojansson was not trying to be quantitative when he said 50% less stock to remove when ripped in half, so not trying to correct any one. But, in reality one can reduce the amount of a waste a lot more that 50% when a cupped board is ripped, jointed and glued back. In the ideal case of a circular arc, the dip at the centre goes as square of the chord (width of the board in our case) (d ~ L^2/8R). So when ripped into two , you reduce the dip by 4 times and stock reduction by 4 times in volume.
Just at the end Paul said you can tell how dry your wood is if the clamp is loop but he didn’t say if that meant it was dry or what that exactly signified. Can someone fill that bit in for me?
Hi Craig,
Paul says:
If the clamps are loose in the morning, it means it has released moisture from the wood, the wood has shrunk.
Kind Regards,
Izzy
loose not loop …
If the wood has not yet dried to the humidity of your shop, it may shrink slightly across the grain overnight, causing the clamps to be loose in the morning.
I noticed you switching the boards around at the beginning to select the best look but you didn’t mention any need to be sure the grain for each piece was in the same direction. Not important?
Hi Roger,
Paul says:
I don’t think it’s important. I think the most important element is how the grain will ultimately look and I will find some way to plane up the surface, even if the two pieces are in opposing directions.
Kind Regards,
Izzy
Hi Izzy – just wondering – are we back to live video crew with Paul or is it being done remotely – if the latter it’s pretty d@#m good.
Hi,
We are back in the studio working on a reduced filming schedule, with limited people in the studio.
I’m pleased to hear you are enjoying the videos!
Kind Regards,
Izzy
izzy i dont have any sound on this project?