Making a Joiner’s Mallet: Part 2
This is an episode in a free series. Want to watch it? It is free to do so, you just need to log into the site, and you can enjoy this video and many other videos we think you will love.
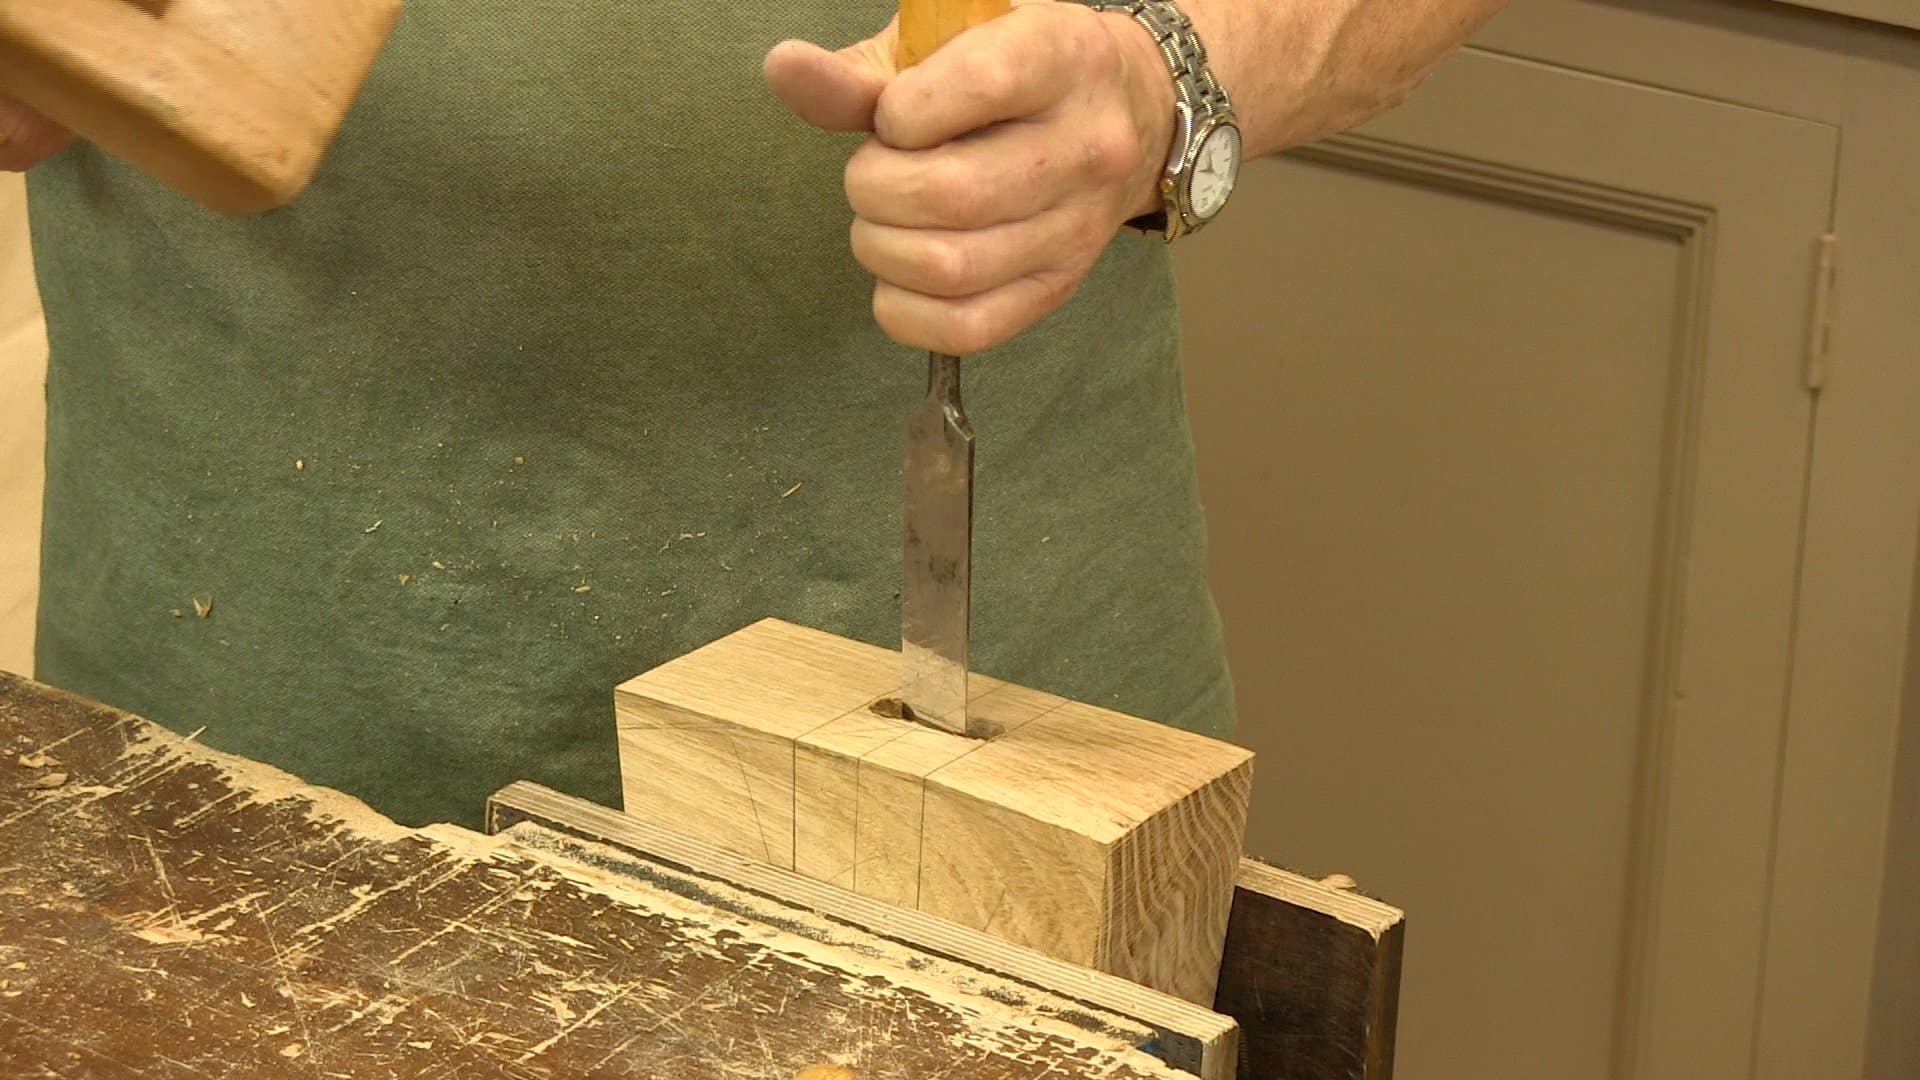
With the stock prepped it’s time to accurately layout the mortice hole to ensure a tight fit for handle. Make sure you’re auger bits are sharp as the next step is boring two holes to help align the mortice before chiselling it out and doing the initial fit of the handle.
Thank you! I don’t know why but I’ve been eagerly waiting for this.
John
Eagerly, indeed
Thanks!
Erland
Thanks Paul. I made a mallet a while back out of hard maple. I glued up two pieces .Made my handle round, bored a hole and wedged the top end. It’s been about three years and so far it is holding up just fine. However I really like the way you made yours and I think I’ll try your method as soon as I can find a thick piece of hard wood. Looking forward to the next episode.
Kirk
So excited to build another mallet! A while back I built a couple laminated versions from some scrap hickory which have served me well. But I like the idea of a solid head and cutting the mortises by hand. I’m looking forward to seeing how you shape the head and handle as my mallets currently look very ‘blocky’. Thanks again for the wonderful, clear instruction.
Thanks Paul, I finally have a clear understanding of how best to cut a deep mortise. One thing I noticed is that while drilling, the chuck of your brace didn’t stay in the line between the bit point and the end handle. Is that common with braces? Is it much trouble?
I’m constantly in awe just watching you work. You consistently make the difficult simple. As I attempt to duplicate some of your techniques I find myself becoming more relaxed and in touch with the tool, the wood and myself. Thank You.
I said the same thing you did only two days ago to a friend of mine why people find it difficult working with hand tools, I’m glad you mentioned it because I knew I was right.
Nice job!
Paul , I once heard that in the old days, joiners would hide a coin or two in the handle for a way to have some money on the job? Have you heard of that before?
Very good video again. Now I am off to find some Ossage Orange!
I didn’t know before, but Osage orange is what we call in Texas horse-apple tree. Those are well hated trees.
I managed to cut down a cedar-elm yesterday that I will use for a mallet. Is it a bad idea to make it with green wood?
It will most probably crack if you use it green, so would not recommend it. Paul said it will take about 5 years to season naturally, being thick.
Just amazed at how simple and straightforward you make the task seem – thanks
Paul,
Thanks for this. You mention that your auger is 7/16 but it seems like a #10 or 5/8 is what you are using. Can you clarify?
Thanks again,
John
It was actually an 11/16″ bit, so very close to a 5/8″ bit, good spot. I will put a correction in the video.
Thanks you,
Phil
I love that joinery
I’ve made a couple of mallets, one according to Paul’s design and another one. Both were Beech, and neither has held up under use. So I got a bit of Osage Orange from the US; it was 6x4x3″, a turning block, and very reasonably priced I thought, even with the p & p. Now comes the fun part. This stuff is hard! That’s ok, it’s good practice, plenty of stops for sharpening up. The tricky bit has come when I am trying to bore through. Just like on the video, when Paul has to stop to clear the snail, except I get about one or at best two turns before it clogs up. And then the wood has reformed on the thread of the snail, as hard as nails. At this rate it’ll take a couple of days to drill for the mortice hole. Any advice anyone?
Power drill?
I’ve tried a power drill, Jason. I bought a special bit, too. No luck. The bit jammed in the cut. The drill was a cordless one, with a keyless chuck, so I’m going to try it with an old-fashioned drill. I’ll let you all know if that works.
I’ll be curious as to what you come up with.
I built this project today and had the same problem. After some experimenting I found that if I took a quarter turn backwards (counter clockwise) every couple of turns or if I felt it clogging that it would clear the snail and bite right back in. If I got too ambitious and tried for just one extra turn I was screwed 🙂 Really didn’t add any extra time or effort.
Thank you Paul. In addition to learning technique, I really enjoy your observations such as the oak scent wafting up from the spoke plane. You are an inspiration.
Great video and I plan to make my own mallet from some red oak. Maybe I missed it but I couldn’t tell from the video how to ensure you are chopping the mortise at the correct angle. Is it just by eye? Should I try using a guide of some sort?
Thanks.
Hi,
Paul says:
Yes it is just by eye, you could use a guide but i’m not sure it will be possible. As long as the inside edge of the hole and the outside edge of the hole are to the line, and using a straight edge across from the two points will show any undulation that will cause a problem to the wedged fit.
Kind Regards,
Izzy