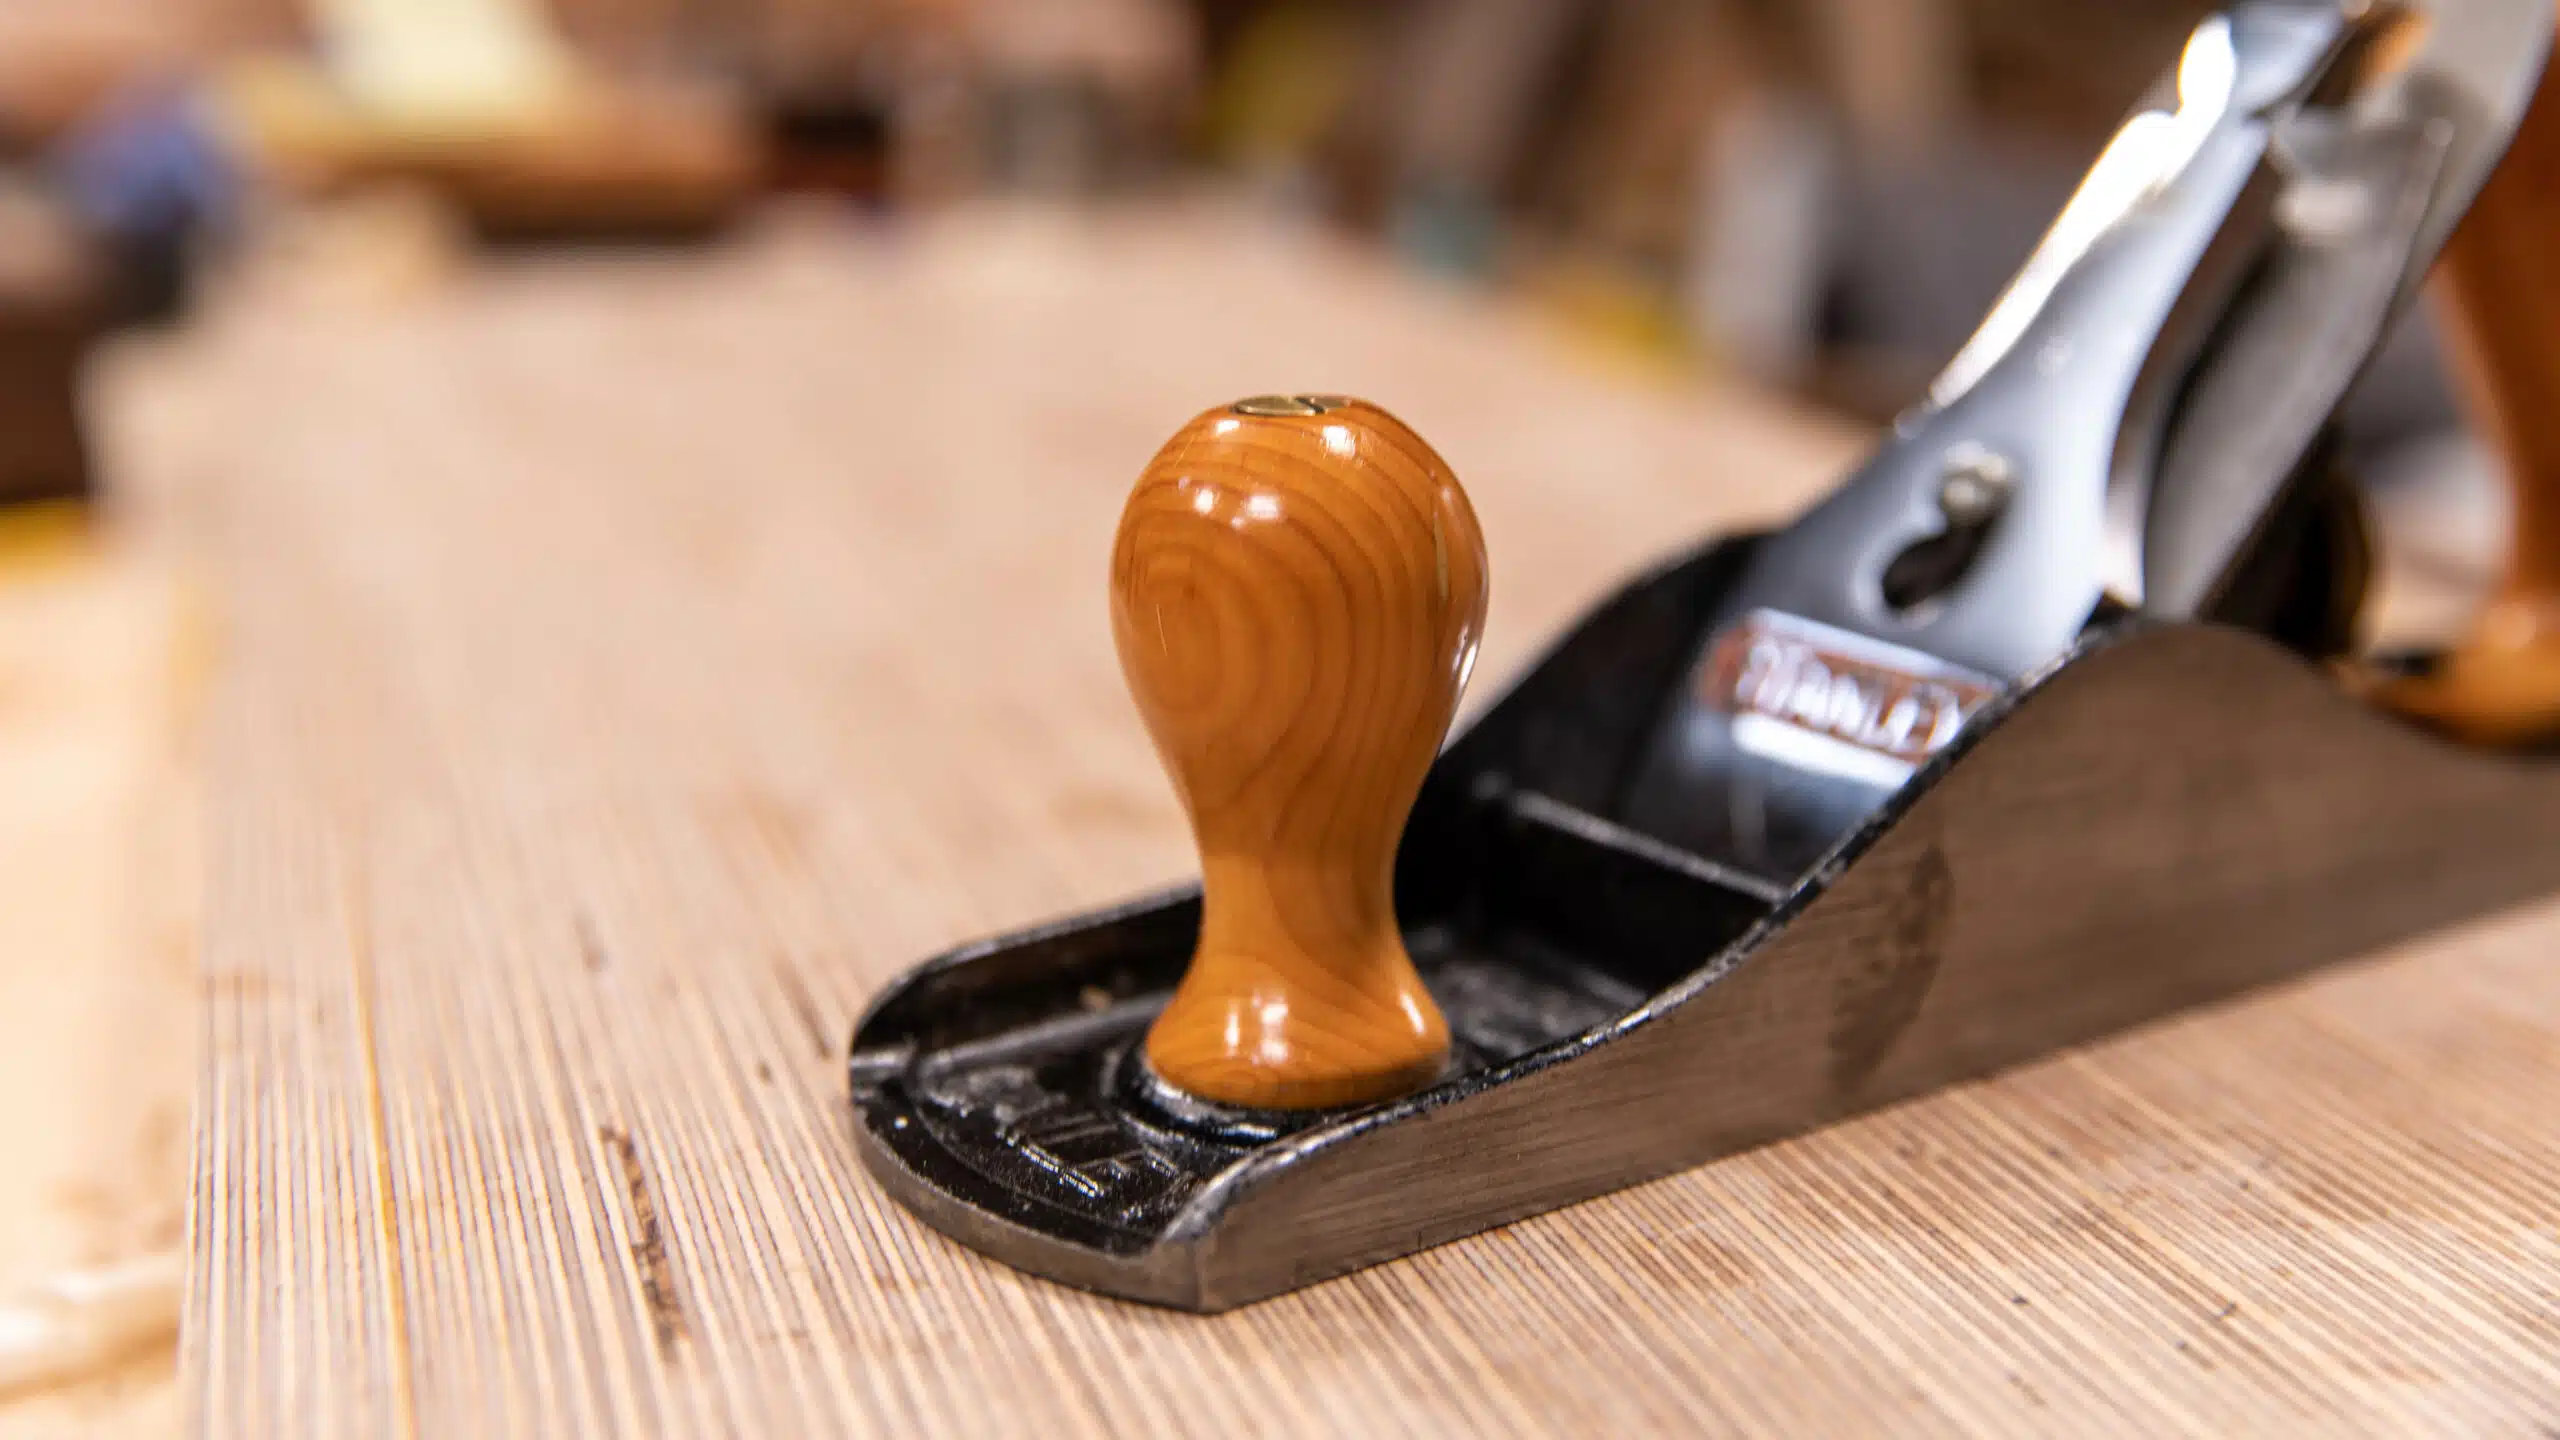
Plane Front Knob
Posted 31 July 2020
Categories: Free
This is a free video, want to watch it? Just log into the site, and you can enjoy this video and many more!
Don’t have a lathe, lathe tools, or lathe turning skills? You can turn the knob for your bench plane using hand tool methods, and we walk you through the steps to take square stock to a finished knob to rehandle your plane. The steps are very simple, and you need only hand tools to complete the task of customising the shape of the knob. Enjoy!
BOOKMARKS:
LAYOUT – 10:21
SHAPING – 24:24
BORING THE HOLE TO TAKE THE SCREW – 58:18
FINISHING – 01:10:57
Top class Paul, as always, thanks
Dear Paul, thanks again for yet another inspiring video. I have an old rosewood Record #4 broken knob that I am restoring. I already glued a replacement rosewood piece over the missing area and was scratching my head how to re-drill the counterbore. I am going to follow your method of tucking a temporary central dowl to help in centering the drilling.
All my Best,
Yoav
Hi Paul. Grateful to know which small half-round rasp you use. Presumably, it’s one of the Auriou range?
Regards Mike
Hi Mike,
Paul says:
No it’s not an Auriou rasp, it’s an unknown maker from Slovakia and it’s not stamped.
Kind Regards,
Izzy
I know freshly cut yew is poisonous – do you know how long it needs to be left before it’s safe to handle?
Thank You Paul , your videos are like mini vacations!
Hi,
Paul says:
It is amazing how many people avoid using wood that are deemed toxic, in reality often we can use a wood that in essence has toxicity but that doesn’t necessarily mean it is going to kill you, just that you might have some sort of allergic reaction to it, serious or not serious. If in doubt, wear gloves and a face mask and be aware that you may need to protect yourself more as you work the wood. Please use at your own risk, this is just from my experience. It’s up to each person to be individually responsible.
Kind Regards,
Izzy
Paul,
I very much enjoyed watching this video. Made me realize just how much I can do without a lathe.
Thanks Paul for doing this and it’s always refreshing to see how it’d be done with woodworking hand tools. I know I would probably be whittling with a carving knife if I hadn’t seen this, but seeing as you got it to that tight tolerance, I would have to try this approach next time. Would you recommend this for making chess pieces? Might go nicely with the chess board project.
And about that drill bit at the end on the ‘correction’ phase, is it a Stanley power bore bit? Sure looks like it as I have a set I keep on hand for such purposes.
Just a beautiful result, thank you for taking the time to show us. ATB.
Very interesting (as usual).
Paul,
What a relaxing fun project! It reminded me of how relaxing it was for me years ago whittling something around the camp fire while vacationing. Thanks for your insight. There always seems to be an alternative way when woodworking.
Thank you Paul. A wealth of woodworking know how compacted into such a small project. Best wishes.
I love it when things go slightly awry in these videos. Not only does it teach me how to get back on track, but it also makes me feel better when I’m working on a project wind up going “doh!”
Thank you Paul. I’m looking forward to having a go at replacing the plastic totes/knobs on a couple of my planes.
While I was watching you make the 1/4″ deep cuts using the saw box, I wondered if a small block of wood either clamped or screwed in place to the box at the required distances for the round wood to butt up against, might help accuracy when turning and sawing, rather than having to keep an eye on pencil marks at the same time?
Thanks again.
Mike
I recently rehandled all the planes I have that originally had plastic handles. I used a lathe for the knobs in this case, but I have also used Paul’s hand-tool method for similar applications. Slower than the lathe, indeed, but very satisfying and easily successful.
I could not be happier with the results. All my Stanley planes now have Bubinga and Jatoba handles rather than black plastic handles. Every plane has been cleaned, tuned up, touched up, and is ready to go.
I am satisfied that these planes will serve me, my children. my grandchildren, and, perhaps, my great grandchildren very well.
As always excellent video and demonstration skills, I assume the process would be the same for router plane handles?
Also if you don’t have the layout skills you could cut an old or broken knob in half to make a template, I have seen that done with wooden templates.
Incredible! And I love the humility:) You know I did that on purpose!
Very interesting video!
One suggestion: when using the cutting box it is possible to use a clamped stop block to avoid mistakes of not keeping your eye on the pencil lines.
I was thinking the same thing. Just keep it pressed against the stop while rotating. I think that is a great idea.
You say that with a lathe it would be faster to make this knob, but for me it’s a hobby and passtime so it doesn’t matter if it takes longer than with a lathe. Thanks for the instruction.
Great instructions and was amazed to see that even Mr. Paul makes mistakes like the rest of us. Beautiful piece of work. May try and re-handle a couple of my planes this winter.
Thank you for another very helpful video. I’m sure it would take me well over an hour, but it shows me that I don’t need a lathe at this stage. I may make some stop blocks to ensure some of my sawing and shaping is doesn’t go to deep, even if this may be regarded as “training wheels” by experts!
finding English Yew is not easy in the US. it looks to be a beautiful wood when finished. I am sure I can find a substitute.
Always surprises me hoe relaxed Paul is and yet how precise and accurate his measurements are.
Mr. Sellers, This is, as usual a very inspiring video on knob making without power tools and one my woodworking group will have a go at, I will share a video of them doing it. one of the more enterprising of them used my pin gauge to trace a pattern off one of my plane knobs, made the a tracing onto the blank, drilled and counter bored the blank and used a pedestal drill with a bolt through the blank to hold it in the drill and used various rasps files and sand paper to shape his knob, enterprising if you have the equipment.
These guys are in drug and alcohol rehab living in the center for six months so some always look for an easy way to do stuff.
Because most of us are very comfortable with chisels and we always have them at hand. I’m not using my marking knife for anything other than marking and that’s the only knife in my shop as I have no other need for one. Use the tools you have at hand and are comfortable with. Yes, you can do a lot of things with a knife as most carvers will attest to but for joiners, it’s a chisel instead of a knife.
I have a new Stanley no 5 and 4 1/2, both with the plastic tote/knob. I had to replace the tote on my no 5 because it just shattered mid stroke on a beech board. I didn’t have the time to do anything nice so I cut out the basic shape in 8/4 maple on my bandsaw and used a roundover bit on my power router just to get back to work which took all of 15 minutes. It worked but since then, I’ve completely reshaped it by hand and now it’s pristine and custom fit to my overly large hands. I plan to put a new knob on it and knob/tote on my 4 1/2 as well, just without the bandsaw and router because it was a pain to fix it after that. I acquired a Stanley Type 14 no 7 and the knob needs refinishing but it’s solid yet the tote is dinged, nicked and just very thin in my hands. Seeing Paul make both has me planning to remake them for my no 7 also to match the other two.
Thank you Paul, I’ve been trying to work out how to make a new knob without a lathe because my shop is just too small to fit one and while I have turning skills from school, I don’t enjoy turning. Not my cup of tea but using a rasp is in my happy place.
Excellent video, fun project. That Yew has such a nice color to it and will try to find some.
Thanks Paul.
Cheers,
Michael O’Brien
Alabama, USA
Thank you, Paul. I’ve been wanting to make a new front knob for a Record plane I have, but have been resisting pulling out the lathe. I’m going to try your method.
(My old Dad showed me a little trick to centre a forstner bit when you don’t have anything for the centre to bite on. If you get it in position and then run it backwards, slowly, the spurs will define the circle you’re cutting. Then run it forwards, slowly at first, and it’s more likely to stay in position.)
Thanks again, Paul. Your videos are so informative and, due to your relaxed confidence, quite therapeutic.
Stay safe.
Paul Stephen
Toronto, Canada
Hi Paul,
I really enjoyed this video.
Thank you for all that you do.
David
A good craftsman is not one who never makes mistakes, but one who knows how to fix them when he does make a mistake! Great video, Paul!
Fantastic as always. Thank you Paul…and blessings to you and your family.
Shaun
Thank you for this very interesting video. It will help me a lot.
Thanks for this great video. There always something special about making it yourself. I’m a big DIY fan, but it’s a constant battle with my wife when she wants to hire someone for house projects. To be fair, it would probably be a lot quicker if I did hire someone.
After watching the video on the tote, I made that to replace the broken one on my #8 Stanley. Started with a piece of maple firewood. I was able to saw out the blank and avoid any of the checking. I made the tote thicker to fit my hand and asymmetric so it locks into my right hand. It may not be the prettiest, but it is really comfortable. So much so, that the tiny little stock knob in the front has to go. Now I am wondering if I should make an asymmetric tee handle, or go with the taller knob like you made. Most likely end up doing both, to see which I like using more. Thanks for the videos.
Tim
Washington State, USA
Nicely informative! Here in Arkansas I don’t know of any yew but we have plenty of wild cherry and persimmon, What are your thoughts on using those woods as handles and tools such as mallets? Also I’ve noticed that the lumberyard pine I get is stringy and splinters badly when trying to cut rebates and dados. I’m wondering if the quality of pine you have in the UK is better?
Could also be a rolling pin! Two projects in one!
These videos of yours are getting around. One man with a channel said, “this is a Paul Sellers style item”. Your name is definitely out there.
Thanks Paul. I don’t own a lathe so this video is very useful for me.
Thanks Paul for all you do for our wonderful love of wood and woodwork. These handles are just beautiful … Cheers!!
Fantastic, like always. Now, those we don’t have a lathe or lathe skills know how to do it. Thank you very much, Paul.
Thank you very much for making the video of making a front knob without the use of a lathe! I have several planes with front knobs that are broken and missing pieces at the base. This is just what i needed, as i have no lathe or lath skills. Evan you repairing you mistake was very instructive.
That was a fantastic video. I have acquired a few planes that have lived a long life and will need new handles. It seemed a daunting task until I watch these videos. I have to admit though. when you got to the point that the handle was shaped and was still on the rounded material, before you cut it off, I said to myself…. if he put another handle on the other side he would have a nice handmade rolling pin. 🙂
Very beautiful knob.
Hello Paul, what kind of rasps and files did you use in this work, by the way, an excellent video. Thanks and regards from Portugal
Hi Pedro,
Paul says:
I used the Shinto for part of the work and then an Auriou rasp. The Shinto is not technically a rasp but it works the same way. The Auriou is expensive, though worth every penny.
Kind Regards,
Izzy
Until recently my woodworking has mostly been using a mitre saw for picture frames. Anyone who can get hold of one of those can make the cuts easily using the depth stop. Even my hands find standard handles thin and weedy so may well be giving this a go later in the year.
Great video. I always learn a ton watching how you use tools, measure and plan. Thank you so much for sharing your skills with the world.
Can’t wait to give this a try on my type 17s. Maybe satinwood would look nice. Thanks Paul Sellers for more hand tool fun.
For the plastic template, a Starbucks card worked well for me. The latest Starbucks cards seem to be made of paper card stock instead of plastic, but they are good enough. Also, I have a shape-copying guage made out of a stack of Starbucks stir sticks in a crude frame with clamping screws. Alas, these are no longer available due to the coronavirus isolation measures.
Hi Mr. Paul,
I was just wondering, what type of wood would be the best to make my plane totes out of? Does it need to be a very dense or light wood?
Thanks for great video as always,
Parker
Hi Parker. Paul says any relatively strong wood, such as beech or cherry will work, but a figured wood, like figured maple, will make a stronger tote if you can get hold of some.
John
Mr. Sellers, I did not hear of “you” wood. What is a correct spelling of the wood’s name? Thank you.
Slav,
The correct spelling is: yew
A Google search for “yew” or “yew wood” will yield lots of information.
Craig
I managed to do as taught