Sellers Home Clothes Storage: Episode 3
Posted 11 September 2024
This is an episode in a paid series. Want to watch it? You just need to sign up as a paid member, and you can enjoy this video and many other videos we think you will love.
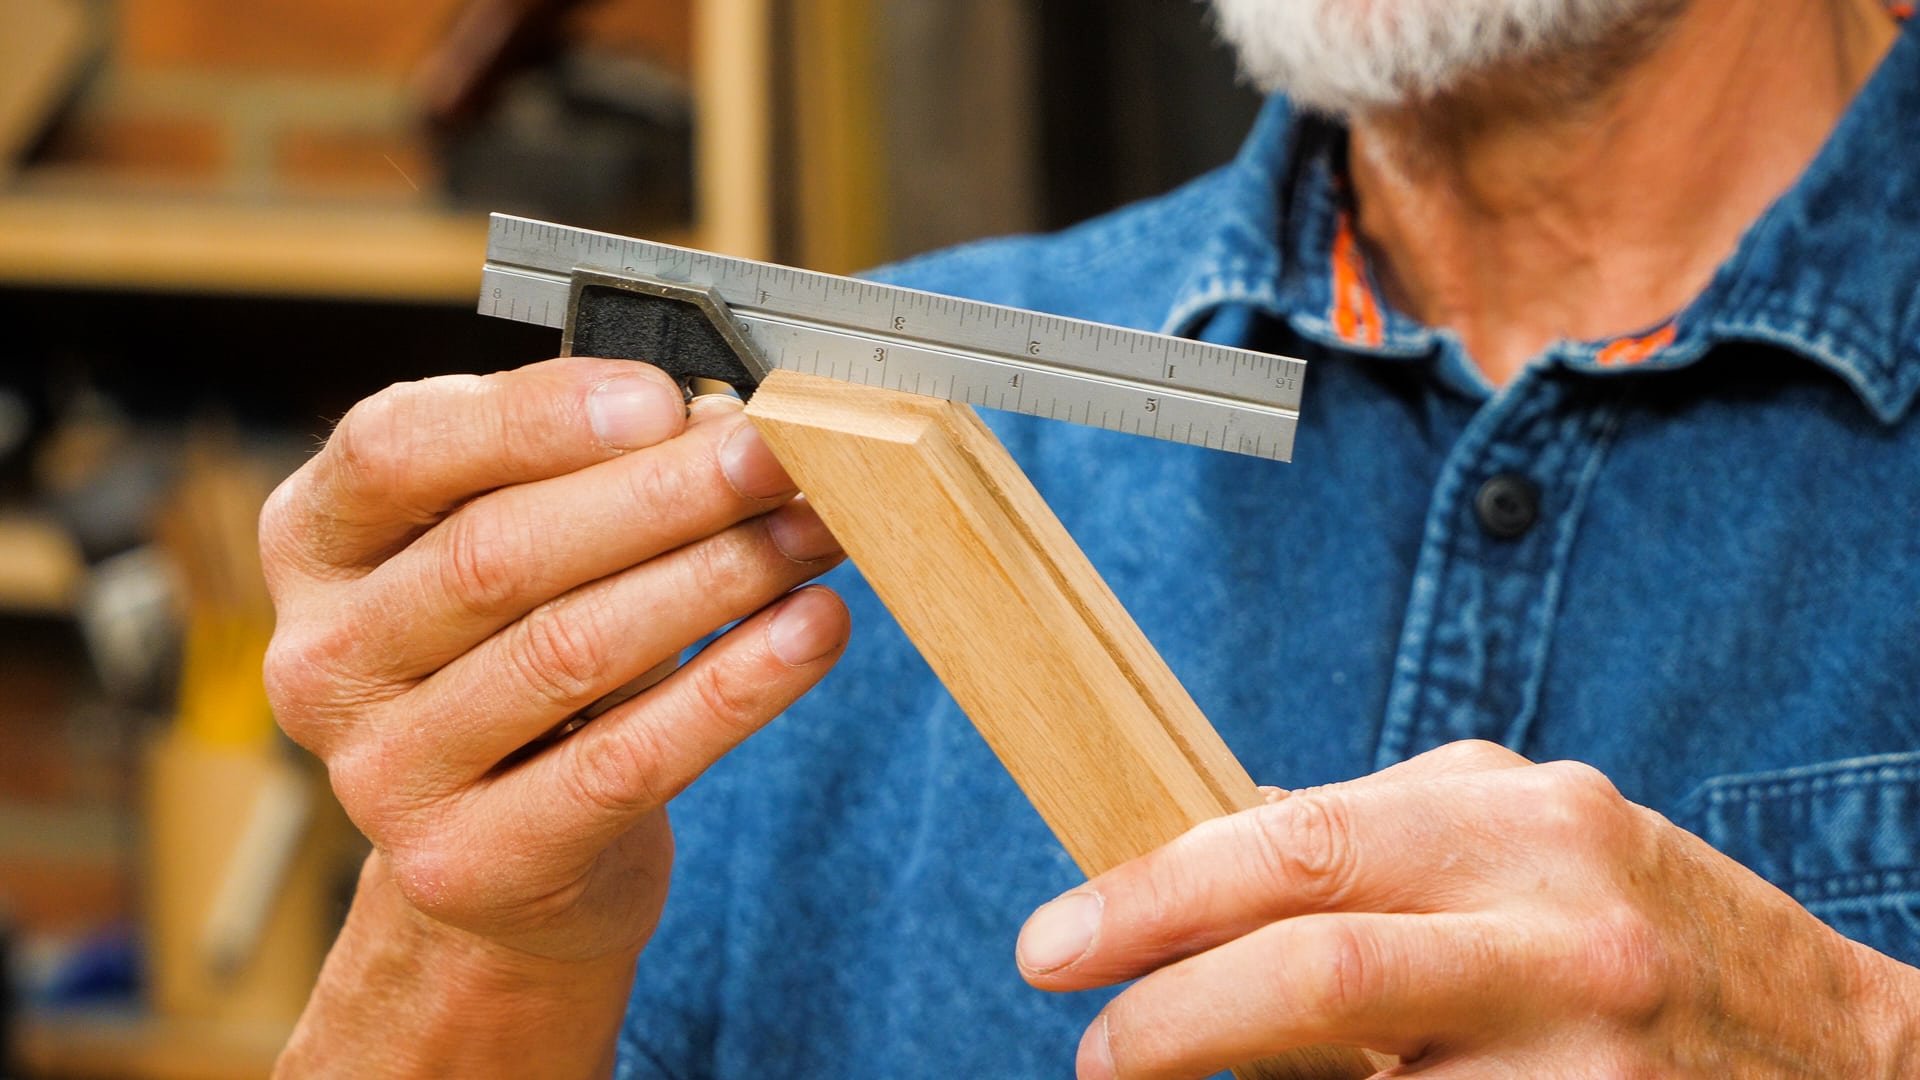
The top board follows the same general pattern as the side panels, bottom shelf, and divider panel, but with the added complexity of mitered corners and an upstand to stop things from dropping off the back. It’s a simple step-by-step procedure, using the plywood tongue as we did before, and it’s a rock-solid approach to adding nosings without nails and screws. In this episode, Paul uses his vertical mitre and clamp-in-the-vise guide that beats shooting boards hands down. This shows that we are all still learning and approaching woodworking with new eyes.
Very neat as always 🙂
I do have a question though. Usually when making a framed panel, we leave the grooves and the central panel free of glue in order to allow for shrinkage of the frame pieces. Joints aside, this top piece seems to be structurally the same as a framed panel. Won’t that cause a problem in case of shrinkage of the oak pieces?
I’ll just rephrase that last sentence which doesn’t sound so understandable now that I reread it:
Won’t gluing the plywood panel to the oak pieces cause a problem if they do shrink in the future?
Most expansion occurs across the grain rather than along the grain. When the panel is solid wood as opposed to plywood this needs to be taken in to account so the panel is left to float. Plywood doesn’t expand or at least it is minimal. The fact that the frame is all long grain means it is safe to glue the panel.
Thanks for your answer Paul. I wasn’t really worried about the plywood expending since it’s usually very stable, but more about the frame shrinking or expanding. But then again maybe it’s just marginal, considering oak has a typical variation of about 1% across the grain and the pieces are about an inch thick