Wallclock 2024: Episode 4
Posted 15 August 2024
This is an episode in a free series. Want to watch it? It is free to do so, you just need to log into the site, and you can enjoy this video and many other videos we think you will love.
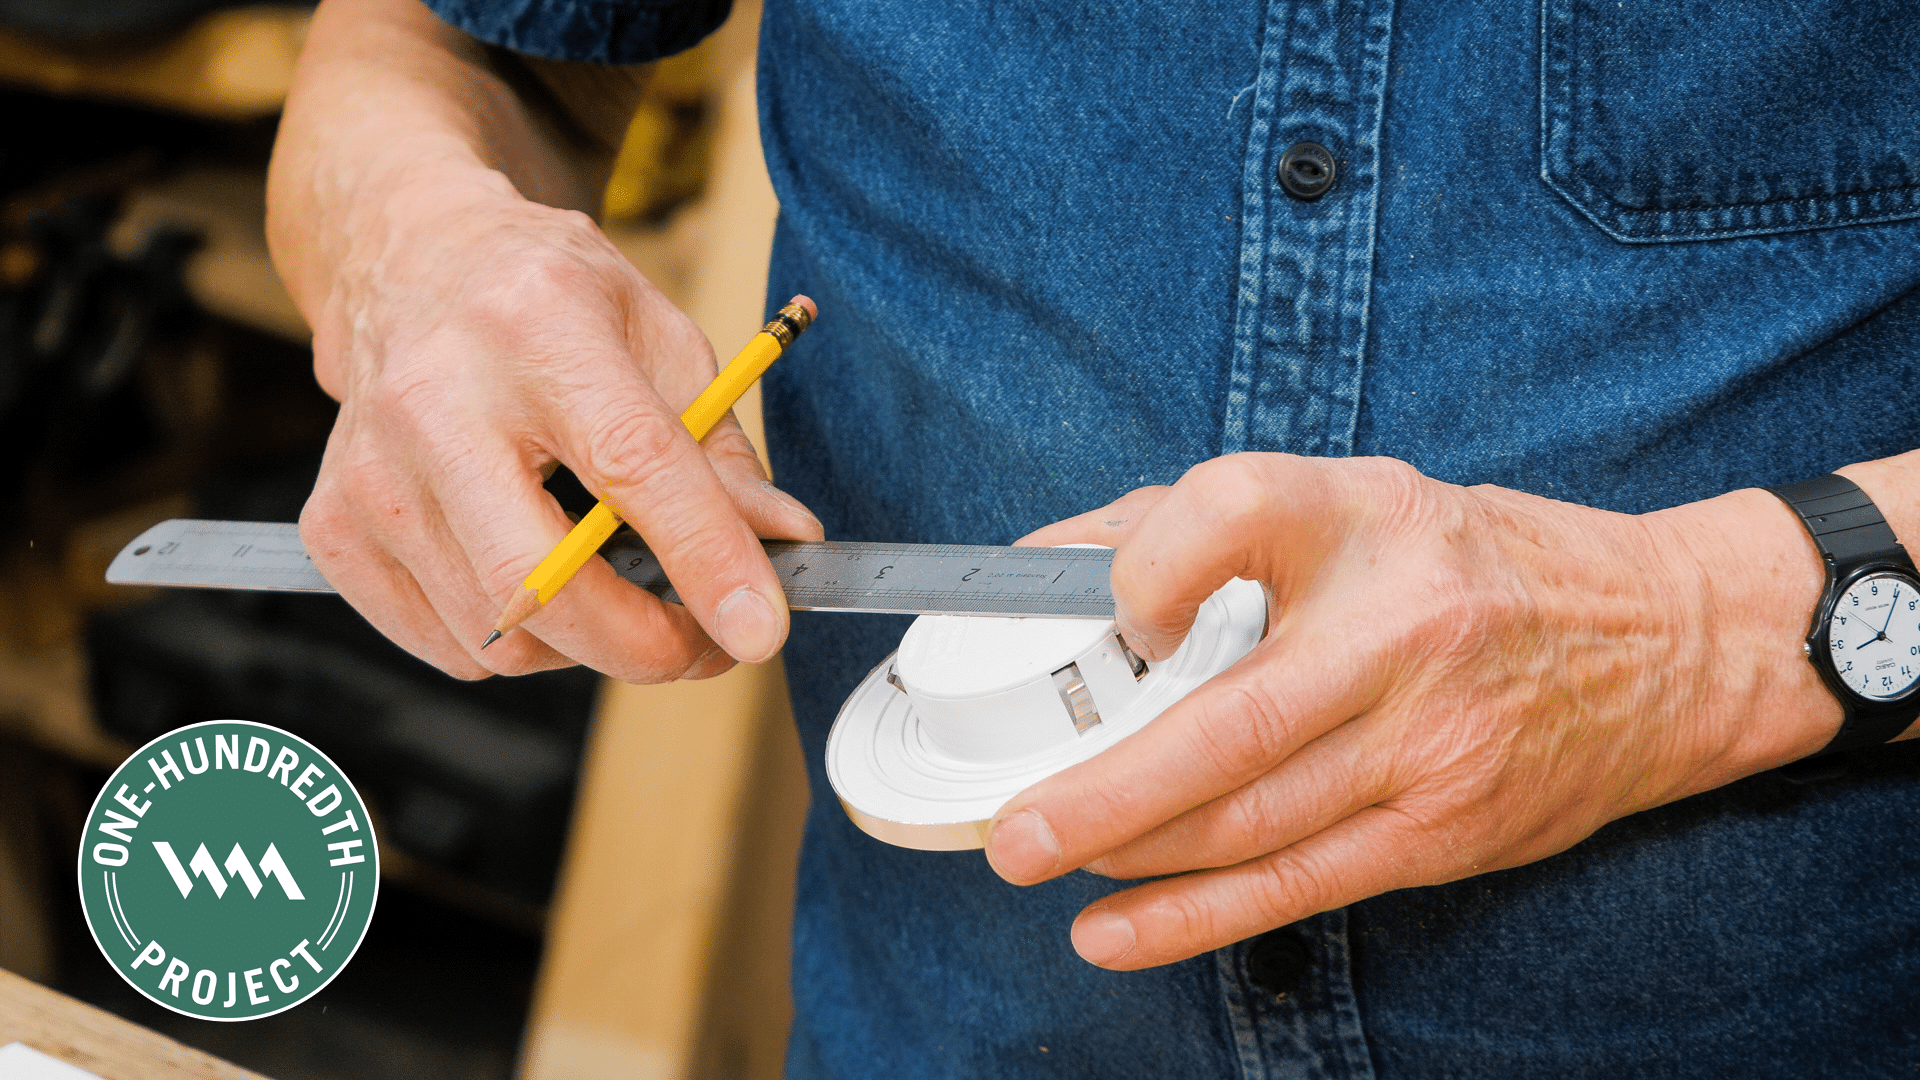
The panel for the clock requires a hole for the clock movement, and Paul has chosen a clock insert because it’s accurate and long-lasting. To install the insert requires one hole, and though you may choose a different insert type and size, the steps will be the same or very similar. We walk you through the process step-by-step and cut the hole using only a coping saw. Following this, we focus on establishing an exact-sized bevel to create the raised panel and use only a common bench plane to create perfect angles that match the grooves they must fit into without any gaps.
This clock is absolutely beautiful! What is the outer diameter of the clock? I think it fills the space nicely and the overall proportions are very pleasing to my eye.
Thank you Paul and team,
Michael
Going by it in his hand, and what is available on google, I think 130 mm diameter.
Die Uhr sieht klasse aus.
Haben Sie schon mal eine Uhr mit Pendel und Schlagwerk gebaut?
Kann man diese online kaufen?
Es würde gut aussehen.
Beautiful!
Does Paul use adjustable diameter auger bits?
Paul this is a gorgeous piece. The filming offers such clarity for the beveled face. Initially I was wondering if the backside of the face would receive a slight rebate to enable the face to move. Your method makes it much simpler. Also a great job by the camera man!!
Always impressed with the Skill with which you make your joints. They are so precise they hold themselves together. a clamp is need to pull them together.