Wallclock 2024: Episode 5
Posted 29 August 2024
This is an episode in a free series. Want to watch it? It is free to do so, you just need to log into the site, and you can enjoy this video and many other videos we think you will love.
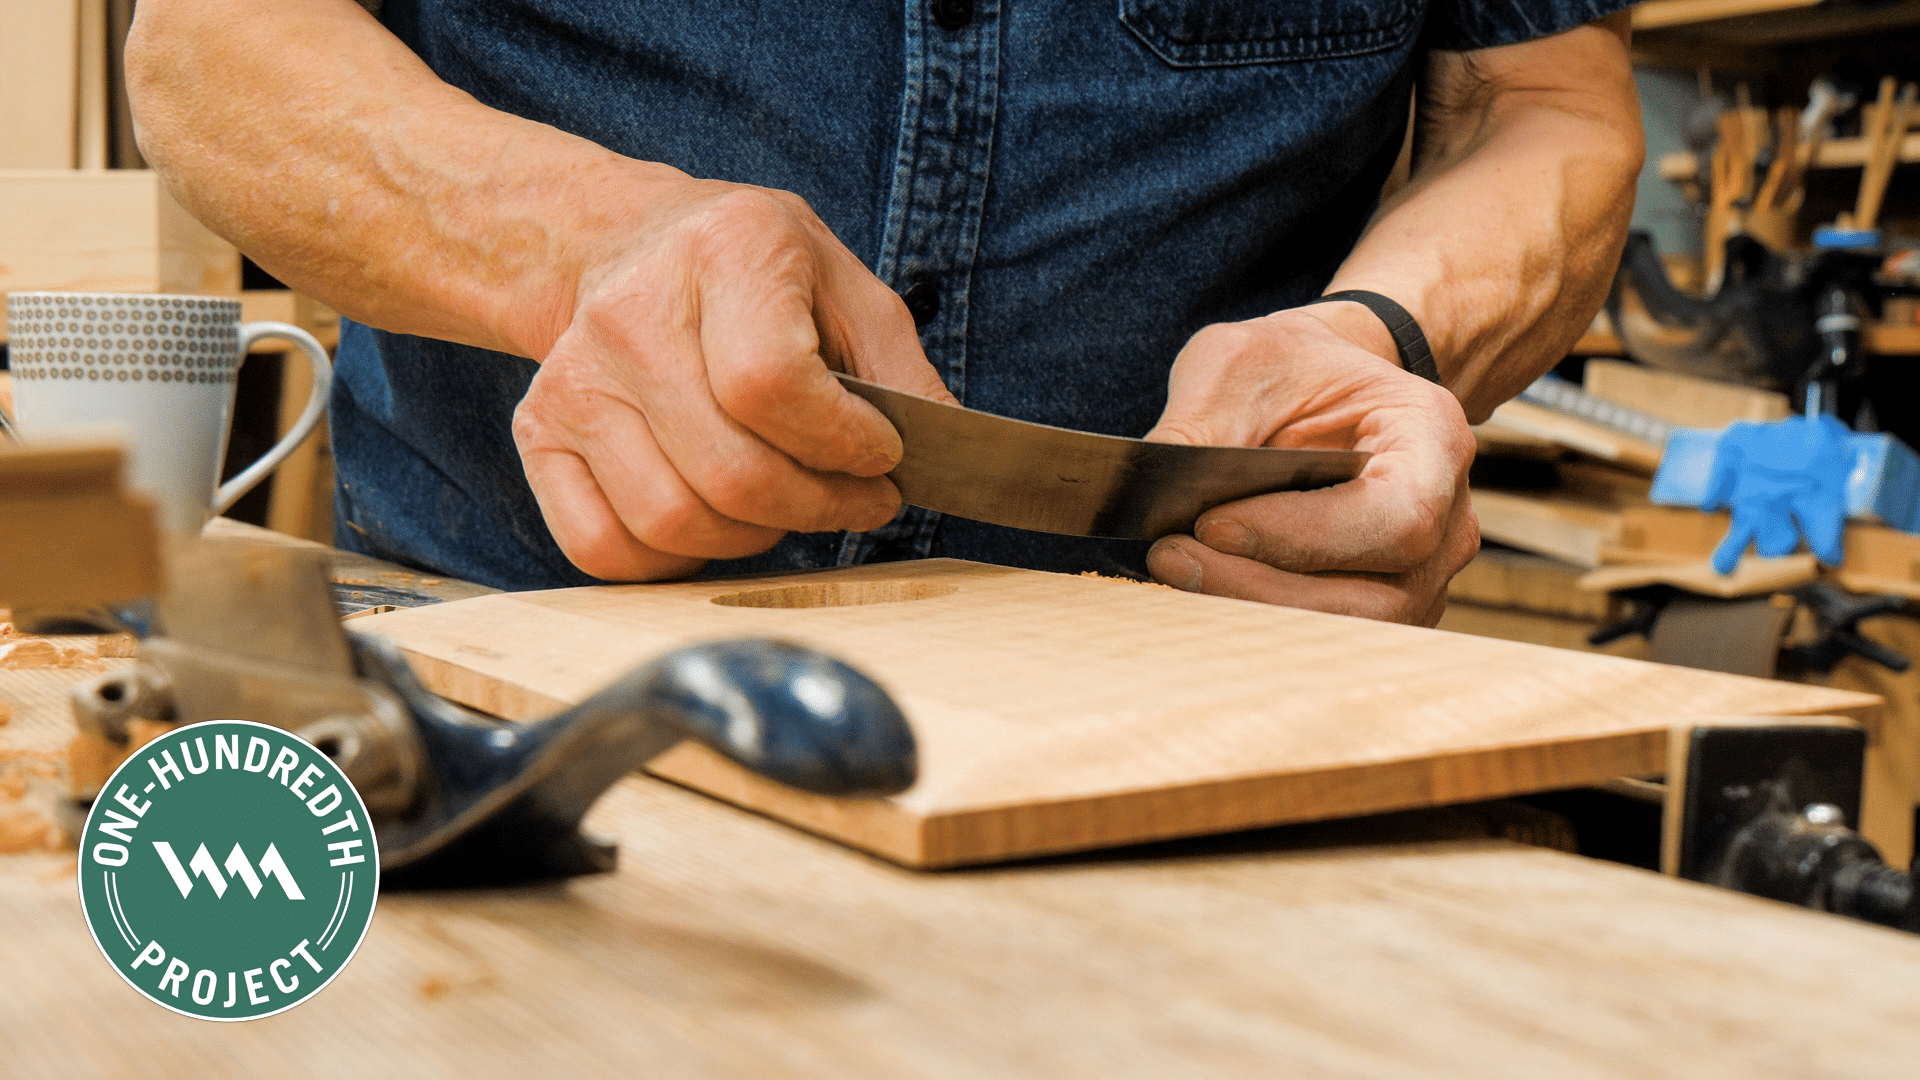
The main joinery for the clock and the panel all came together, and now we are ready to form the roundovers to the top and bottom pieces. We will use the traditional method using a bench plane and, in our case, a #4 version. Following this shaping, we can focus on the final finishing of all of the components by scraping and sanding the surfaces. After all of the parts are sanded, we follow specific patterns for gluing up the main carcass of the clock.
Why did Paul used screws besides gluing the parts…? Isn’t the glue strong enough to hold everything together?
Structurally I think the glue would hold it but Paul doesn’t use any glue between the top(/bottom) pieces and the top(/bottom) edge of each stile so I suspect that the screw is just to stop any gaps opening up in those areas over time?
That said, I also spotted that with the order of assembly Paul demonstrated there is no way of getting the second screw in anyway. Screwing the stiles to the top(/bottom) pieces first to make a couple of subassemblies and then following the order Paul demonstrated I think would allow both screws to be used.
D’oh I meant rails rather than stiles!
Probably did it that way but it was confused in the editing.
I wondered about the need for screws too. Perhaps we’ll get an explanation in the next episode.
Thanks Paul. Using a screw to help fully seat the rails is a wonderful idea. Thank you for showing. I’ve struggled to get both rails to fully seat (mind you it’s a very minor gap likely only noticed by me). I will use this on the next one I build for sure. In fact, I could even see where I glue and screw the rails onto the top and bottom pieces without the face in but NOT the stub tenons. After that has dried, disassemble and put in face and glue the remainder. Yes, overkill but it’s bothered me in the past so I want to make at least one where both rails are fully seated.
Thanks fir sharing your experience. It’s useful to be forewarned.
I suppose you could put another bead top and bottom to hide any gap.
Nice idea 👍🏻
As mentioned above re the screws i personally just glued mine with i’m pleased to say no gaps . But i did notice paul had drilled and countersunk both rails and dry fitted both with a screw, but in the actual glue up he only screwed the bottom rail to the base ? And then noticed he forget to screw the top rail to the top ? just an observation . Keep up the great content paul i get my students to build all your projects when they get to the appropriate skill level , and they take great pleasure in them too , kindest regards Peter