Eight Drawer Cabinet of Dubious Origin
Welcome! / Forums / General Woodworking Discussions / Projects / Eight Drawer Cabinet of Dubious Origin
- This topic has 23 replies, 19 voices, and was last updated 9 years, 7 months ago by
 Frank Joseph.
-
AuthorPosts
-
10 July 2013 at 5:31 pm #14613
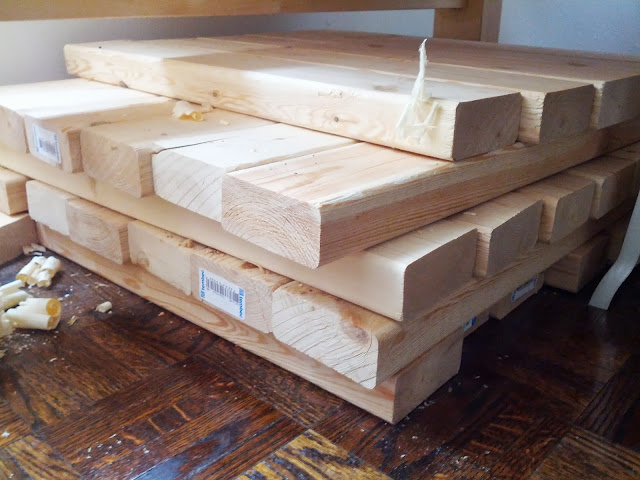
A little under a year ago I started on a woodworking venture and built Paul’s YouTube workbench. I made a six foot version from $3 SPF 2x4s from HD. The studs came in 8 foot lengths, and I was left with a stack of 2 foot off cuts.
I decided to make a little 8 drawer cabinet to sit on my bench and hold the stuff I need regularly but not regularly enough to keep in the bench well.
The 2 foot off cuts sat under my bench for a long time before I used them. I also had some longer pieces that, after settling, proved to be too twisted to be used back when I was building the bench:
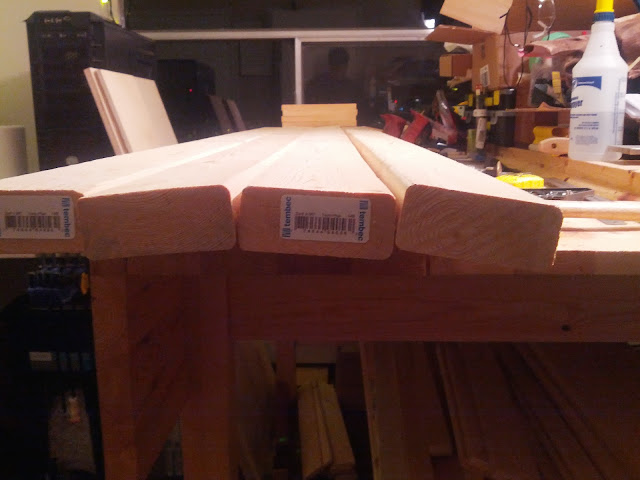
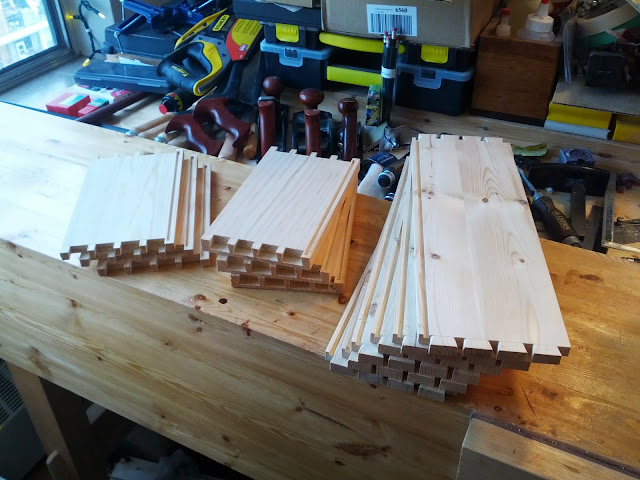
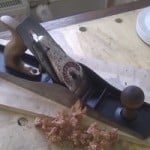
I started with the 2 foot lengths. First, I ripped them in half with my mostly terrible saw:

Then I squared and surfaced them. I was careful to keep track of book matches, but that probably wasn’t worth it in the end:

Next I glued them into panels of appropriate size, using the book matches wherever possible. It was about here I learned about book matches and opposing grain direction, and how nasty it could be:

The wood was generally terrible. Knots everywhere, reversing grain, and variable hardness like farm-grown, kiln-dried SPF can be. It was incredibly brittle in spots, and joinery was a challenge. I decided to skip the half blind dovetails I’d planned for the cabinet because the panels ended up being too thin. One centemeter tended to be my final thickness:


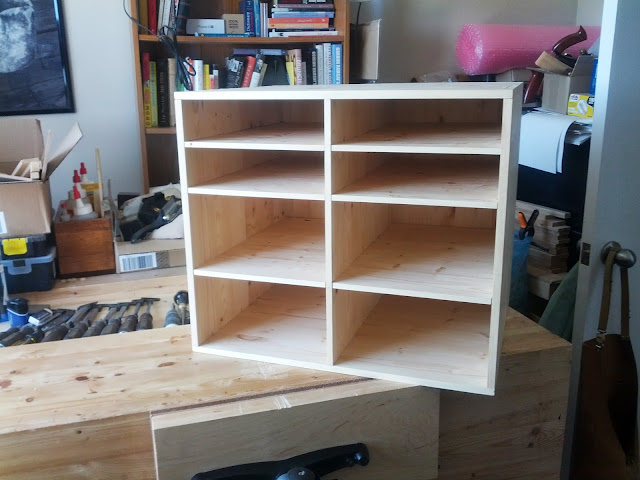
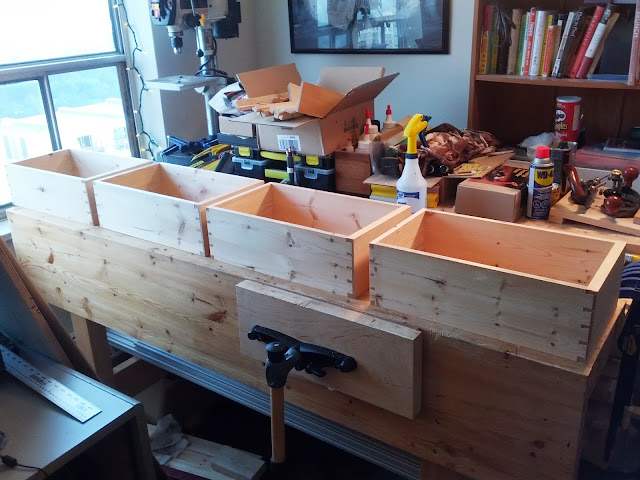
I made a couple of measuring errors that wouldn’t have happened if I had the discipline Paul always says is so important to learn. I remain part gorilla while in the shop. The cabinet, assembled:
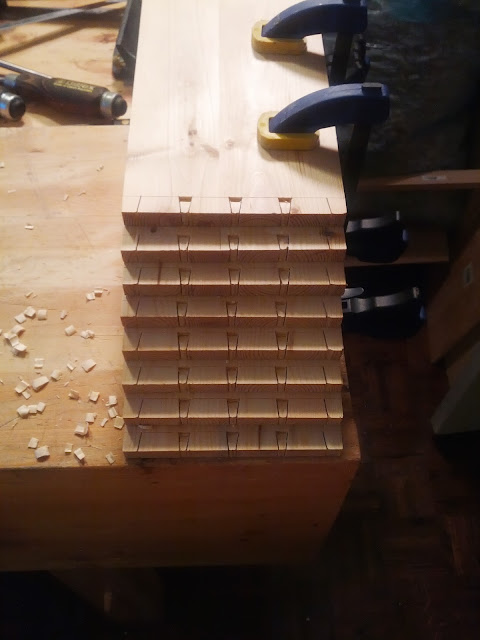
Next up was making the drawers. They were more work than I expected but the practice was good. I had two drawer sizes, tall and short. This is a neat method for ganging up dovetails (but you have to be careful not to push through to the piece underneath):
After I’d finished assembling the cabinet, and after my girlfriend saw it, the cabinet became destined for the living room instead of my bench. So I cheated a bit and bought a piece of pine for the drawer fronts, so I could have a nice grain pattern in the face. Also, in hindsight, the extra thickness of the fronts allowed for better half-blind dovetails. I used 1/4 inch Russian/Baltic birch ply for the bottoms.
Tall drawers, assembled:
The drawers are friction fit. This was a huge problem for me, because Toronto, Canada, where I live is undergoing a massive humidity wave that has lasted for 3 weeks. Humidity levels in my shop are 40% higher than normal, with the average humidity ranging from 85-95%. It’s a far cry from winter levels, when the baseboard heaters remove most of the moisture from the air. As such, the drawer sides kept expanding as I worked. The first fit:
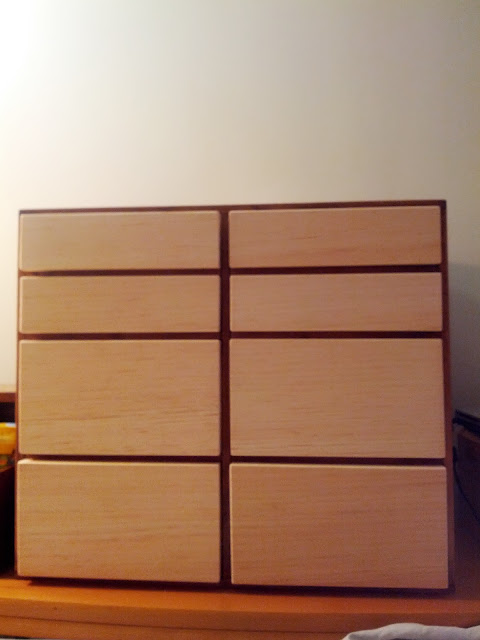
I finally got the drawers to fit, and finished them, and installed the pulls. In that time, perhaps with the added moisture of stain and finish, they expanded AGAIN, requiring another round of fitting. I went with some traditional ring pulls from Lee Valley:

And finally, the finished project in its living room home:
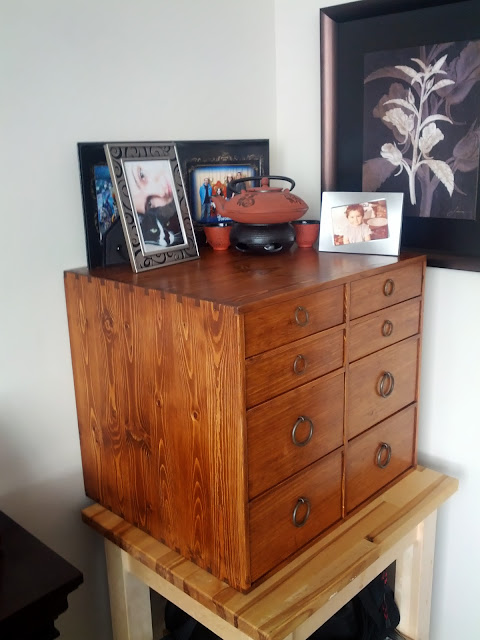
I cannot with a clear conscience suggest anyone undertake a project quite like this. It was a royal pain, for mediocre results. Sure, it didn’t cost much, and I learned a TON (like never to do friction fit drawers again), but the end result could have been nicer had I started with better wood.
The project was on and off my bench over four months.
Thanks for letting me share!
 10 July 2013 at 5:55 pm #14614
Absolutely phenomenal work, Jeremy! Your patience in resawing all those 2x4s is very admirable. I’m not sure I’d have continued with it after the first few! You’ve learned one lesson I learned fairly recently as well – don’t use bad quality timber. It only causes problems and frustration!
I think the piece looks great. I really like the drawer pulls, too. Try not to be too hard on yourself. We’re all very critical of our own projects but you should be proud that you’ve created something that’ll be in your home for a long time, and what you’ve learned along the way.
Again, very impressive work and dedication. You’ve demonstrated the results that can be achieved with a bit (or a lot) of hard work, determination and resourcefulness. Kudos!
Looking forward to your future projects.
George.
 10 July 2013 at 7:00 pm #14617
great job jeremy its a credit to you that the other half wanted it in the house not on the bench thanks for sharing

 10 July 2013 at 7:52 pm #14625
Although it might have been hard work, it came out very nice. Great job. This makes woodworking so enjoyable. You start with some pieces of wood and end with something nice like this.

 10 July 2013 at 10:23 pm #14645
Looks a very fine job considering what you made it out of. Excellent 😉
 10 July 2013 at 10:59 pm #14647
Johan, I used Minwax Pre-stain conditioner, two coats of Minwax English Chestnut stain with a good soak time, three coats of Minwax Rub-On Poly (satin), and for kicks, sanded the outside (400 grit) and rubbed in some bee’s wax to kill the shine a bit and give it some depth.
The wax was an experiment, and I’m not convinced it was worth it/required.
Again, thank you everyone for the kind words!
 10 July 2013 at 11:46 pm #14652
Fantastic work Jeremy! I know its a lot of work to transform 2×4 lumber into something decent to work with. I’m a firm believer that we can build quality items from the wood that is available at the home center. There are limitations for sure, but a lot of possibilities. Yours is a fine example. Thanks for sharing.
 11 July 2013 at 9:23 pm #14673
Great Job, beautiful project))looks great with Teavana teapot))I have same tiny apartment, with same floor) interesting you manage to fit drill press, how you store your lumber? I”m wander if Paul can give advice for lumber racks in small places.Your project look really great Thanks for sharing.))
 11 July 2013 at 9:47 pm #14675
Wow that looks great! It gives me some ideas too. Never thought about ripping 2×4’s and gluing them up. I need to fix the run on my panel saw first. Love the cat too. Mine isn’t a climber so she doesn’t get on my bench.
-
AuthorPosts
- You must be logged in to reply to this topic.