Coffee Table: Episode 2
Posted 6 March 2013
This is an episode in a paid series. Want to watch it? You just need to sign up as a paid member, and you can enjoy this video and many other videos we think you will love.
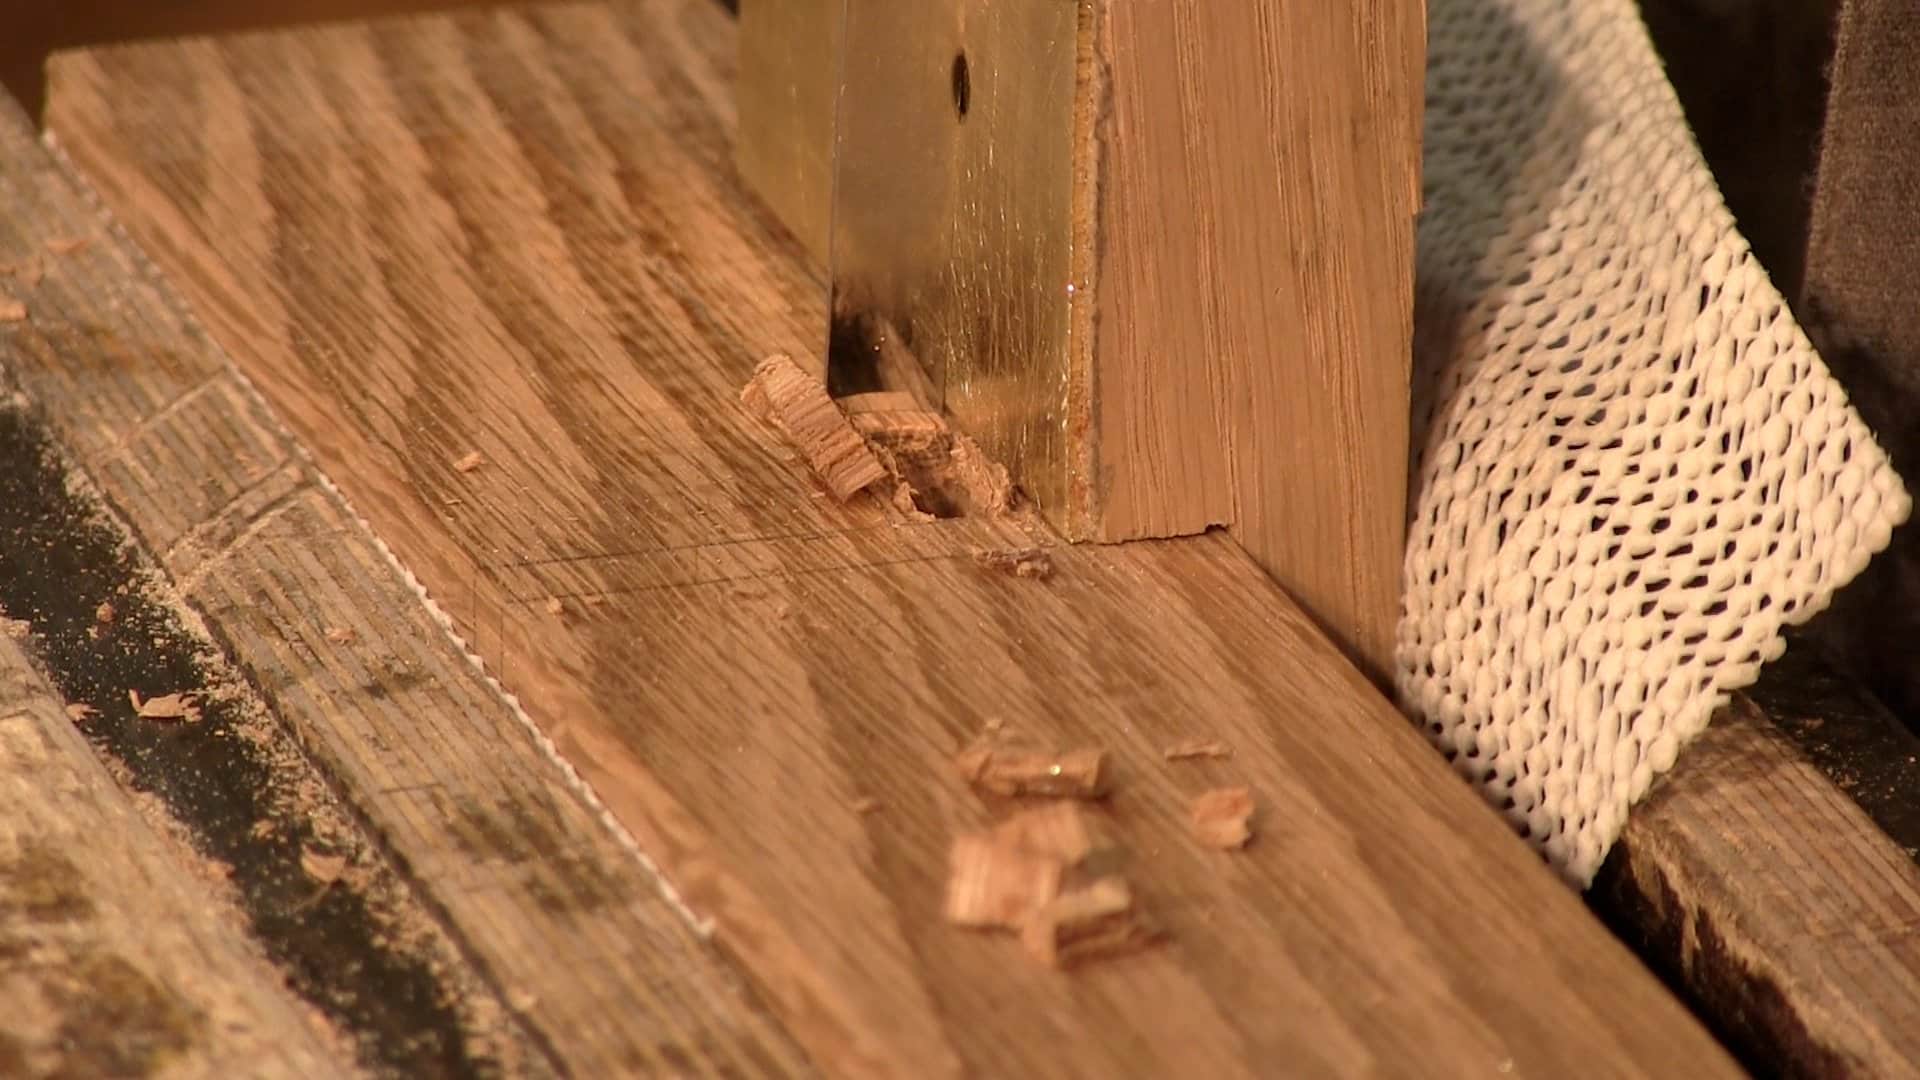
In this episode Paul teaches a new joint, the mortise and tenon. Take your time to learn this joint as it will feature very heavily in many future projects. Thankfully you have plenty of practice as there are eight of them in this project. Enjoy!


Great! Looking forward to it.
This episode does not appear in the menu. When I look at the coffee table page this episode is also called episode 1. This might be the cause.
Sorry about that. Fixed now.
perfect!
Joseph,
If you click on the coffee table link, you will see that episode 2 is still named episode 1.
Thats strange it says episode 2 for me
It’s in the title.
HaHa still says episode 2 for me. You my need to empty your cache, log out and back in again
Ken, it’s not my cache. When you click on the coffee table title directly you’ll see the project info and two episodes. Both episodes have episode 1 as title. But the link in episode 2 says: go to episode 2. This is correct, but the title within this box says episode 1. Hard to explain without a screenshot 🙂
Ha ok I see that now. I never click on that I just chose episode 2 from the drop down box. But yes you are correct. HaHa we got there 🙂
Finally Ken finally 🙂
HaHa Yes sir 🙂 😉
Paul / Joseph nice job guys. At some points in the video, I could hardly hear what Paul was saying.
Hmm, I think you are right Ken. I think the mic placement was wrong in this one. Sorry about that.
Great instruction once again! For anyone who may have a hard time picturing how the wood is being pared away inside the mortise, Paul made an excellent video using glass on one side of the wood so you can see what’s happening inside the wood.
http://www.youtube.com/watch?v=q_NXq7_TILA
I’ve used his technique and it really does work great. After a few mortises I had the hang of it and they really do go quite quickly once you get used to the process.
Thanks Matt, Paul dose have that link posted under the video
Another great video Guy’s thanks and looking forward to the table build.
Steve
Paul, I really appreciate the education you are providing. In this video you discuss the sounds of the chopping, to indicate you are at the bottom of the mortise. Are there signs and or sounds that would indicate that a chisel is in need of sharpening? I am having a difficulty in determining the proper time to stop work and sharpen my tools.
~Seth
Great job guys.
Fantastic Paul 🙂 Although I’m sure i’m not the only one who thinks….. “I want more” when each video finishes!!
Seth
I tend to determine that my tools are sharp if the blade snags on my thumb nail if it slides over the nail I think it is time to re-sharpen .
I would be interested if anybody has other ways of checking
David, good Idea, you should start a thread for it on the forum buddy. Then we can keep this just for the table project. 😉
I want to lean to use both power and hand tools on my projects. I have never been taught the proper sequence of preparation. In the past I just jointed and planed to thickness and sanded the project. If one uses a jointer and planer to size their stock, how much over size, on the average, would be the proper size to go with? If I were cutting out aprons, would I be better off to prepare one face on all of them before cutting them to thickness? I’m just wondering what others do that use power tools to rough size their material?
Hi Boyce,
I think you will be better off posting this in the forum buddy. This is really for the coffee table project
@cadells and @gene and everyone else,
Please try to keeps comments on the videos related to the video and project presented. If you have a question please post it on the forums. Otherwise these comments get off topic very quickly. Thanks 🙂
Do you have a problem with the chisel jumping back passed the gauge line into the non-waste side?
It’s lucky that knowledge doesn’t weigh anything or you might have got that chisel well stuck 🙂
great lesson… i have a couple of questions… 1. with the guide your only able to flush up one side of the mortise, what do you do about the other side to get it perfect like the first side
2. i have watched all of paul’s lessons at least once as of Oct 2018 but i still don’t understand why you would choose one joint over another… i understand that it you would choose it based on function and appearance but how do you know which joint is stronger in relationship to the stresses that will be placed on it… ie… mortise and tenon for a leg vs sliding dove tail…
Hello Frank,
1. You can clean up the other side if necessary by clamping a block to the edge of the mortise and use it as a registration.
2. We will try and include more discussion of design in future project as a lot of it is learnt through experience of designing, adapting and making projects.
Hope that helps,
Phil