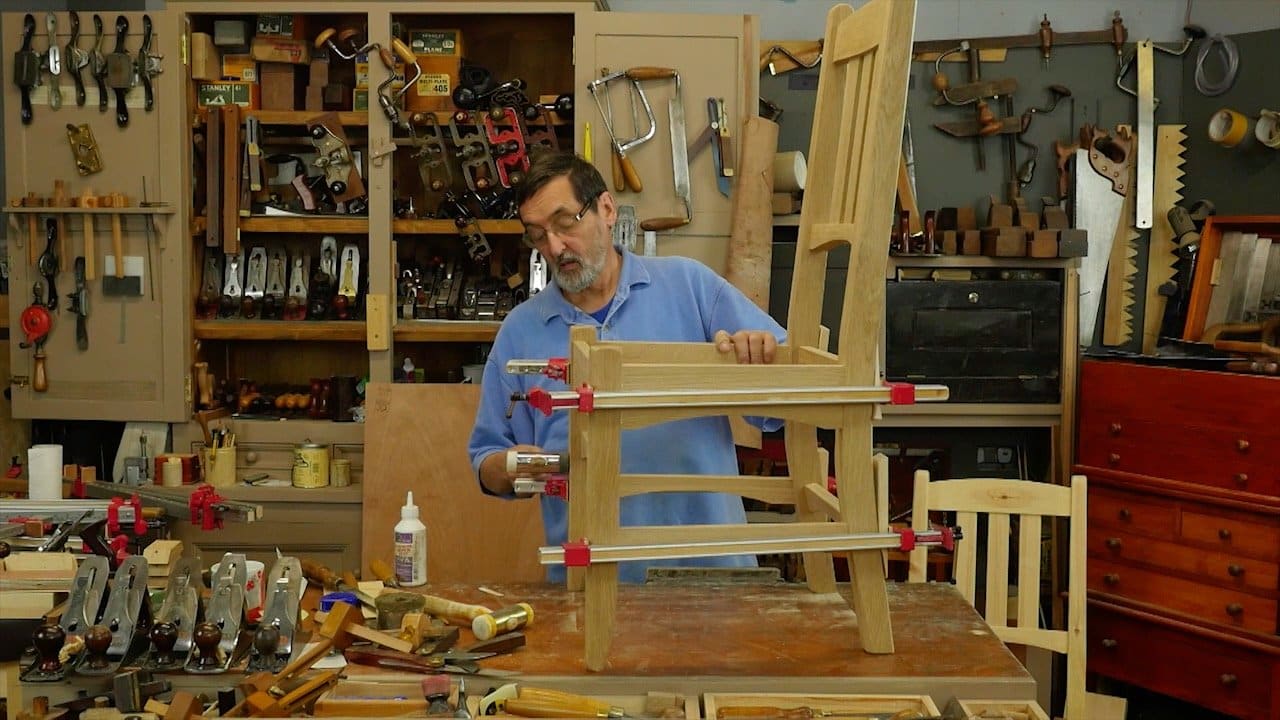
Dining Chair – Episode 8
Posted 30 September 2015
This is an episode in a paid series. Want to watch it? You just need to sign up as a paid member, and you can enjoy this video and many other videos we think you will love.
We’re ready to glue up the front and back sub-assemblies,working sequentially and making sure to use the right amount glue. Paul shows how he applies pressure with the clamps and mallet to close any gaps before gluing the whole chair frame together. Once the glue has set, Paul makes a few finishing touches to round out the project. The upholstery will be shown in the next two episodes.


Great stuff Paul. Thanks. I’ll have to refer back to this video when doing my first real chair.
Another great video, Paul.
Regarding the glue-up: usually I would expect you to glue up a project like this in one go so you can ensure everything is square. I note you glue this up in multiple sub-assemblies – is there not a risk of it being out of square when the final glue up is done and you (me!) not being able to adjust it like you would do on a table by applying a clamp diagonally?
Wonderful looking chair though!
Sir
Curious why you don’t use hide glue.
Joe
JoeE,
I think it probably has to do with the longer clamp times required for the hide glue as well as the dissolving/heating preparation steps needed.
Commercial “Old Brown Glue” states:
Apply to clean and dry surfaces and apply pressure for at least 12 hours.
That’s probably true for the “roll your own” versions as well.
Other than the prep and clamping time I see no reason that hide glue wouldn’t work just as well.
Best,
Craig
A brilliant chair building series. I plan to make one myself which will be my first chair.
John
I like your choice for the upholstery. Beautiful chair.
Thank you for this masterpiece of a chair!
The frame saw, possibly in several variations, just bumped the dining chair down a notch, not the least of all because I’d be silly not to use saws I made to make a chair or two. This question has bugged me throughout the chair series: Would the basic design and construction translate nicely to a rocking chair. I’ve come to like rocking chairs, and the less upholstery the more comfortable for me, personally. Arms on the chairs are optional; as I age, I pay more attention to my posture.
These two chairs (the URL gives credit where credit is due, but I like Paul’s design much more) show the similarity fairly clearly, I think.
Paul, can the design be repurposed with minimal confusion? Add steam bending to two pieces of lumber, and actually reduce the number of joints down two in total, although maybe strengthen them.
Would you please consider to produce a companion armchair for this one? It seem such a beautiful and comfortable chair and I look forward to reaching that point in my progression to build them and the matching armchair seems a natural progression.
@wayner,
You could use the same technique used in the rocking chair to add arms, scaling them to suit.
Thanks for your comment, Philip. I was thinking some design change to that might suit the project. I have other pressing needs to meet first but will plan to use the essential technique with some changes for that. I’ll update when it comes about.
Be well. Be happy. Smile too much.
w
I changed the proposed seat with a 1 1/2 thick solid seat and carved my butt 1/4 inch into it. My chair ended up a little high for the bottom of my table. It didn’t leave enough room between my knee and the bottom of the table.
That gave me the choice of raising the table or lowering the chair.
As I really liked the new height… I decided to raise my table by 1 1/2 in and I am very happy.
The prototype was made with poplar. Now I am going to get maple for the set.
I wish I could own this video..
Thanks