Joiner’s Toolbox – Episode 11
Posted 4 March 2015
This is an episode in a paid series. Want to watch it? You just need to sign up as a paid member, and you can enjoy this video and many other videos we think you will love.
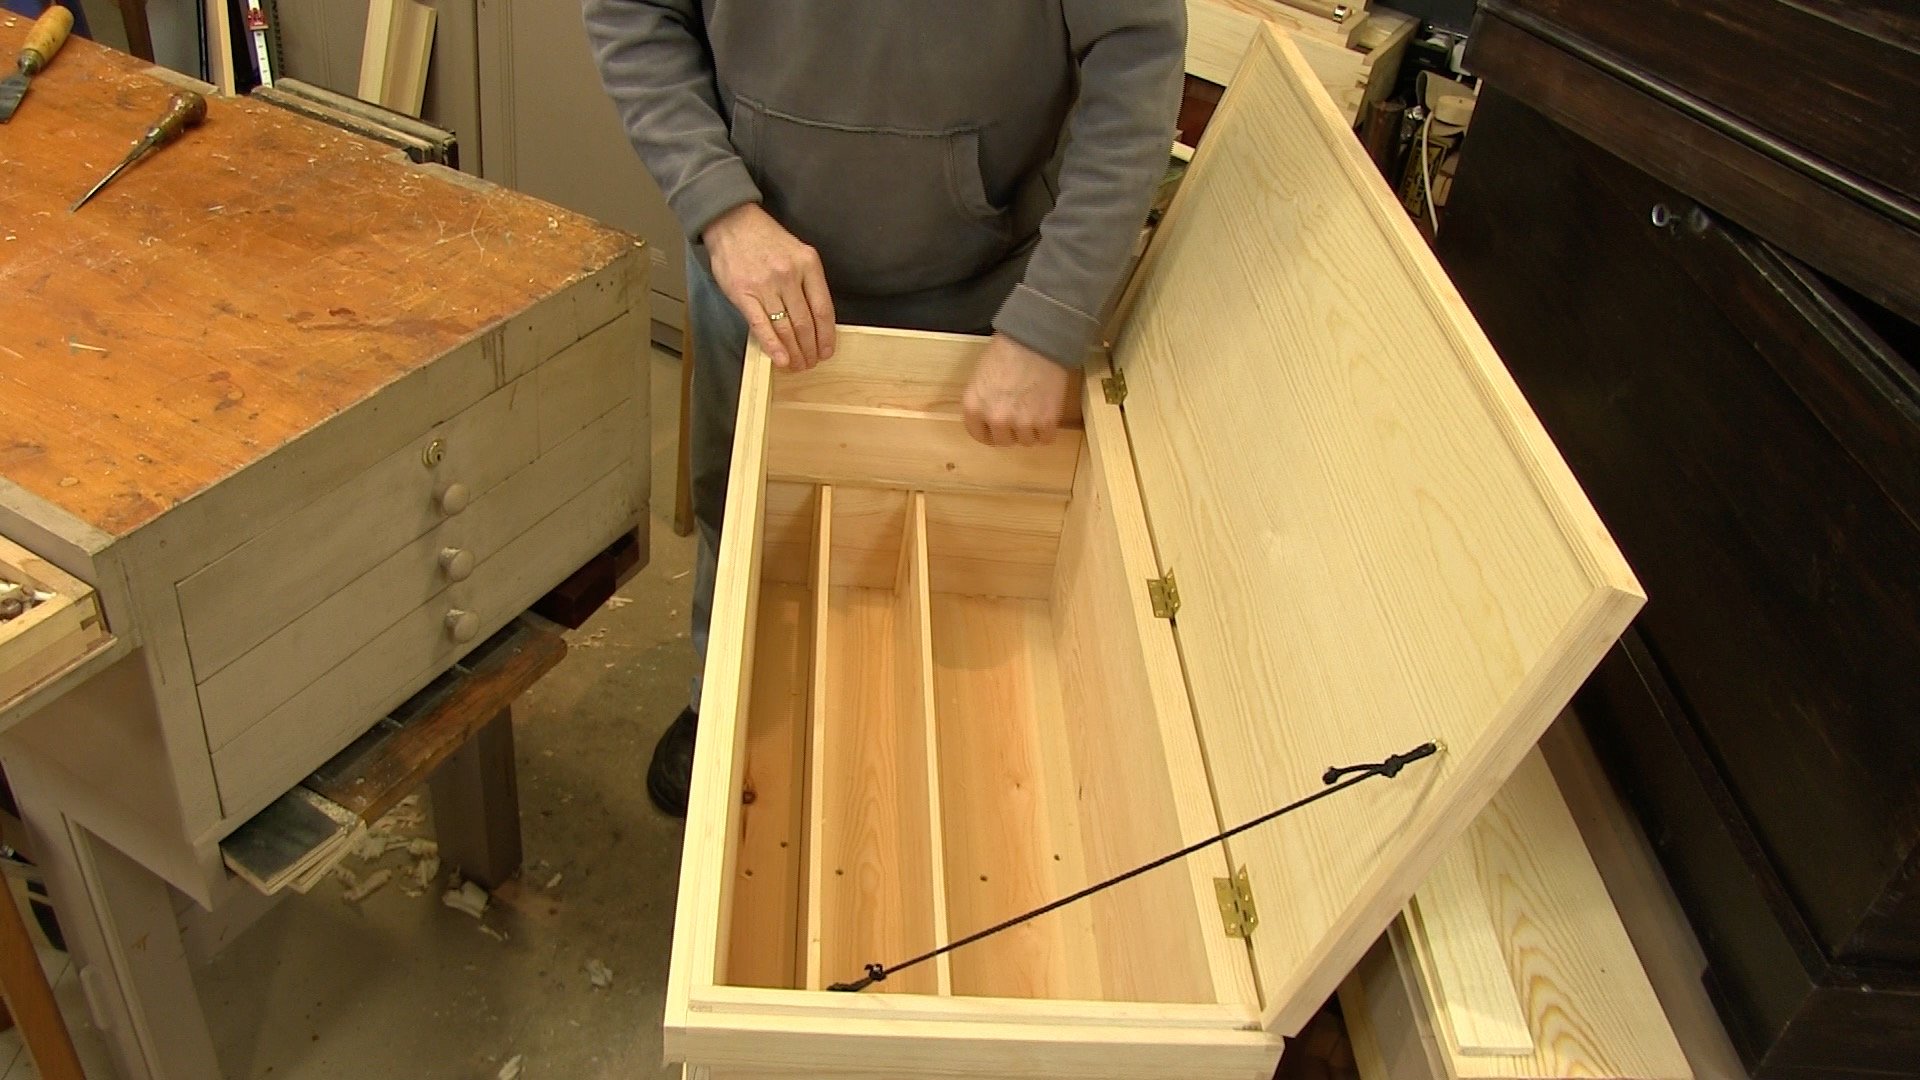
With the lid hinged, Paul makes sure it is well fitted and cleans it up. That completes the main box and with that done, Paul fits a couple of dividers in the bottom of the box, discussing some of the aspects you might want to keep in mind. Above these Paul fits the runners which the tills will rest on.


Loved the way it all fits so neatly together and the thought behind the dimensions to accommodate specific tools. Sticking to such principles takes much of the indecision and complications that come if one tries to make it universal with adjustments etc and leads to something that goes quickly and is fit for purpose. I need to apply these simplifying design ideas to my work and avoid over complicating.
Regards,
What a pleasing sound when the lid closes just right! Perfect!
I know that the fitment within a chest is personal. However, I would still like to see what tools you will include and how you will fit them. I already have a chest I made many years ago, but I have had to reconfigure the internal design twice and am still not satisfied with it. I think I may have to build another chest; perhaps a smaller one such as the one you are building. I suspect that yours will not include any moulding planes. I have come to believe that that is the major problem with the design of mine plus it was configured for wooden planes which are larger than their metal counterparts. Thanks, Bill.
love it
I must say I am all smiles. Its going to be a long week full of anticipation waiting to see what the next video will bring. Thank you.
Another great presentation of fine woodwork made simple and true.
I love the aspect of cutting the divider channel by hand vs a router or table saw.
Lovely work.
Thanks again to all who bring these lessons to us.
Enjoying the videos for this project. I am learning a lot from the great presentations.
Thanks to everyone who make these lessons the best woodworking videos on the web.
Paul, What weight is the Warrington Hammer you are using or that you recommend.
This same question was asked in Joiner’s toolbox ep. 9, and Arthur Smith replied:
”
Re Warrinton hammer weights, see:
https://paulsellers.com/2012/02/my-minimalist-tools-another-hammer/
He prefers 10 to 12 oz.
“
Thanks Matthew
Sorry you must hear this a million times but your so clear and understated! Thank you and blessings upon you!
Paul
What is “milk paint,” and can I make it at home?
Hello Donald, the following link should help:
https://paulsellers.com/2014/03/milk-paint-diversely-different/
could you use pure beeswax melted with a putty knife to fill in the nail holes instead?
You certainly can but it will be more visible.
Thanks Paul about the customization discussion. Last night I mocked up the tools I want at the bottom. My inside dimension will need to be 14″ wide as I have a couple of extra planes (wooden jointer, wooden Foreplane, no 5 Jack, no 4 scub, no 3 smoother, router,) I want to include. The good news is that after woodworking for 3 years, I have a fairly good idea of what I want to take with me when I will go to my fathers (2 nights a week). Rather than watch tv, we will woodwork. Well, he will watch me woodwork while we chat.