Joiner’s Toolbox – Episode 14
Posted 25 March 2015
This is an episode in a paid series. Want to watch it? You just need to sign up as a paid member, and you can enjoy this video and many other videos we think you will love.
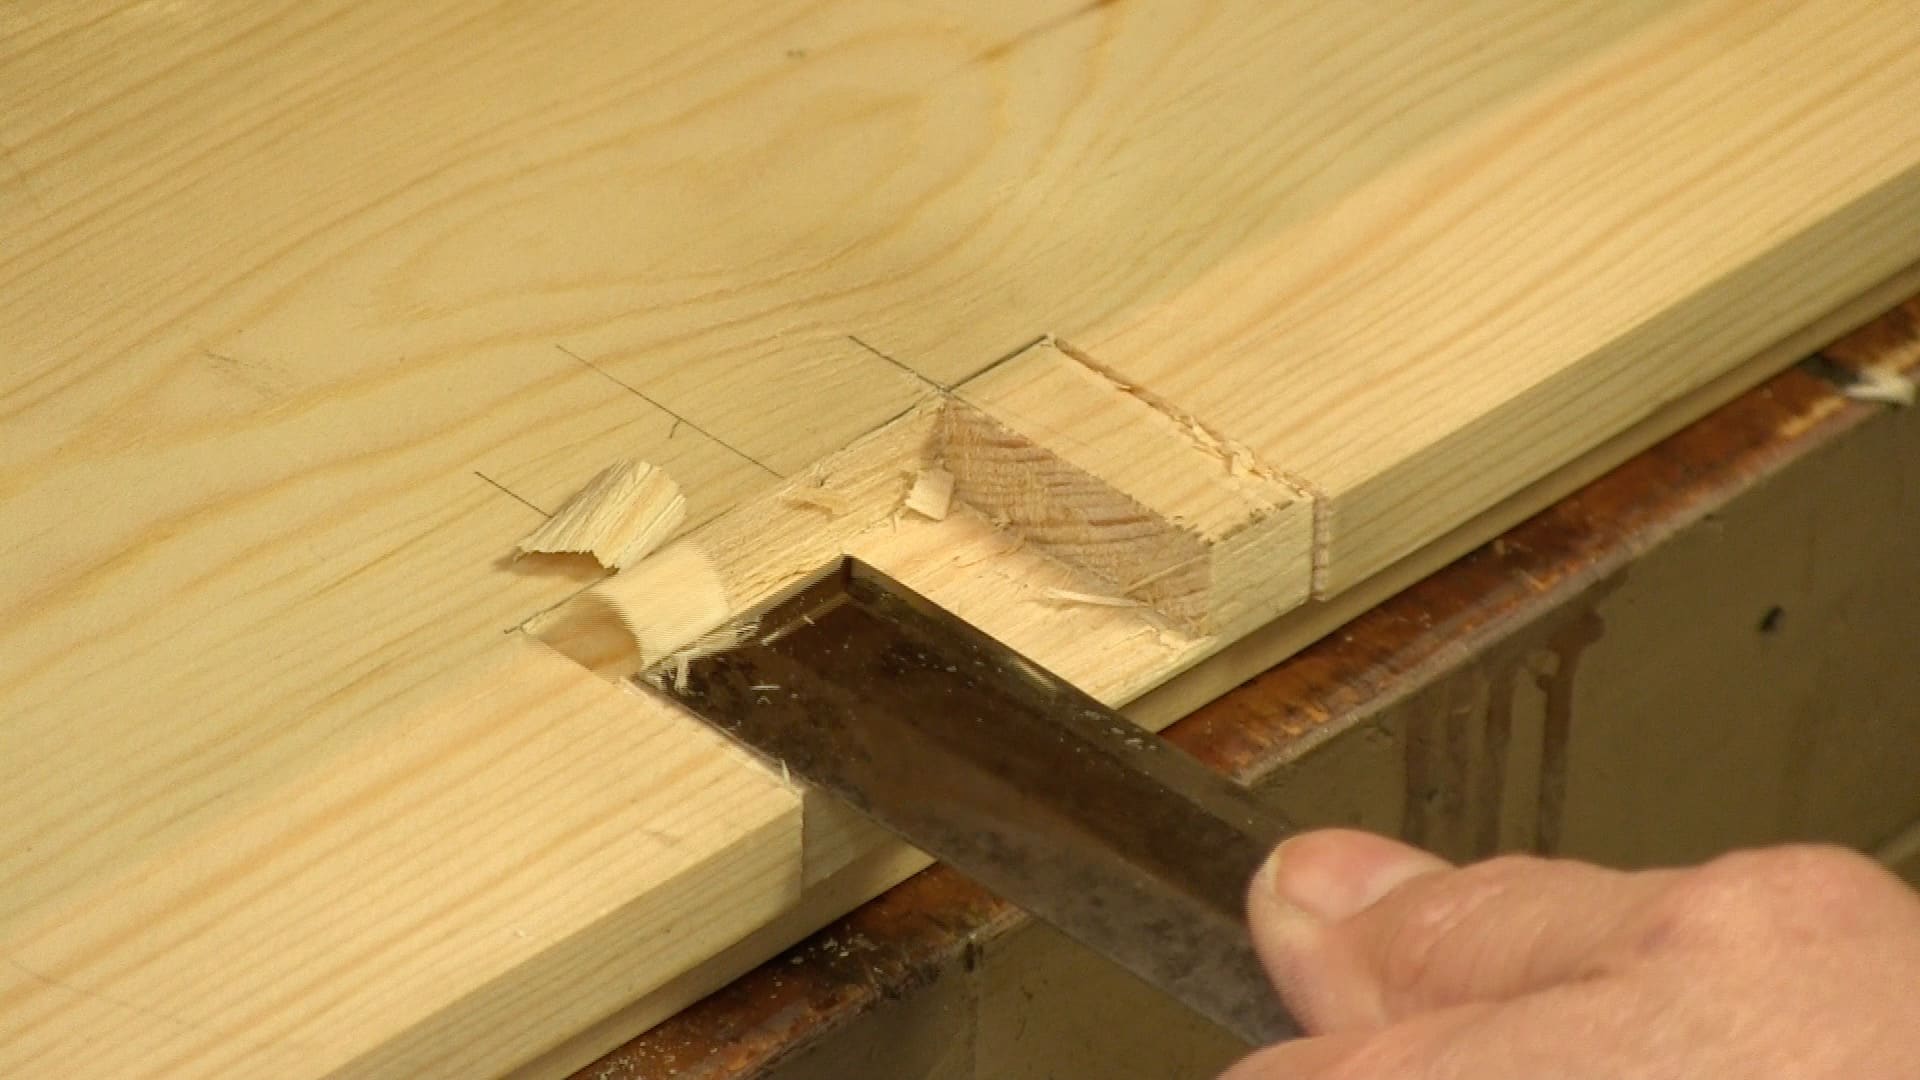
The last step in finishing off the toolbox is the fitting of the box lock. Paul takes you through the different aspects to consider when choosing, positioning and fitting the lock. He recesses the lock body making sure it is flush and drills the keyhole, ensuring the key fits before fitting the keep in the lid. The last process is fitting the handles, then we’re done with the joiners toolbox.


Thanks for this series Paul. I particularly liked the lock mortise lesson of this episode. You really demystified the process for me.
I know there has been some discussion regarding the cross-grain glue-up on the lid assembly, and that you contended that you were building the chest true to an original. With that stated, I am more concerned that the expansion of the lid would cause binding in the lock, or prevent the lock catch from aligning altogether.
You wrote up a similar concern a while back regarding a tool chest project in Fine Woodworking, where expansion of the box sides would cause misalignment with the frame-and-panel lid.
https://paulsellers.com/2013/07/fine-woodworking-hit-the-mark-with-articles-this-month/
I assume the simple answer is, to make the lid from plywood, or change it to a frame-and-panel design.
I think he has already answered that question on expansion for this box vs the article you mentioned. From memory it was down to thicknesses of the stock. Have a look back through the comments or it could have been on the blog.
Great Job I have already started the cut out of stock for my new Traveling Tool Chest.
Thanks to all for an excellent lesson.
Wish me luck to find that Perfect Fit!
Paul and team –
I have enjoyed every minute of the videos for the project. You do a wonderful job of passing along the information and skills needed for the project without all the dramatics of so many video woodworkers. Your videos are a joy to watch, and I learn so much from each one that I have watched.
Thanks for all your efforts to share your skills and knowledge with us.
Paul I really enjoyed this and anxious to start this project myself, I also have not worked with Milk Paint before and want to try.
Steve
Thanks, Paul, for another enjoyable and informative series.
Hi Paul, is it conventional to recess or not the handles?
I just finished watching the joiner’s toolbox videos, and I have to say that every time I watch Paul build something I am reinvigorated to build something of my own. I can’t wait to finish all of my honey-dos so I can get to work. Thank you, Paul, and all who make this site possible. =o)
Never new I would want a box so much!!! Loved watching this series!
Was the painting of the box ever captured on video?
Tim
Hi Tim, it was and the first episode has just gone up.
Best, Phil
It was a complete pleasure watching these series. Thank you.
Wonderful conclusion to a very good project for any woodworker. I actually deconstructed a toolbox that I had built about 4 years ago that was much bigger, thicker, and far too large for my needs and reduced the stock down for this much more appropriately-sized project. I really enjoyed your step-by-step process and how you worked through the small issues you had with the lid. Well done and I really enjoy your approach to woodworking.
Hi my box has passed the half way mark, now constructing the lid, 50 dove tails completed really enjoying this sessions, my tools will look great in it.
I will keep it indoors over the winter so the tools won’t rust, it almost a piece of furniture.
Many thanks to you all great job.
A brass friction-fit Internal Escutcheon is a worthwhile addition to the keyhole.
I was waiting to see what you would do about the key escutcheon … have you a video on how to fit that? I am told they are spring fitted?
Hi David,
We don’t have a video on this i’m afraid.
Izzy
Mr. Paul Sellers and the rest of the production team
Very nice and I enjoyed the series. I shall make this project when time permits.
Take care, until next time and may God Bless
Your friend from Canada Dennis
I always had in mind to build a Dutch tool chest but I’ve now fallen in love with this chest. Maybe I’ll build the Dutch chest to warm up for this one. Very nice design and meticulous execution Paul, thank you!