Leaning Wall Shelf: Episode 5
Posted 28 February 2018
This is an episode in a paid series. Want to watch it? You just need to sign up as a paid member, and you can enjoy this video and many other videos we think you will love.
The top rear up-stand can been recessed and rounded, before it is fixed in place. The the other up-stands are fitted and any additional details considered before the finish is applied.
love it. thanks Paul. I’m going to make one for a gift to my niece. her birthday is coming up. she just moved into an apartment. I know she will have use for it.
Beautiful work guys! Lovely piece. This is my next project.
Another great project. Considering all the distraction to filming during your departure from the Sylan center the end result is simply amazing.
So will the super glue effect the finish, will there be a discoloration where the glue was applied?
Hello Josh, as the area is scraped once the glue is set, there shouldn’t be any noticeable discolouration.
Thanks, Phil
That has been a wonderful build. Thank you for your great instruction. If I were to downsize the self for, let’s say a counter-top version, would the wood dimensions (thickness) be a linear scaling? My sense of proportion has never been too accurate when it comes to dimensioning lumber.
Another great project Paul! I sure love watching you work!
In the first episode Paul has a half sized prototype behind him and he mentions that it is exactly half size, and the thickness appears to match the half size description as well. He mentions that when you drop to 1/4 size you change considerations a bit–perhaps for a spice rack you’re not going to be working with 1/4 inch material for instance. I think some common sense, some scaled drawings and considering the function of the build will give you a good idea as to how thick the wood needs to be for your project.
Kudos, Paul and team on another great piece! I love the idea of using the design for a small kitchen spice rack–I may tackle the smaller scale version first.
Beautiful!
… and it doubles as a step ladder. 🙂
I just realised… this project doesn’t require glueup :)) awesome design Paul
Got to admit I was surprised to see Paul climb up it and had to laugh. For anyone who may have had doubts, that couldn’t have shown off the strength and stability of the piece any better.
A clever design, functional and yet I think quite elegant. I also loved the small additions you could add that Paul showed us at the end, giving the piece a completely different look.
Flat pack has never looked so good.
Brilliant!!!
Hi Paul,
As I was watching this, I suddenly realized this design seemed complimentary to the desk you built a few series pieces ago. Coat rack seems to compliment as well from the one photo I’ve seen so far. Was this intentional? Just curious.
Sincerely,
Joe
Great project! The spanning arch and the side pieces (korbels?) look nice but would limit access to the shelf for big books, etc. I think I would leave them off as well. Love the bit at the end of Paul standing on the shelf! Thanks….
As you mentioned placing a computer there, it seems it would be a nice writing desk if you left the bottom shelf off, allowing room for a chair. Very nice project Paul.
I love this design. What did you wrap the pieces in to transport the bookshelf? I noticed you used it to wrap your tools for the move to your new location too. I would like to find that here in the states for an upcoming move.
Hi Steve, they’re just removal blankets that we bought for the move. Can be widely purchased online in the UK.
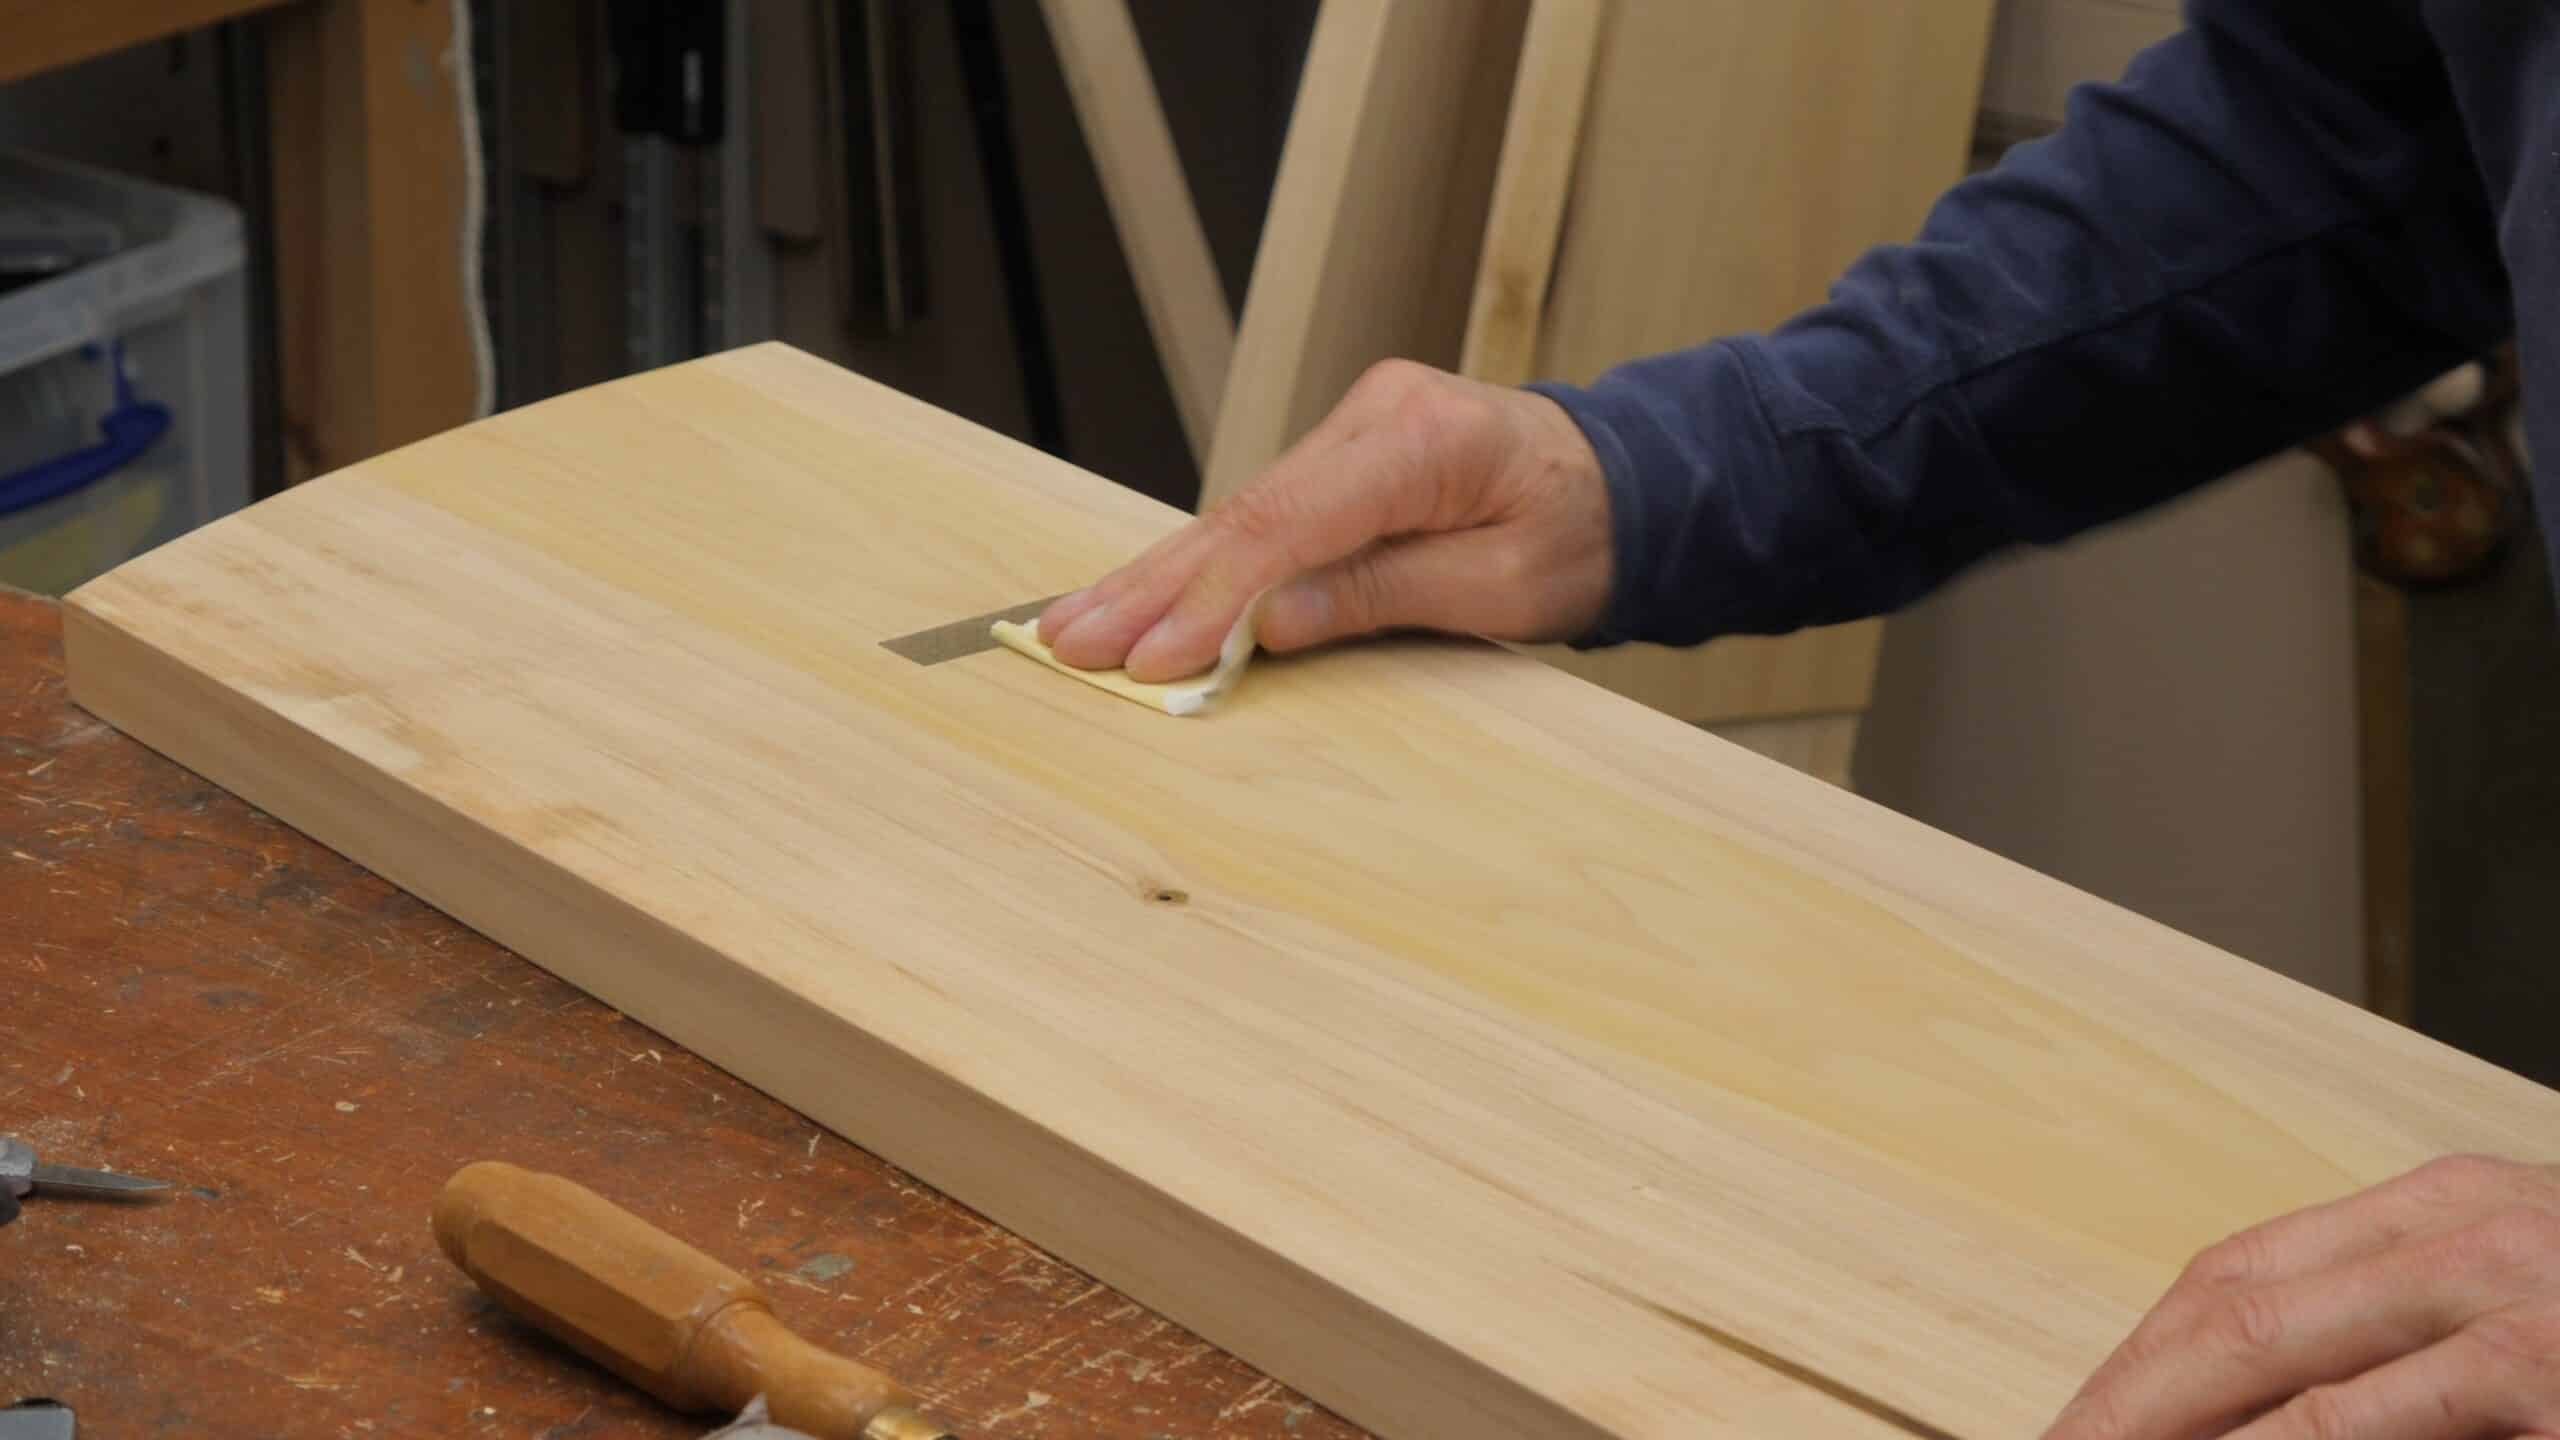
What cut is the shellac? I maybe missed is this the first project wiping the shellac? It’s kind of a simplified French polish…. You sand with what in between 280? If I want to stain, water or oil based?
Big thank you!
I’ve been using a lot of shellac on my projects thanks to Paul Sellers. It’s my favorite finish. I can’t recall if these details are from him or from reading others as well as him. The good news is I have used it a lot over the last two years and I’m happy with it. I typically use somewhere between a 1 to 2 pound cut (often around 1.5 pound cut). I have tried sanding with 400 grit but that seemed too fine for me so I often use 280ish grit sand paper after a few coats of shellac. Then another two or three coats of shellac.
He has at least one detailed video out on YouTube I think (could be one of his free videos) where he spends a lot of time focusing on shellac. Normally he uses a brush in his videos. I think the rag here might have been due to either the size of the work (my guess) or just to show us a slight variation on how to apply it.
Paul used a 2lb cut of shellac in this case. Paul does indeed wipe shellac on occasion when dealing with larger surfaces. Paul sands with 240 grit sandpaper. Paul’s preference is for oil based stain.
What an inspiring design! I was at a home store and saw a version where the uprights aren’t boards but two 2x4s (or 2×3 I think). Of course it doesn’t look as nice with the shelves being secured underneath with hardware, but I wonder if the same concepts for joinery may be applied.
For instance, there wouldn’t be room for the bridle part, excuse me if that would be the term for it, but instead just full housings on either side. It would be a scaled down version with fewer and narrower shelves.
Would there be a concern for stability if you scale down the uprights too much? How narrow of a board is ok?
It is hard to comment whether significant adjustments to the design would result in a stable shelf. The thickness of the stock and length and size of the joints are what make this work in this instance. Not sure we can be of much more assistance than that I’m afraid as there are to many variables.
Sorry for not being more helpful, Phil
Not at all, Phil. If anything I think it’s a perfect design as it is. It’s also what makes these projects worthwhile to make knowing Paul already spent the time prototyping. I understand too much deviation and it’s my risk to take.
I really like this design. I hope to make a shelf unit just like this for my music room because it feel like a “musical” piece to me, if you know what I mean.
Hi Paul, great project and so well presented, thanks very much.
Quick question, what is the make of the countersink you used?
Hi Martin,
Paul says it’s called a deburring tool and it’s used for metal work.
Kind Regards,
Izzy
Could you please remind us of the length and grain of your wonderful rasp? French if I remember…….
Hi,
Paul says:
12” no 10 grain rasp, Auriou. It’s called a cabinet maker’s rasp.
Kind Regards,
Izzy
I am impressed with Paul’s methodical approach to his woodworking. he makes watching his videos very enjoyable to watch. Robin Bishop
Beeeeautiful! Well done Master Paul.
I have to admit I did not care for the design when I started watching this project. But, now seeing the final result and in its native habitat, I like it. Great job.