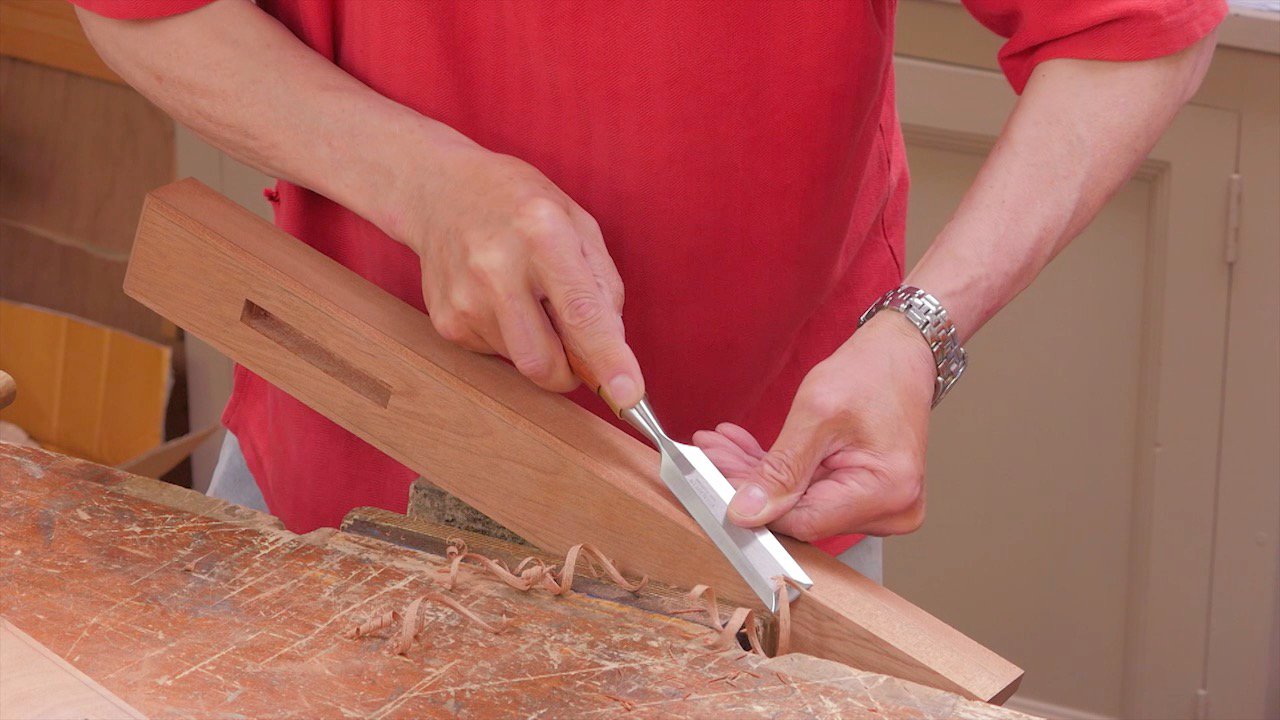
Making Wooden Wall Brackets: Episode 4
Posted 6 July 2016
This is an episode in a paid series. Want to watch it? You just need to sign up as a paid member, and you can enjoy this video and many other videos we think you will love.
With all the joinery done, the shape can be refined. Paul shows how to layout and cut some stopped chamfers on all the edges as well as arching the brace using stop cuts and the spokeshave. Then we’re ready to pre-drill some pilot holes in preparation for gluing and screwing. You then have all you need to make a pair to support many types of projects.


Beautiful , nice project thanks for this.
Steve
That is one beautiful bracket!
I was wondering how you were going to mount it once it was all together and you explained how just before the video ended.
I might have pre drilled the hole in the center of the upright if I knew it was going in a stud and then used an offset screwdriver or my handy Chapman set to set the screws. Either way it’s a very nice bracket.
Thanks again Paul!
As we Americans would say you hit another one out of the park. ha ha
Peter
As an extra, could you show us how to end the chamfer as a lamb’s tongue? I’ve not found that in your other videos and I want to learn how to do that. Thanks for this lesson.
Good idea but the project was less about profiling and more about the joinery and such. I will give it some thought though and thanks for the suggestion.
When you first started this project I thought this is great, I need to make some wall brackets for my mom’s tea cups. But I can see now these are way too big for what I was thinking. I don’t know if I can do a bracket like this small enough, but I’m still going to make a couple big ones for my tool area. Mostly because I want to learn how and do it just to say I can.
I’m getting better each day, training my hands, eye and learning patience, to slow down and not hurry. Earl Scruggs was know for being a very fast banjo player. His mother told him one day, “If you like playing the song so much, why are you in such a hurry to finish it?” Something like that anyway, and the same thing applies here, enjoy the process.
Grateful for all your teachings.
Gary – Nice comment. I like that about slowing down and enjoying to process.
Nice to see that even the great master crafstman can have things not go to his liking, occasionally. Seeing how he handles it helps deal with situations that we (I) encounter far more often.
….
For some reason I haven’t been able to access for months.
Hello Craig, do you mean that you have been unable to login to Woodworking Masterclasses for months? If so please contact us through the link in at the bottom of the page in the blue box with more details. Many thanks, Phil
Thank you for the lesson.
Nice project, guys. Wonderful visual example of a phrase we’ve heard Paul mention so many times too… contrary grain. Without having encountered it personally I thought I understood what it meant, but to actually see its effects in action in such a small width of material; well now I see that I didn’t understand the concept at all. Isn’t it amazing that a species can grow like that, anyone know why? There always seems to be a brilliant answer for why nature’s way is nature’s way.
Thanks everyone
Thank you for the lesson.
Clamping that assembly in you’re front vise is another good advertisement for not having the rear jaw flush with the bench – at the 30min mark – that just would not have been possible.
This would seem to have been the perfect project to introduce drawbores to pin the tenons, as opposed to screws. Love the design. As weight is applied to the bracket, it actually compresses the joinery and makes it tighter. Kind of like a Windsor chair. Brilliant!
As usual the sawwork was virtuoso quality. Just amazing to watch.
What an excellent training project, Paul, thank you. A practical and useful output, but also really great, paced skill building. And great timing as usual 🙂
I’m going to scale a pair of these for holding a live-edge mantlepiece I’m currently planning, but then I’ve already got some ideas for adapting these joints for an awesome guitar holder that is building in my mind’s eye. Thanks for making me realize that I can actually do this – it is a great gift and much appreciated.