Rocking Chair: Episode 9
Posted 30 November 2016
This is an episode in a paid series. Want to watch it? You just need to sign up as a paid member, and you can enjoy this video and many other videos we think you will love.
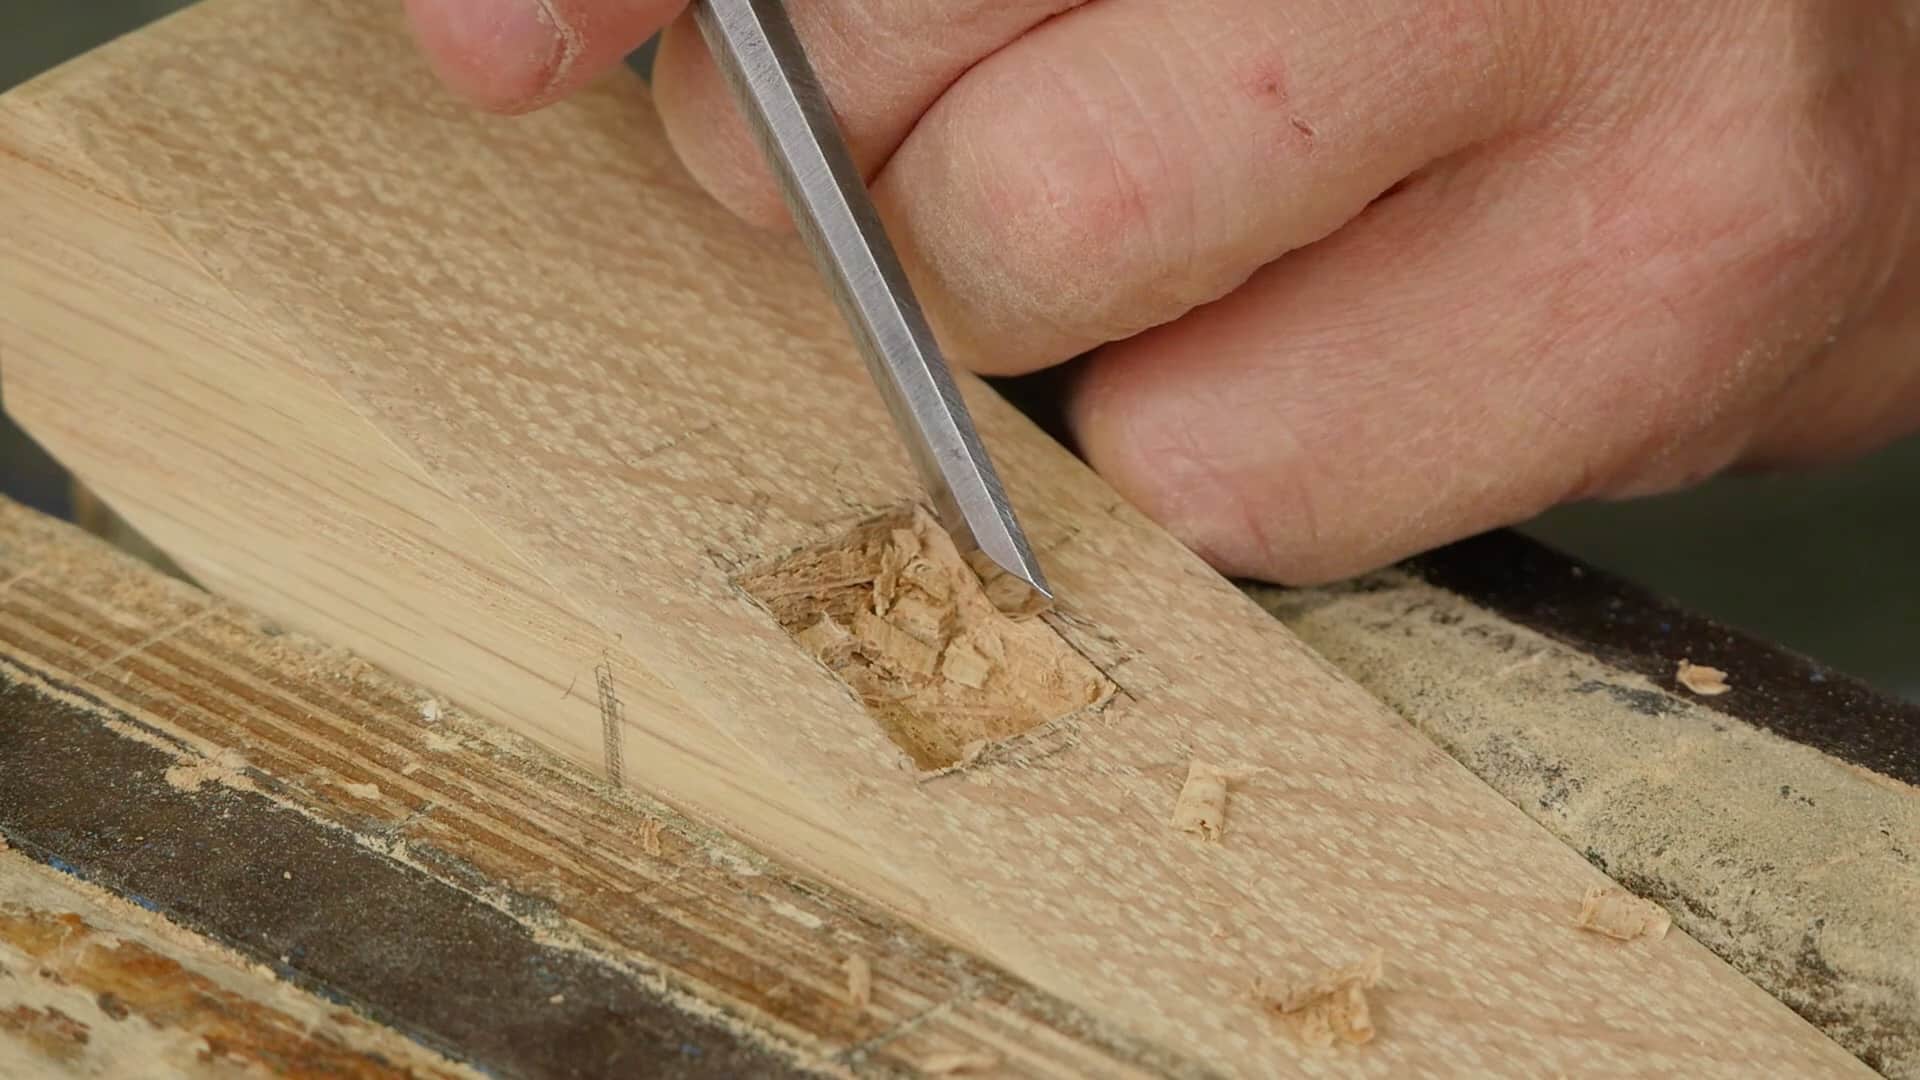
It’s time to lay out the rocker mortise and tenons. Paul goes through the layout process using the rocker to get accurate shoulder lines and the correct angle for the bottom of the legs. Then we can cut the tenon on the leg and mortise in the rocker.


Amazing dedication and patience I’d love to think i could i be this disciplined, turning the whole chair to make a tiny tenon I usually end up on my knees cutting above my head and get myself in some terrible positions rather than keep turning the piece of work (lazy i Know) I must Learn some Patience Thank you for setting examples.
Earlier I commented in the info episode that I started the rocker this spring from an article that Paul did years ago. I always believed that directions and plans were the clearest way to build a project. The superior guidance that Paul gives became evident as the videos progress. Last night I started the layout of the rocker tendons and struggled with it. The episode today cleared it up quickly. Thanks to all that produce these videos.
PS Is there a way to attach a picture to the comments?
When Paul was marking the tenons onto the rockers he mention making the tenons longer and cutting them shorter afterward. Another way would be to place a flexible straight edge against the edges of the tenon and mark the position onto the side edge of the rocker and onto the top face of the rocker. Then when you pull the chair off all you need to do is connect the lines to showing the outline of the tenon.
Thanks for the this! I was really struggling as my tenons were on the shorter side.
Thank you for the lesson.
Another great video. Did you need to do any fine pairing to get the tennons into the mortises? I know normally you strive for a fit so it’s self supporting when you lift the wood. Is this also true for this joint or do you have a little more leeway since its hidden and you mentioned eventually screwing it in?
Hello Joseph, Paul discusses this in the next episode. A tight fit is not as critical, as it is being screwed in place. Too tight a fit can actually cause problems in this instance.
Thanks
Was there a reason to use the marking gauge to mark the tenon in one direction and not the other or were use showing two different methods to mark the tenon?
Hello John,
It’s an easy way to get the 1/2″ in without having to set another mortise gauge. Nothing to stop you using the mortise gauge set to the correct measurements.
Best, Phil
Hello Paul thank you for for yet another very instructional video.
In regards to laying out the rocker mortises, would you suggest taping two short strips of 1/8″ hardboard (Masonite) in front of and behind the tenons (i.e. across the grain of the rocker) to mark the mortise width. Now to mark the tenon length, use the combination square to center tenon in the middle of the taped section. Once the tenon is centered, remove the chair from the rocker and trace the lines from both the hardboard strips as well as the set distance in the combination square. Repeat for each tenon. I hope this explanation is understandable.
Hello Anthony,
Scribing from the actual tenon would be the preference, as the rockers are angled relative to the legs, so the edges of the mortise hole are not parallel with the sides of the rockers. A pencil works fine, but I’m sure other methods work just as well.
Best, Phil
How about taking some coloured chalk and a straw, blowing it to mark the tenons on the rocker. Maybe dry, maybe mixed with some water or glue.