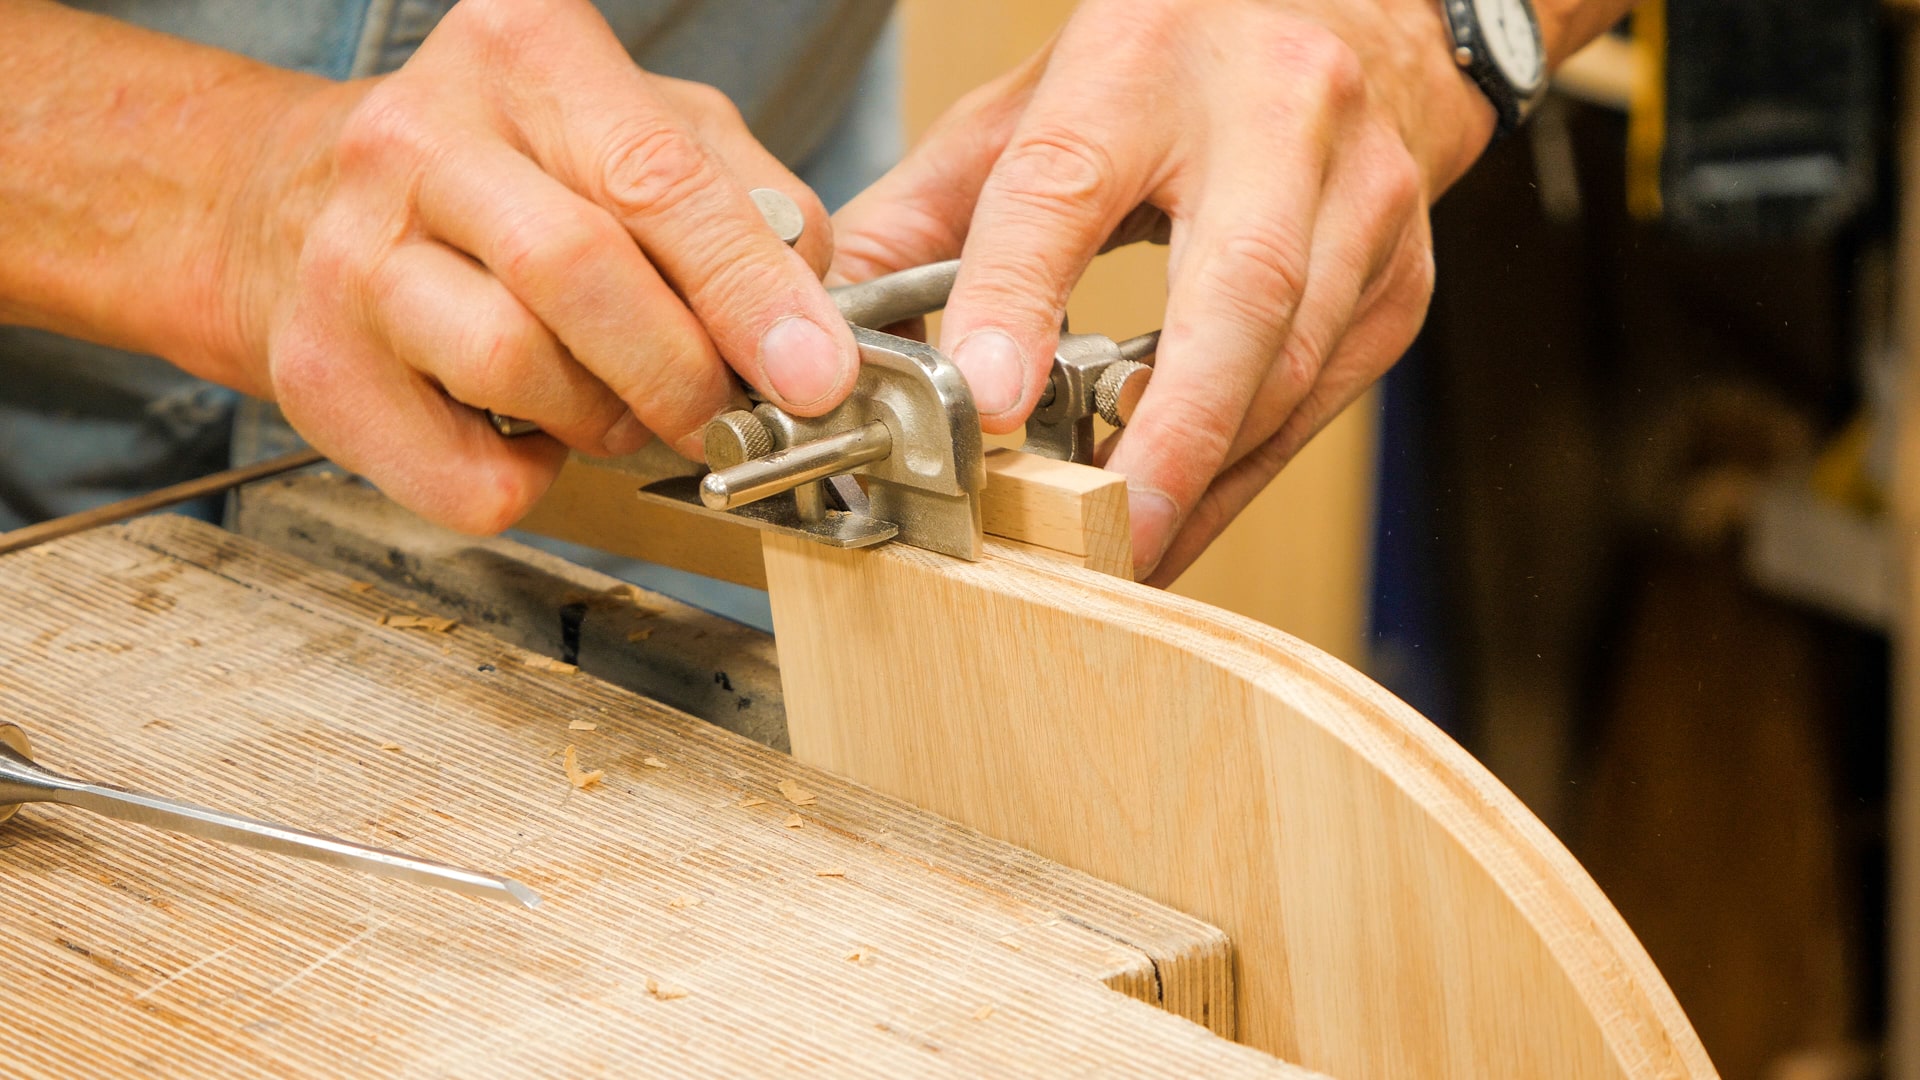
Sellers Home Kitchen Shelf: Episode 4
Posted 14 September 2022
This is an episode in a paid series. Want to watch it? You just need to sign up as a paid member, and you can enjoy this video and many other videos we think you will love.
In every video we present woodworking, we try always to give out a never-seen-before technique, but in this one, we give out several, including unique inlaying techniques, hand-made tools, equipment and things like that. Prepare to be dazzled. We never hold back in passing on the techniques we’ve specifically developed for a particular project, so that you can learn alongside the master. Without giving out any spoilers here, watch this one and you will be amazed.


Another great project. Thanks Paul. Well done.
Looks great!
Loved your jokes——going down to the oops 😂
Thanks Paul. Two solid tips in there that are handy.
I don’t have bandsaw blades (yet) but I do have hacksaw blades that should work just as well.
I really like how you use your clamp and then wedges to affix the walnut onto the curves. I will keep this technique in mind as I can probably use it elsewhere as well. Prior to seeing this video, I probably would have used blue tape but your way is much less wasteful.
I really like the sequences with Paul working without talking nor music. It’s very calming and I can better focus on the details of what Paul is doing.
It appears Paul has discovered what woodworkers call a Kerfing Plane, traditionally used in tandem with a frame saw for resawing boards. A useful tool to make and have on hand indeed!
To cut the grooves I used a combination of Paul’s suggested methods: a 1/4″ mortise guide stuck to the side of a narrow-kerf rip saw using double-sided tape. With it attached towards the handle-end of the saw allowing more control, I used this like a plough plane (which a rip saw is essentially). Keep plenty of pressure on the side of the guide, work back from the front end of the work, clear and oil the blade regularly, and as you work backwards, make sure the front end of the blade slides into the kerf already cut. Very little clean up of the edges was required, and easily done with a cutting gauge and a sharp, 3/4″ chisel to make the groove’s sides sharp and straight.
I found it difficult to just hold the mortise gauge against the saw as Paul did, and sticking it to the blade with only 1/8″ of the blade protruding past the shoulder of the gauge gave the in-built depth stop of Paul’s hand-made tool.
Why didn’t Paul use the teeth that were already on the bandsaw blade instead of cutting new ones on the other side? The only reason I could think of was that the existing teeth were too dull?
I asked Paul and his reply is below:
Too big and too aggressive.