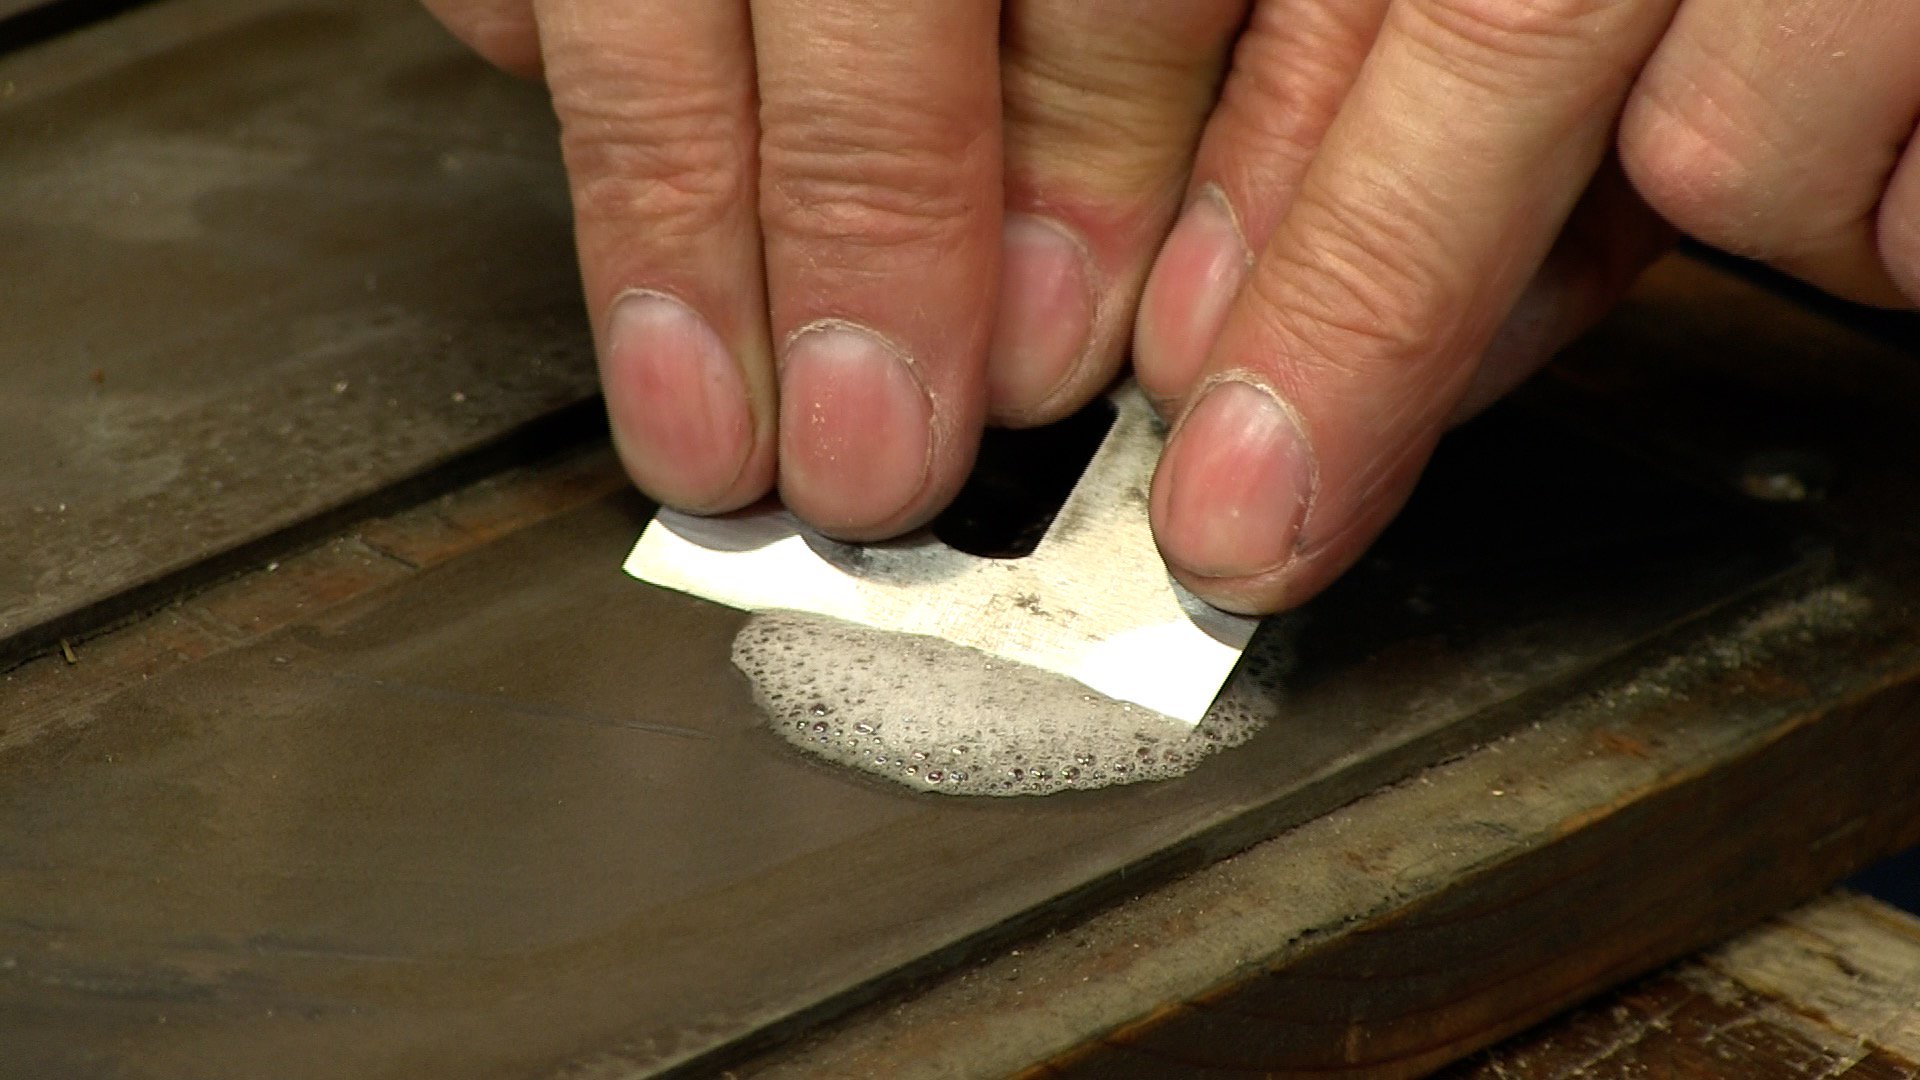
Spokeshave Sharpening: Freehand
Posted 25 October 2017
This is a free video, want to watch it? Just log into the site, and you can enjoy this video and many more!
Paul Sellers shows you how he sharpens his spokeshaves quickly and efficiently, without the aid of a honing guide. Though it may take quite some practice to master the technique, once acquired, it will remain with you for life and will guarantee a pristine cutting edge every time.


Thank you som much for this – you are a master and thanks to your team as well – all the best from Denmark 🙂
Thank you very much for this video, it help me with my spokeshave! Keep the excellent work!
I love watching your video’s Paul and am learning so much from your ‘down-to-earth’ methods.
Can’t wait to see how your new workshop will turn out be!
Thanks for your video’s – very helpfull.
Paul, please tell us about your stones / sharpening board. Stones or diamond plates?
@LESH8210 go to the free videos, search on “sharpen” and you’ll find many details about the diamond plates and the plate holder. It’s also on youtube and in his blog. Google will find the quickly, but the search on “sharpen” in the videos will be the fastest first step.
Thank you Sir
Paul and Team: I’ve got the Stanley 151 spokeshave, which I purchased new. The problem I seem to be having with it is that it rather consistently clogs up with shavings in the opening above the cap-piece (looks like a red house). The blade is sharpened and polished at 25 degrees using Paul’s adapter for the common honing guide with no secondary bevel. I am wondering how much I should be flattening the back of that cap piece, or putting a sharper bevel on the edge where it contacts the back of the cutting iron. I have also been working on flattening the sole of the spokeshave body on my diamond plates. There is a tiny area near the center of the mouth in front of the blade which is still slightly concave in relation to the rest of the sole. I find it frustrating that it takes so much fiddling and fine adjustment to get it to cut right, and then when it does, it will clog up with shavings, and I have to disassemble it to clear the clog. There are so many variables with these “simple” little tools, and I am always amazed how Paul makes it look so easy. Wondering if I should go to a 30 degree bevel. Is there ever a need of a secondary bevel on the cutting edge as with chisels and plane irons? I tried moving the cap-piece back a bit to open up the mouth. but there is little wiggle room for adjustment there owing to the design of the locking bolt which seems to be designed to seat all the way to the top (narrow part) of the 8-shaped opening. So, if anyone has some advice on how to tame this tiny, truculent tool, I would be very appreciative. Thanks. PS, I am a 71 year old retiree, and new to Paul’s World of Hand Tool Woodworking. So far I have made 4 dovetail boxes, a tool tote and am about to finish my second Hanging Wall Shelf. I also designed my own little shelf unit for the top of the toilet tank using some stopped dados and some shaping with coping saw, rasp, etc. I did build a substantial workbench using dimensional lumber, but it was before I saw Paul’s workbench design. I did do a dovetail drawer modification following Paul’s design. Also enjoy Paul’s Blog musings and find his Philosophy of Working Wood, and working in general, very inspiring. Now that I am retired from my “career” as a laboratory technician, I find myself looking forward to getting down in my basement shop every day and doing some woodworking. Thanks for the motivation and inspiration. Mike
https://commonwoodworking.com/sharpening-a-spokeshave/
Hi Michael,
Yes, you should put a second bevel on as the edge will last longer. You should also flatten the underside of the red cap.
Paul has made adjustments to one in our guide on Common Woodworking:
https://commonwoodworking.com/sharpening-a-spokeshave/
Kind Regards,
Izzy
Thanks Izzy and Keith. This was just the information I needed. Now I will get to work on making the proposed refinements, and hopefully see some improvement in the performance of my 151 spokeshave. Mike
Just did all the suggested refinements to the cutting iron, the cap-iron, and the sole as Paul so clearly demonstrated in the above link. Wow! What a difference! My #151 is now singing like a #4, and not a single clog. It was certainly worth the two hours I spent filing, grinding honing and stropping. Now I feel ready to tackle that spatula project, or maybe even a spoon or two.
Hi Michael,
That’s great to hear! I’m glad you found the guide useful!
Kind Regards,
Izzy
Thank you, Paul. I just purchased a Veritas Spoke shave and you’ve made it much more effective with my projects with this sharpening video!