Tool Chest: Episode 9
Posted 11 September 2013
This is an episode in a paid series. Want to watch it? You just need to sign up as a paid member, and you can enjoy this video and many other videos we think you will love.
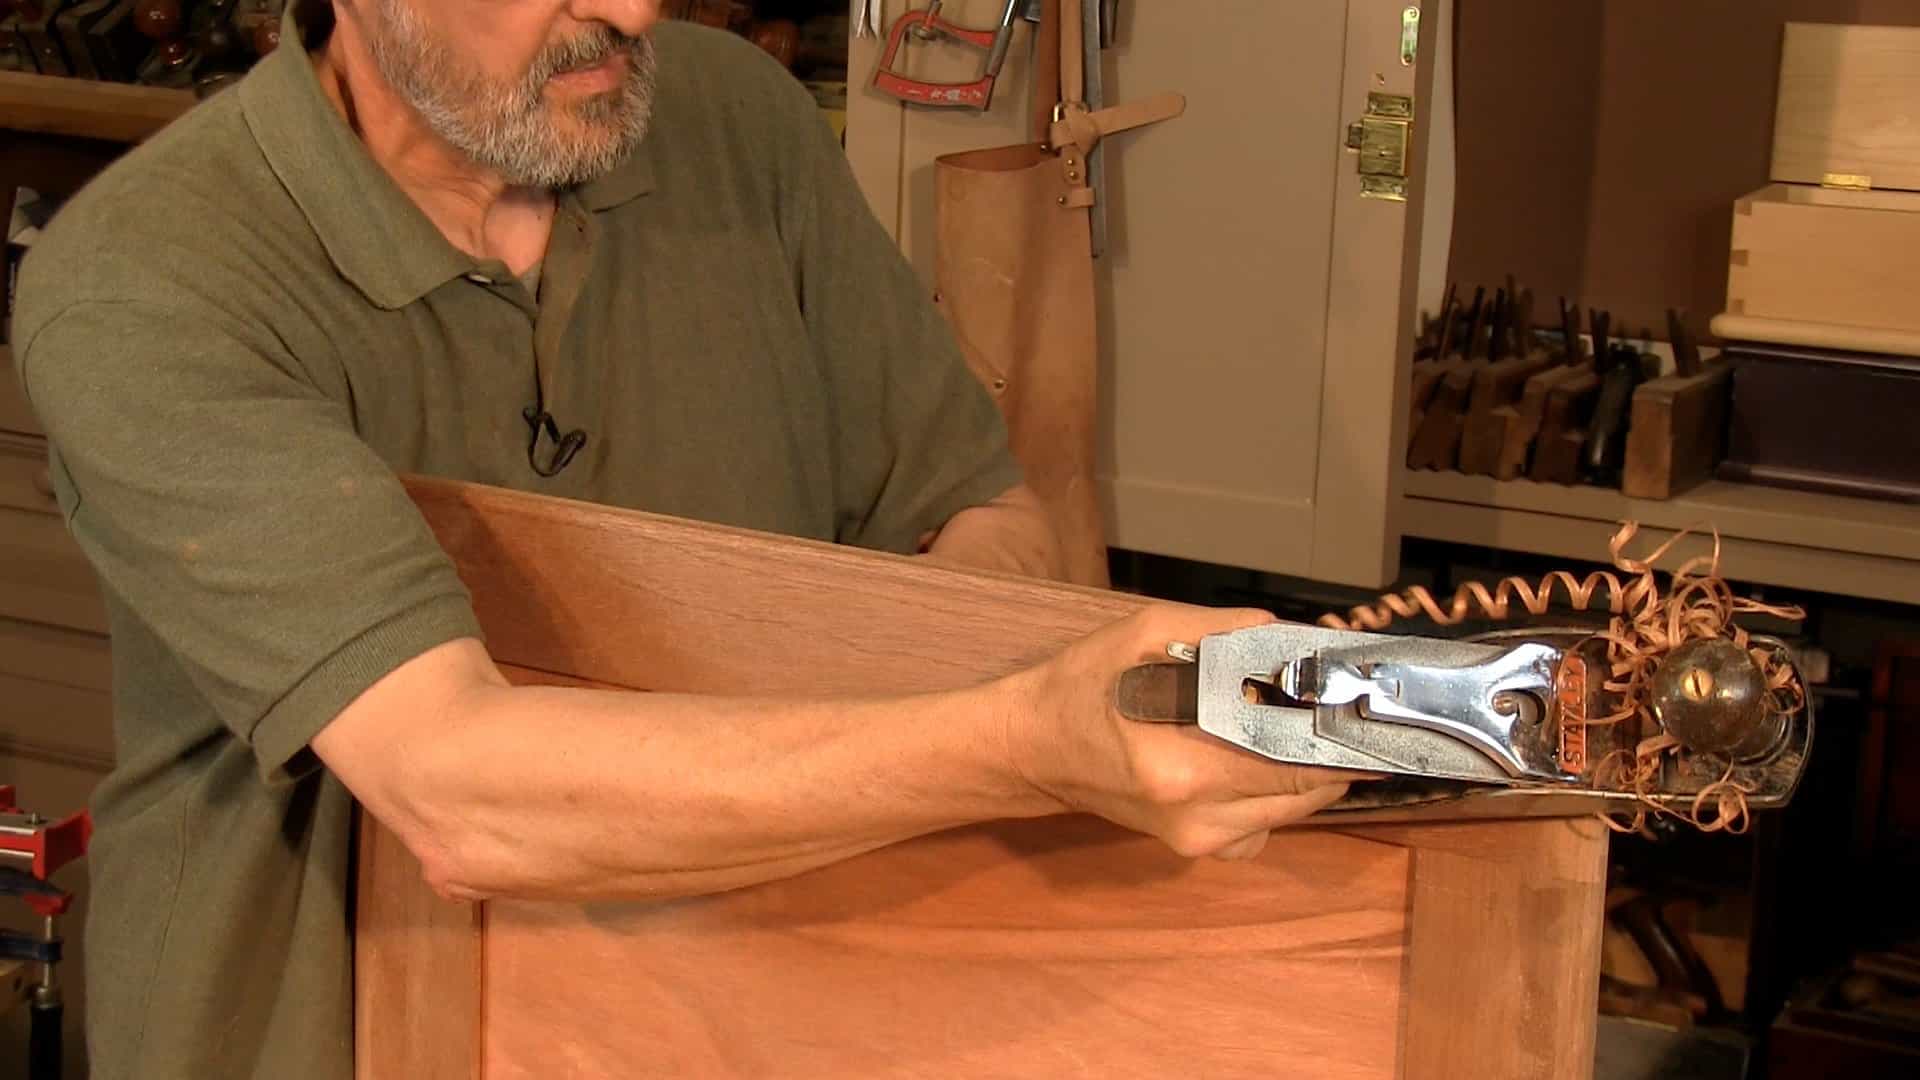
In this episode, Paul finishes off the bottom frame. He removes the haunches, surface planes and scrapes the frame surfaces and creates the round overs on the edges. This process is the same for the top frame.
Thanks for this one guys, great job as usual 😉
Another great video Guy’s, I am really enjoying these.
Steve
Thanks for this episode, it’s great!
I love how Paul simplifies the work holding task with clever using of sash clamps and it’s bench vise. I like very much the Paul’s workbench design and it’s versatility.
Please, let me repeat: Thanks a lot!
–Óscar
i did the raised panels today. i found it very difficult to keep my line straight and to create 4 clean corners .love the way Paul shows how there’s more than one to skin a cat i dont think i have seen him use bench dogs in any of the videos ,even the stock preparation he used a bench hook.
THANKS Paul,
One of the best parts of your teaching is how you always show us multiple ways to accomplish a task. The variety opens the mind. Thanks!
I love at the end your Stanley became orthodox Jewish.
Took me a while to get it but there it is at 32.20. Very funny, Shawn!
Lol
What is the sand paper type (not grit).
Thanks, Gil
In the USA I use 3M usually, in the UK I use Merka
This is a wonderful project and well presented. Something caught my attention in episode 9 in which the bottom panel is completed and it has to do with the fitting of the panel in the frame. You previously mentioned the well know fact that plywoods are always different from their nominal size and, in my experience, always undersized. Yet you used a 1/4 inch blade to plow the groove in the frame to hold a 1/4″ plywood panel. This resulted in a poorly fitted panel. Not only can one hear the panel moving in the frame, but starting at about 27 min in the you can see the poor fit.
My question is: how to create a better fit between standard plane iron sizes and undersized plywood panels ? Alternatively, if one uses a 1/4 inch iron to hold a “1/4” plywood panel what is a good fix to keep the panel from rattling and to make the fit look better?
Thanks,
Paulo
I can’t speak for Paul but…I’ve found that most “1/4” plywood panels are much closer to 6mm. Simply using a 6mm cutter will solve the issue. Alternatively you could file/grind an extra iron that will give you a better fit for the plywood. This holds true for “1/2” and “3/4” plywood as well. Anyway, that’s what works for me.
Greg
Yes Greg, grinding an iron to fit the plywood thickness is a solution, but a little inconvenient for me as I have no extra imperial irons to sacrifice for my Stanley 45 and no metric irons at all. I may try to use the next size smaller than 1/4″ and then shim the fence and do a second cut to the correct fit.
Thanks for the input
Paulo
Paulo, I’ve always just added a bit of wood glue in the middle of the frame (in the groove) to keep plywood from moving around. It works for solid wood panels as well. I just center the panel and put about a 1/2 inch bead top and bottom. Keeps the panel centered and doesn’t seem to interfere with seasonal wood movement as its just anchored at the center.