Assembly Table – episode 5
Posted 18 November 2015
This is an episode in a paid series. Want to watch it? You just need to sign up as a paid member, and you can enjoy this video and many other videos we think you will love.
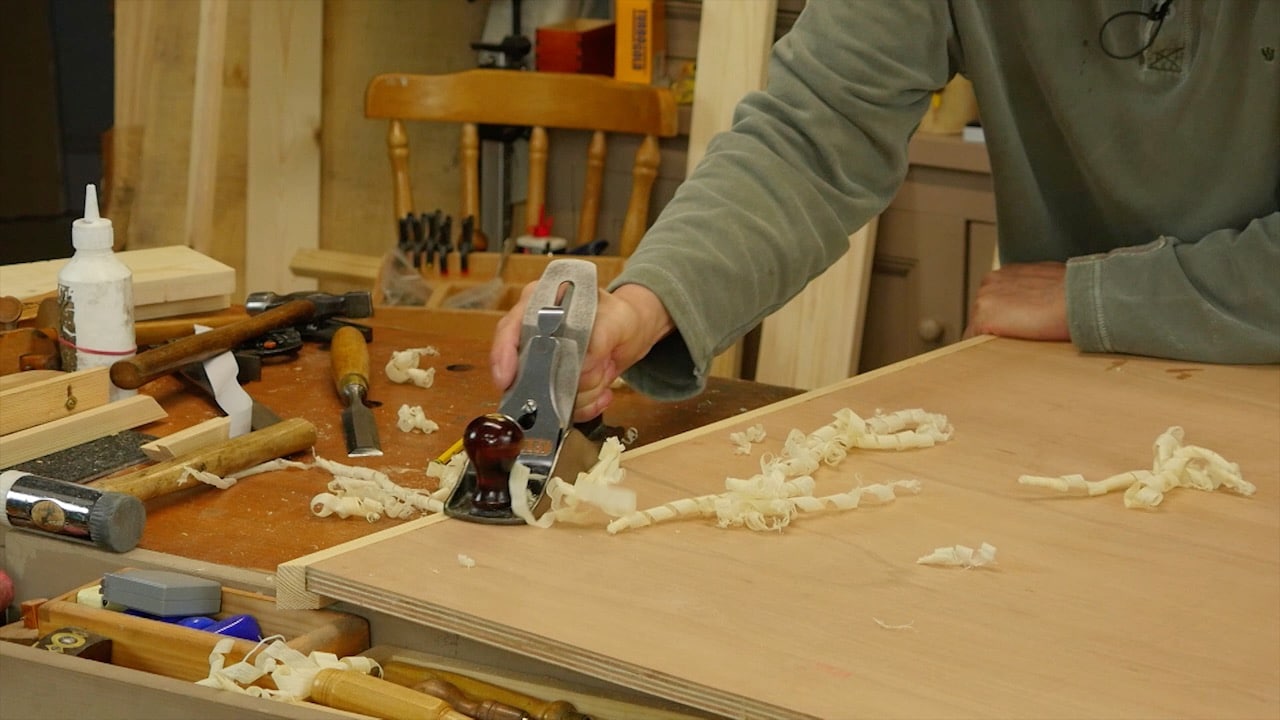
With all of the edging rebated, Paul shoes how to cut a crisp mitre at the corners. He cuts the edging to the exact length before attaching the edging with glue and nails. To ensure a neat finish, Paul planes the edging flush with the surface. Then, all that’s left to do is screw the top to the frame.


Excellent-as always Paul, with great tips…..thank you.
Chris Bailey
I really enjoyed this project as it has so many applications. I wanted to mention something or provide some feedback on the videos that I think many may have the same opinion.
When you make a small joke, add humor or tell a story about when you where a boy learning to woodwork, it really adds a whole new level to the video experience for me. It’s something that I very much look forward too and really enjoy. I can’t really explain why those videos connect with me more, but they just do.
Thanks again for all the great projects.
kaetwo
I agree with that sentiment. “miter done it better” had me chuckling for a while.
Thanks for showing us in such a precise step by step the mounting of the four sides.
Things seem to be evident at first. One thinks to have understood it all but especially the offsetting of the plane brings us , once more, much deeper into the matter.
I like very much to take the time to follow every detail of it, free from any stressy time-laps.
wonderful!
“Done & Dusted.” Thank YOU, Paul.
Good Stuff Paul,
I really enjoy everything I see on your site!
Thanks!
Tim
Excellent project, thank you.
i was looking for a design for an assembly table. Now I have one. Thank you Paul.
It never would have occurred to me to offset the plane iron – it’s brilliant. Not only that but planing the first two edges flush before progressing the next mitres. It’s all those little tricks that makes for such accurate and refined work. Thanks a million
Excellent project, hope to build one this winter. This will noe doubt be a handy piece of shop furniture.
Steve
I want to make this solely so that I have a reason to make long beautiful shavings like that. Most of my projects are small so seeing them flow off of the plane like that is a rare treat.
Thank you for sharing.
Loved the design of the legs on this table, straight to the point and super strong.
I suggest that anyone using a miter box like this one be sure to set it up so that your not trying to saw cross handed like Paul did and also add a support for the long end of the board so you can concentrate on making a clean cut. Paul gets away with it because of his superior sawing skills but make it easy on yourself and avoid crossing your hands.
Many thanks to Paul and crew for the Assembly Table series, well done as always.
Another very enjoyable series. I, too, enjoy Paul’s stories of his past. Keep up the great videos.
Offsetting plane another tip to the hundreds taught by this craftsman, my woodworking skills have come on leaps and bounds since watching this man work.
Thank you.
Agreed. I didn’t expect to learn much from this series, but that alone was a wow moment.
Good series – question about a comment made in the video. When the two edges came together and there was a small overhang where one edge stuck further out than the other Paul said it was probably just due to a slight variance in thickness of the trim.
Question is how would one resolve that issue? Would it be better to take a few shavings before assembled near that corner and feather that edge into the end or wait until it is attached and plane it down a bit then?
Hello Logan, it’s probably easiest to gauge the correct amount once in place, but you have to be careful of the pins.
Unless permanently assembled I think these joints would be adversely affected by expansion and contraction (either too tight or too loose) coupled with whatever cupping that may occur. Would some class of a tusk tenon or wedged arrangement where to wedge could be removed if taking the table apart be better.
Thanks, that is a great series. I love the trick of setting your plane iron so you don’t cut into the plywood when leveling the edge trim.
My tabletop will be edge-glued oak, perhaps with a draw-bore M&T in a very similar fashion as Paul’s Breadboard-end cutting board. If the tabletop is like that, instead of plywood, is it still okay to use screws to attach the tabletop?
If you use the breadboard ends, that should help to constrain the movement that will happen. There will be more movement with oak than with ply, so it is hard to say for definite, but screws should work fine.
Best, Phil