Chess Board: Episode 2
Posted 20 July 2016
This is an episode in a paid series. Want to watch it? You just need to sign up as a paid member, and you can enjoy this video and many other videos we think you will love.
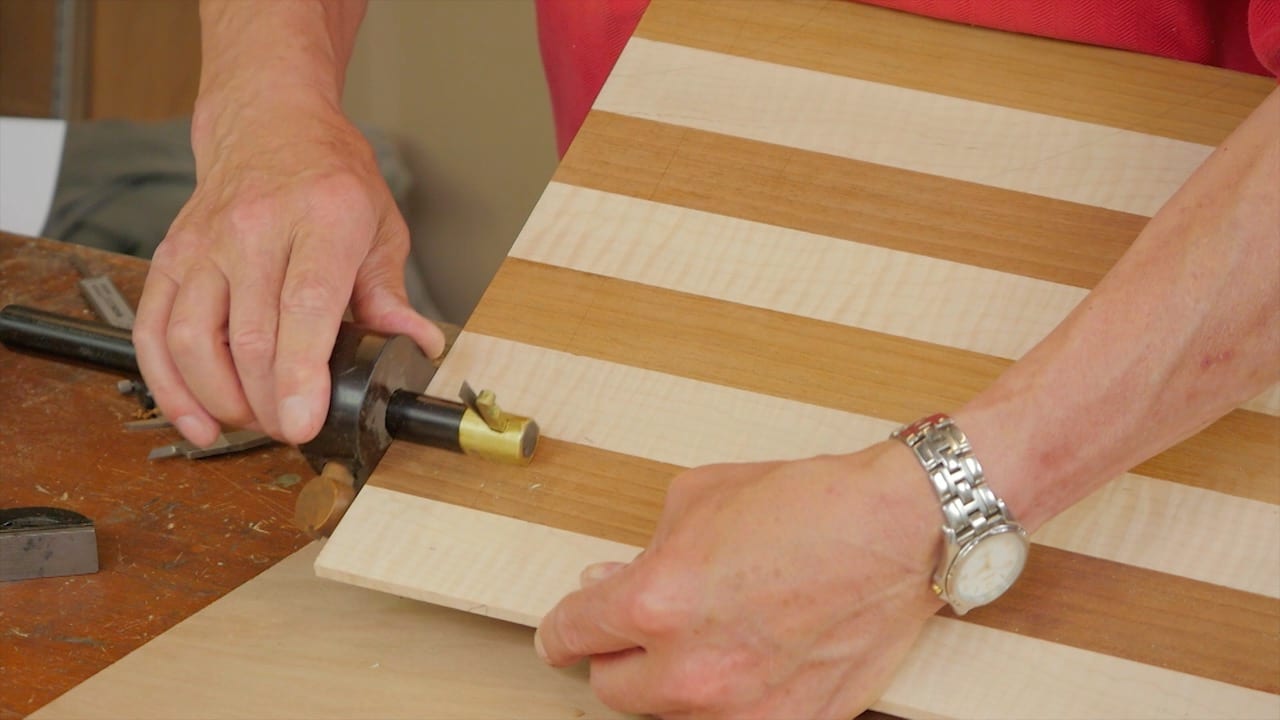
It’s time to thickness the chess board. Paul shows how to hold the top in place so that it can be thicknessed with a cabinet scraper. The edges are then carefully trued to allow the strips to be cut accurately to width with a cutting gauge and tenon saw. Once they are cut and trimmed, it’s time to glue, applying even pressure and using tape to help hold the strips in place.
I’m looking forward to tackling this project , ok how many were saying during that glue up i’m sure he missed on then , or am i the only sad one haha
I’m going to enjoy this project very much. I’m considering making this a hanging chess board and will require some different dimentions. The thing I have to work out is how I will design and attach the shelves for the chess peices. I’ll put something in the forum to get some ideas from the group. Thanks again for the very thourough instructions.
I did say that and I said it out loud as if he could hear me. ha ha
I never would of thought to use tape the way he did that’s a really nice technique you
can use in different projects.
Thank you Paul and team.
Thank you for the lesson.
Nice to see Paul using the new “cheap” tools on projects. The plane today was the sub 30 dollar Silverline plane he tuned up on his blog series on planes.
There are new (damaged packaging) Silverline No.7 jointer planes on Ebay UK for just £18.50 with free UK postage at the moment — Bargain!
This project is the first one that I am following where I am building one too. Once I get finished that lesson, I can hardly wait for Wednesday to come so I can find out how Paul does the next step. I have learned so much on handwork just from this project so far. The only thing I don’t have now to progress is a scraper plane. I have ordered one because it seems to be an invaluable tool. With care it will last many generations.
HI,
Thanks for making the login procedure work without waiting for all the images to download.
With regards to the chessboard, the download link for episode 2 goes to the video player, not the download file.
Thanks
“If you have a prissy bench”–what a riot.
Man, it can be tough to get the end-grain edges to line up perfectly. I spent several hours with my plane set super light trying to even out the edges but I know my final board is still going to have some gaps in it and won’t be perfectly square.
I think it would be helpful if Paul did a video on some basic plane techniques. I often find that the edges of my work tend to be a bit lower than the middle (i.e. a bit of bellying) but for whatever reason I really struggle to get it all perfectly straight/square. In the past I have seen Paul start in the middle of a piece and work longer strokes to get it flat and that makes sense. I also noticed in this video that I think he was using more pressure on the back end of the plane vs. the front which gave him an indication that he had things level (I’m guessing I probably have a tendency to put too much pressure on the front of my plane causing it to nose-dive a bit).
In any event, this is a fun project and while my final product won’t be perfect, I do think it will be beautiful. I didn’t have curly maple on hand but used some hard maple instead. The contrast with the mahogany is nice even though I don’t have those cool shiny ripples).
I’m not sure if this applies to your plane, but I bought a really cheap one, and it was doing the same thing; leaving a belly in the middle. I tried many different techniques before it occured to me to check the sole of the plane… well, there was the problem! Hollow sole.. sanded it down true, and now it works like a dream! Dead flat every time!
David B – this 7 minute David Charlesworth video will help you plane a board flat:
https://www.youtube.com/watch?v=vqPP6-0jkws&frags=pl%2Cwn