Door Fitting
Posted 9 March 2016
This is an episode in a free series. Want to watch it? It is free to do so, you just need to log into the site, and you can enjoy this video and many other videos we think you will love.
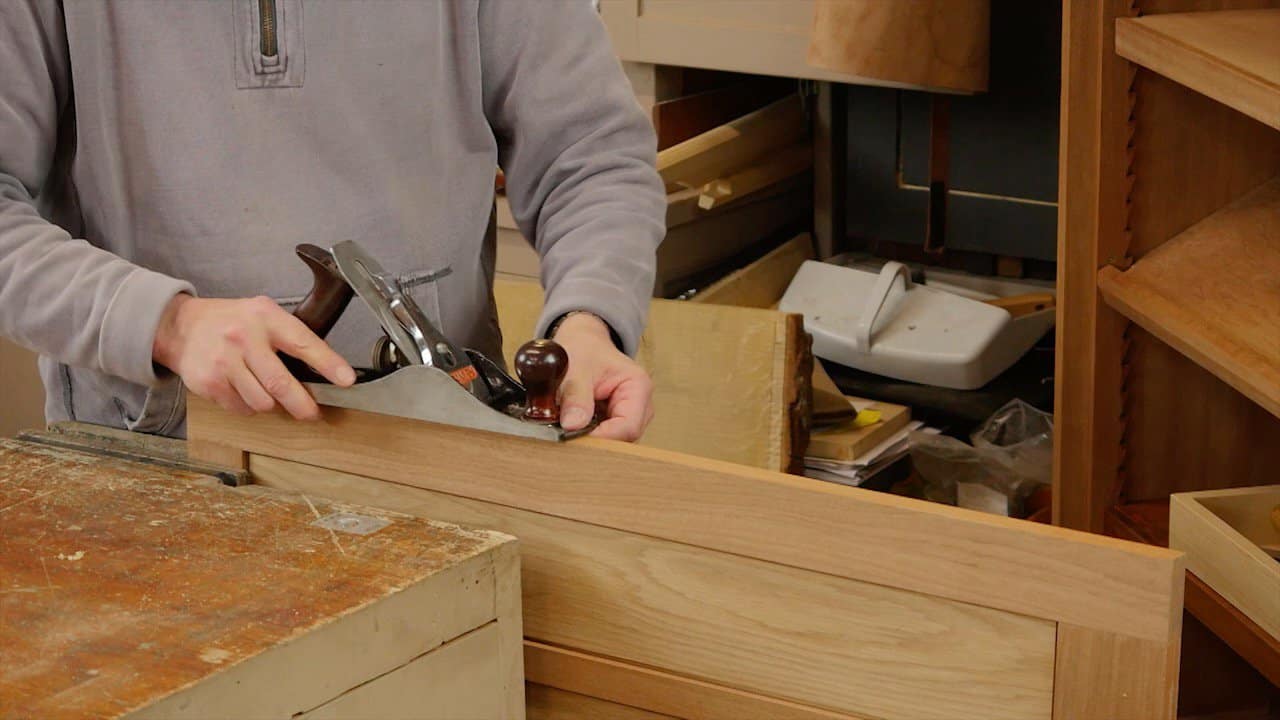
Paul goes through the process of fitting a door into a cabinet opening. The first step is to check the door is straight and true. Once that is done, Paul shows how to create a slight taper to the inside edge to help ensure a tight fit. He fits the stile, then the head and then the foot of the door, with a slight consistent gap all around. With the door fitted, Paul fits the hinges and shows what to look out to ensure tight and square hinges. He pre drills and then fits the screws, and shows how to layout the middle hinge.


Paul superb
Can I please say that some of your students are not aware why you knock off the back on door closing edge and that this will need to be on both doors.
The reason is to give a clearance when closing, as the diagonal dimension of a door is greater than its width. If the back edge was not planed off the doors would bind when closing. So many doors I see do not have this feature ..hence
binding .
Thank you John …2vices
The three sides that Paul planed with an angle -inside, top and bottom- are the ones that wouldn’t bind; it’s only the outside of the door that would bind on the opposite door or stile because of it’s diagonal dimension. Which I’m sure he will plane as well, precisely for the reason you give, but only after he has both doors in so he can fit those edges.
Taking the edge of the inside does however make sure that the door closes completely (you have to stop it from going inside the cabinet), even if there is something slightly out of square in the cabinet or door that would prevent this. I’m assuming the top and bottom are just in case the door would sag a bit or something, so it would hopefully slide into the cabinet instead of banging into the cabinet face with a hard corner.
Hi Stefan ……don’t wish to labour a point but in my humble opinion and if I were fitting a pair of doors I would plane both doors….’into the underwood’
If the left door was chosen as the slave door with a bolt top and bottom inside I would need to fit a bolt on the right door outside, this would stop my doors warping!!! ( I would really have to practice Paul’s teaching to avoid this happening )
With both doors planed this way either could be closed first.
I know you would agree when I say Paul is such a good teacher. Thanks John
Hey Cornflowers, I think you misunderstand me. Of course, if you don’t have a slave door you need to plane both doors to compensate for the diagonal. That’s what I was talking about.
I was just saying that -while you obviously need to do this- in this video Paul hasn’t planed that side yet, and the three sides that he did plane an angle were for other reasons as they have no effect on the diagonal size that matters.
Hi Stefan …sorry I must have it wrong and will need to watch Paul again to understand where we are going..
I had the great privilege of getting to Paul’s book signing yesterday in lovely Oxford…..what a great experience….50 like minded enthusiasts watching Paul’s demonstration and being able to talk to Paul, Joseph and Paul’s wife plus mingle after with 50 was an experience I shall treasure.
AND I PICKED UP MY COPY…We are very fortunate to have Paul’s teaching
Thank you for the lesson.
I couldn’t help but notice the tool shelves and wonder whether I missed their design and construction along the way. I assume it won’t be too long before there’s a episode or two showing how those were made and installed. Looking forward to it !!!
That immediately caught my eye as well since they were there in the door making episodes.
Thanks master Paul
Another fantastic lesson. What a masterful and insightful instructor! Thanks to Paul and all.
Like Mike Caruso, I noticed the internal fittings and wondered whether I had missed an episode. Can not wait to see how those internal shelves are made and fitted.
I really enjoyed learning about how to fit a door properly. Thanks.
Thank You WWMC Team!
The pattern for a house door may be the same, but I can’t clamp that in the vise and reach the top for shaving. I’m currently working on a 5′ window which is basically the same rectangle. How do I get there?
When I’ve had to plane house doors, I’ve usually stood them on their side, straddled them and planed down toward the ground. It’s uncomfortable but the ground provides good resistance against the plane stroke. Obviously you can only get about half way and you need to invert it and plane from the other end.
Hey Paul just finished a wall hanging tool cabinet wish Imhad seen this first!! Love the adjustable shelves.
Thanks Paul. Lots of good pointers there.
Question on planing please (a ‘why’).
Why does ‘starting with the plane centred on the edge’ produce a bevel please?
Not mentioned? You may understand why, I can’t see it?
Lots of tips on mounting hinges which rang bells – thank you.
Hello Dave,
I’m couldn’t find when he said that. At 4.14, Paul states that he moves the plane to the side that he wants to be lower before taking a shaving. Is that what you where discussing?