Fitting a Cornice: Part 2

Fitting a Cornice: Part 2

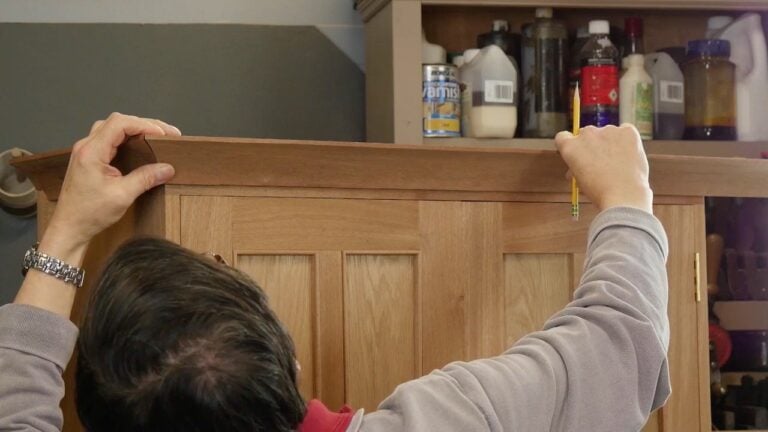
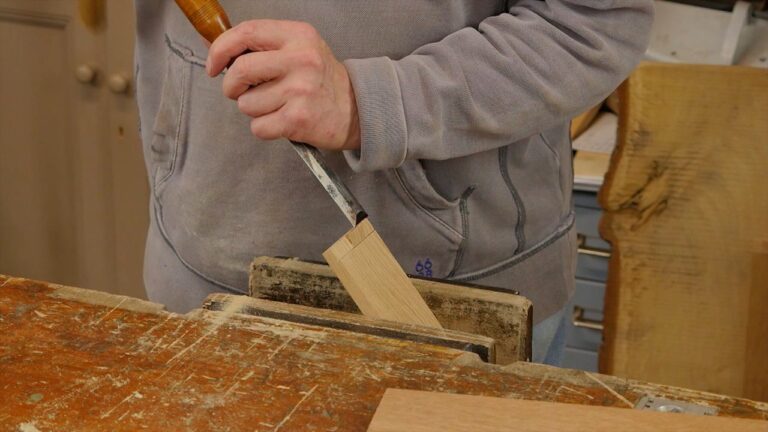
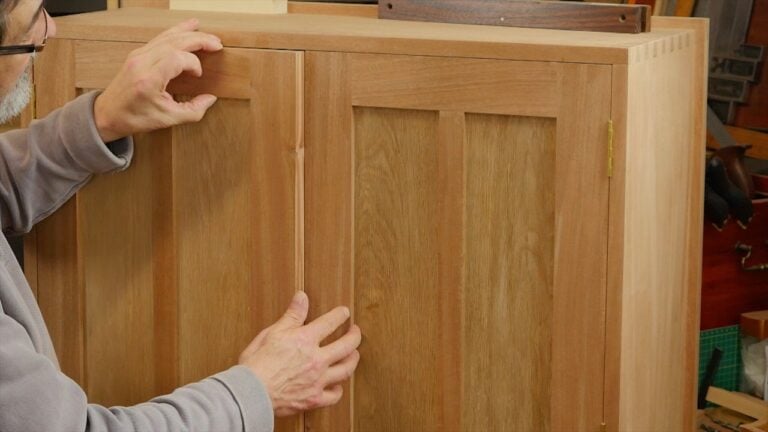
We’re ready to fit the last section of moulding, which has to be done with care. Once the mitre is cut, the nick in the back corner can be removed so the final fit can take place. This requires careful adjustment of the edges meeting the cabinet, the support and the other mitred piece. Then…

Making a Cornice

Making a Cornice

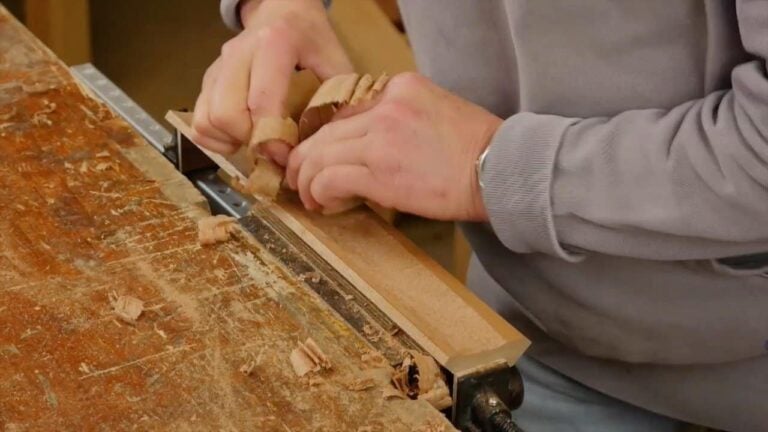
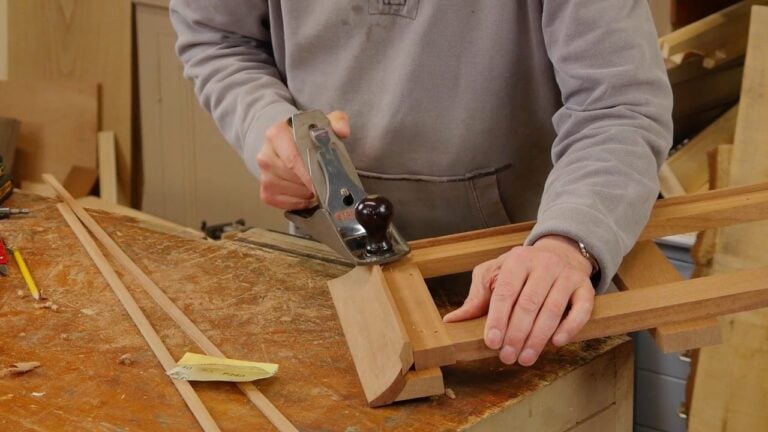
Paul shows how to use hand techniques to make a cornice. This might be just what you need to finish off a project. The first step is a 45° cut on both edges. Then a round bottom plane (as made in this project) is used to scallop the midsection, followed by the scraper and a…

Drawer Making episode 4

Drawer Making episode 4

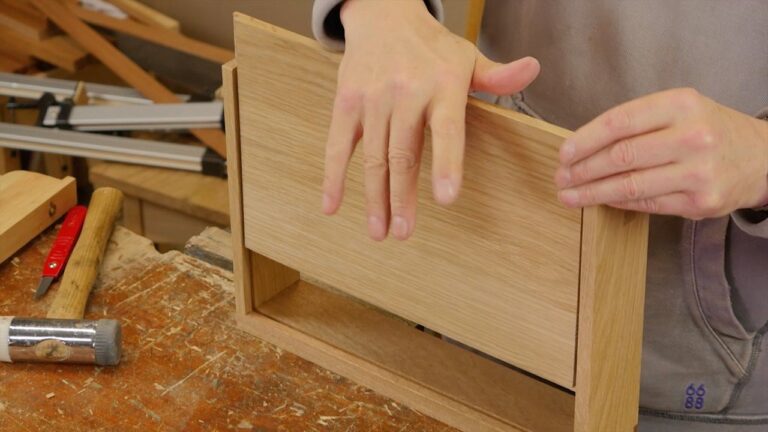
With the clamps removed, Paul fits the drawer to the recess using a plane and cabinet scraper. Once fitted, the drawer bottom is cut to size and fixed in place in the groove, then screwed in place. Paul also shows how to carefully fit a rebated solid drawer bottom, as an alternative option.

Drawer Making episode 3

Drawer Making episode 3

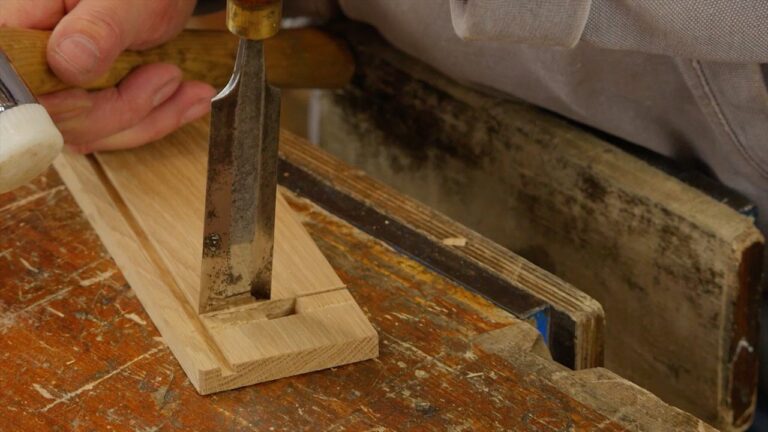
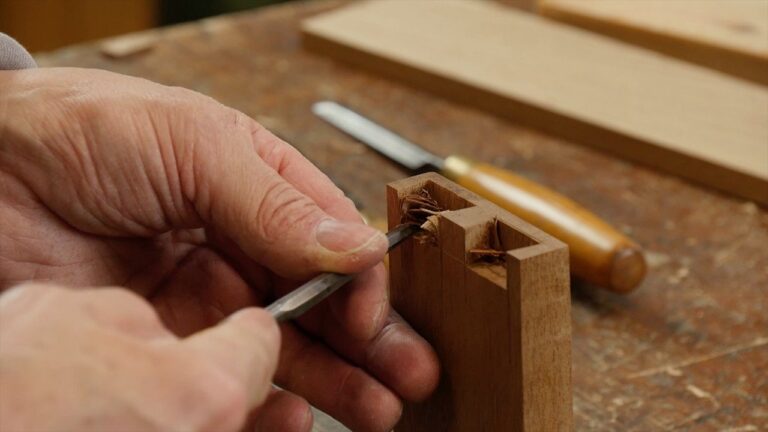
For the back of the drawers, Paul uses a housing dado combined with a through tenon. He goes through the layout with a combination of the knife, pencil and mortice gauge. The then cuts the housing and then tenon, using the knife to ensure an exact fit. This finishes off the joinery on the draws, and we are ready to glue up.

Drawer Making episode 2

Drawer Making episode 2

Paul’s second method for cutting a half-lapped dovetail uses a rebate to aid alignment of the joint. With the front of the drawer jointed, he ploughs the groove for the drawer bottom. The front is then fitted to the drawer recess and the sides are cut to length. With that done, we are prepared for the rear joinery.

Drawer Making episode 1

Drawer Making episode 1

Paul shows the steps used to prepare the stock and fit the drawer to the recess. The drawers feature half-lapped dovetails into the thicker front, and housing dados with tenons at the back. In this episode, Paul demonstrates the first of two different methods for marking out and cutting the half-lapped dovetail joint.

Fitting the Shelves

Fitting the Shelves

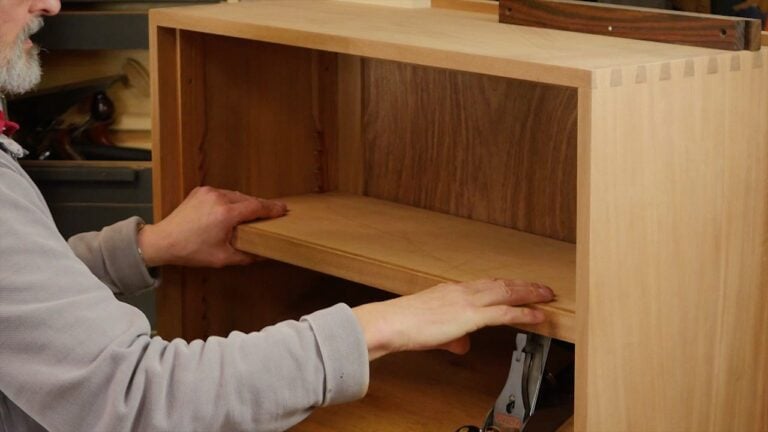
As part of fitting the shelves, Paul cuts a rebated piece to cover the front of his plywood shelf. He then fits the shelf to the cabinet, ensuring it fits around the sawtooth shelf supports. He then fixes the rebated piece and the stops to ensure the shelves stay in place in use. Paul also shows how to fit an optional sloped shelf.

Shelf Supports

Shelf Supports

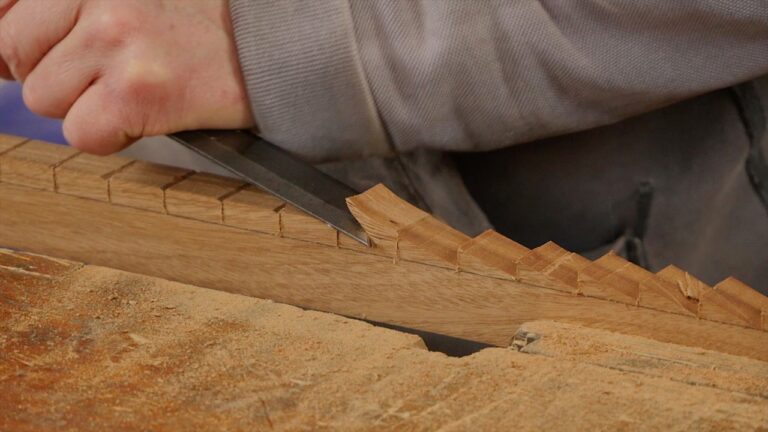
Paul shows how to make sawtooth shelf adjusters. These allow the placement of shelves at various heights using fitted brackets. They also act as a door stop or planted rebate. The layout is key to aligning the shelves, and once done Paul cuts and chops the sawteeth. Once reinforced, he screws them in place and shows how to cut and fit the brackets, including the brackets for the sloped shelf.

Door Hanging

Door Hanging

There are a few things to check before hanging a door. Paul shows how he positions the door in the opening with the correct spacing, well as showing how to layout and recess the hinges into the cabinet. He shows the process of eliminating gaps caused by any movement in the wood, before moving on to fitting the second door and planing the doors to ensure they fit perfectly with a leading edge at the central meeting point.