Drawer Making episode 2
Posted 13 April 2016
This is an episode in a free series. Want to watch it? It is free to do so, you just need to log into the site, and you can enjoy this video and many other videos we think you will love.
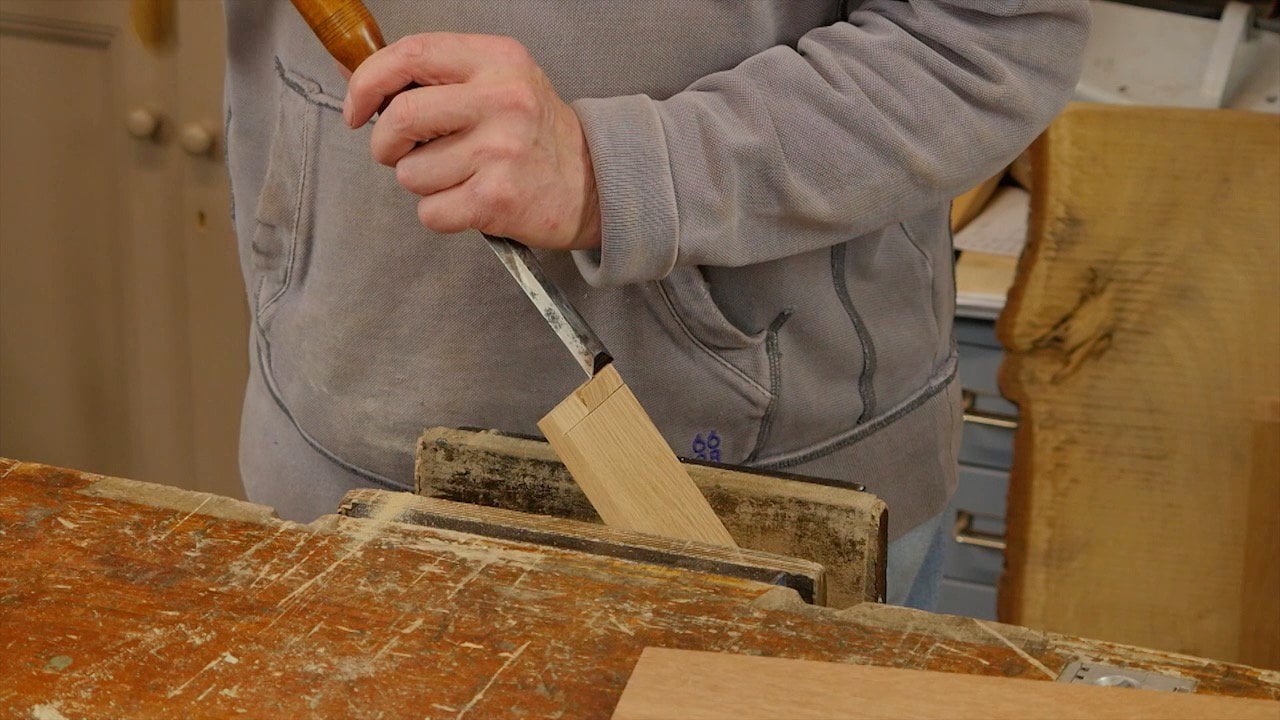
Paul’s second method for cutting a half-lapped dovetail uses a rebate to aid alignment of the joint. With the front of the drawer jointed, he ploughs the groove for the drawer bottom. The front is then fitted to the drawer recess and the sides are cut to length. With that done, we are prepared for the rear joinery.
Thank you for the lesson.
Paul this really exciting, you make it look so easy, thanks again for a great video.
Steve
Love those dovetails. Awesome!
Great to see the two approaches to the half-lap dovetail for the drawer front.
Is there any ‘rule of thumb’ for how big to make the rebate or the thickness of the remaining dovetail?
Thank you Paul! I never thought I would look so forward to Wednesday’s!
I’ve said this before, many months ago on YouTube, you are a Great Teacher, you know how to teach. Something many people who know how to do something, but don’t know how to teach someone else.
The detail you go into in explaining why you do a certain thing really helps with the understanding of why it is important. whether it is for an out come of a cut or just the love of wood. Thank you.
At 27:02 in this video you mention having made the cutter at a size less than 1/4″, presumably it is 6mm to fit plywood. I’ve not had much luck finding a 6mm cutter for the Record 044 so I am curious if you just ground down a 1/4″ cutter to size or started with bar stock such as when you show how to make a plane iron.
Hello Steve, we usually grind them down from the wider cutter.
Absolutely superb Paul, I loved it all the way through
You are awesome. I thank you for sharing you wealth of knowledge.
Fine lesson. And what a place to stop! Cliffhanger for sure. I love it.
Thank you !
Thank You WWMC team!
A Question…
Just so I’ve got this clear in my mind…
The two front joints, (front left and front right), with the sides, have not just been made using a different method to each other, they are actually different to each other mechanically, because of the offset used as a guide in the second method…
Is that right, the end result is that the joints are different?
If I have got that right, is one stronger/better than the other?
Thanks,
Regards,
Matt Sims
I finished making my first “pilot” attempt at a drawer last week for a table I’m making before seeing your video. You’ve just saved me a lot of frustration… Great “trade secrets”!
Any chance of doing a video on a poor mans plough plain?
Thank you, Paul, for sharing these free videos. You are generous.
What a pleasure to watch a true master work his craft, focused on the task at hand, without a bunch of “Tom-foolery” or “hub-bub” as you Brits call it, getting in the way!
Years ago I asked a woodworking friend to teach me how to cut some simple dovetails into 1/2″ BB ply to make some drawers for underneath my workbench. I’d never made DT’s before. He had, Further, he had a shop full of tools, and multiple DT jigs. What could go wrong?
Plenty.
Routers love to bust out/off the outer ply as the bit spins outwards. Further, he wasn’t as familiar with setting up either DT jig as I thought. Thus, seemingly endless hours spent fussing with it. My drawer side height was only 4″. To me, this should have been a slam-dunk. He had somewhere else to be, thus left me with it. (Thanks….) I thought to myself “This is nuts…I’ve never cut DTs, didn’t realize that different router bits were used, with different angles and several different “pages” of paper templates to go through.” I soon left out of frustration and realized my now-absent-friend didn’t know how to easily do this simple task either.
On the way home, the thought occured to me “I could have bought a cheap hobby hand-saw, marked them out, cut them individually, and ACTUALLY HAVE SOMETHING FOR MY EFFORTS! Go figure…..
I don’t “collect” power tools, nor hand tools. I am very much “self-taught”. I have a small low-angle Stanley block plane bought years ago I finally learned to “tune” and get the blade “scary sharp”. This made all the difference! Same with getting my inexpensive chisels sharp. I am a big believer in patiently learning and practicing with my hands to develop my knowledge, skills and abilities.
I need to obtain a decent #5 or #5-1/2 plane as I don’t own neither a power planer or jointer. Veritas are presently out of reach. I do watch for sales on Woodriver’s tools. CL has been a local dry hole for the older planes Paul favors. I think the older guys have already bought all of them!
My plan is to get a decent plane & saw, and practice these joints on cheap pine/fir from a box store. Then cut some M&T joints on 2×4’s as I’ve never cut a M&T joint either. I also need some more drawers for the bottoms of kitchen cabinets and I prefer BB ply for its stability. I can easily size it on my table saw. BUT I WILL HAND-CUT THE DOVETAILS now that Paul has masterfully demonstrated how to lay these out by hand and cut them. THANK YOU SIR! (Odd my friend never recommended this approach after multiple router blow-out-failures…)
Now I know why Paul is called a Master. I bow before your obvious skills. Teaching is your forte.
My wife has been a private tutor of English and Mathematics to children in secondary school; she
has these similar but different skills. I built a total of 10 Thomas Jefferson Book Boxes with dovetails for all corners with miters from plans by Chris Schwartz of Popular Woodworking. You can imagine how much I had to fill in with sawdust and glue to make up for my learning not to do them your skilled way. Thank you so much for these valuable “Free Lessons”. I am devoted.
Best Regards,
Jim
Paul, you are a superb teacher. It’s relaxing to watch you work.
I’ve always been working with power tools and machines but watching you is quickly convincing me to adopt the more traditional ways.
Thank you very much.
A joy to see grooves cut so simply. Which plough plane was used?
If memory serves me, Paul mentioned he has a cutter for the plough plane that is less than 1/4 inch. While looking at 1/4 inch plywood it’s dimensional thickness is different than 1/4. Similarly so with other plywood thicknesses. He may have been referring to a different point, but I wonder if he has taken a cutter blade and ground it thinner to allow the plywood to still have a movement free fit.
I don’t have a plough plane but I have a hand router with a fence attachment. Will that work as well?
It will work. Just take tiny bites. It would also be beter to cut the edges and even chisel down like you are fittng hinges , and cleanup with the router. Go slow, enjoy the trip.
Your plow plane should have a spur cutter to score the wood ahead of the cutting iron. Truly enjoying all the videos. I have a shop full of power equipment but now, in retirement , I really have the urge to work by hand thanks to your inspiration.
“My father always told me there are two ends to a plank”..I love those little asides! And as always the care and no detail too small…the tool cabinet is next on my list but I think I may struggle….I will be watching those a lot! Thank you to you and the team as always!
Scott
Is there a method for cutting the grooves completely by hand? I thought I saw Paul do this but I cannot remember where I saw. Plow planes are $250+ new or eBay used so that puts it out of range for most new hand tool woodworkers that want to keep costs down. It is a great tool but I can’t justify $250+ for it.
A simple method that uses the tools you probably have at hand is that you can mark it with a pencil or gauge, cut the extremes with a saw and chisel out the waste with a relevant width chisel. This is probably more of a temporary solution.