Drawer Making episode 3
Posted 20 April 2016
This is an episode in a free series. Want to watch it? It is free to do so, you just need to log into the site, and you can enjoy this video and many other videos we think you will love.
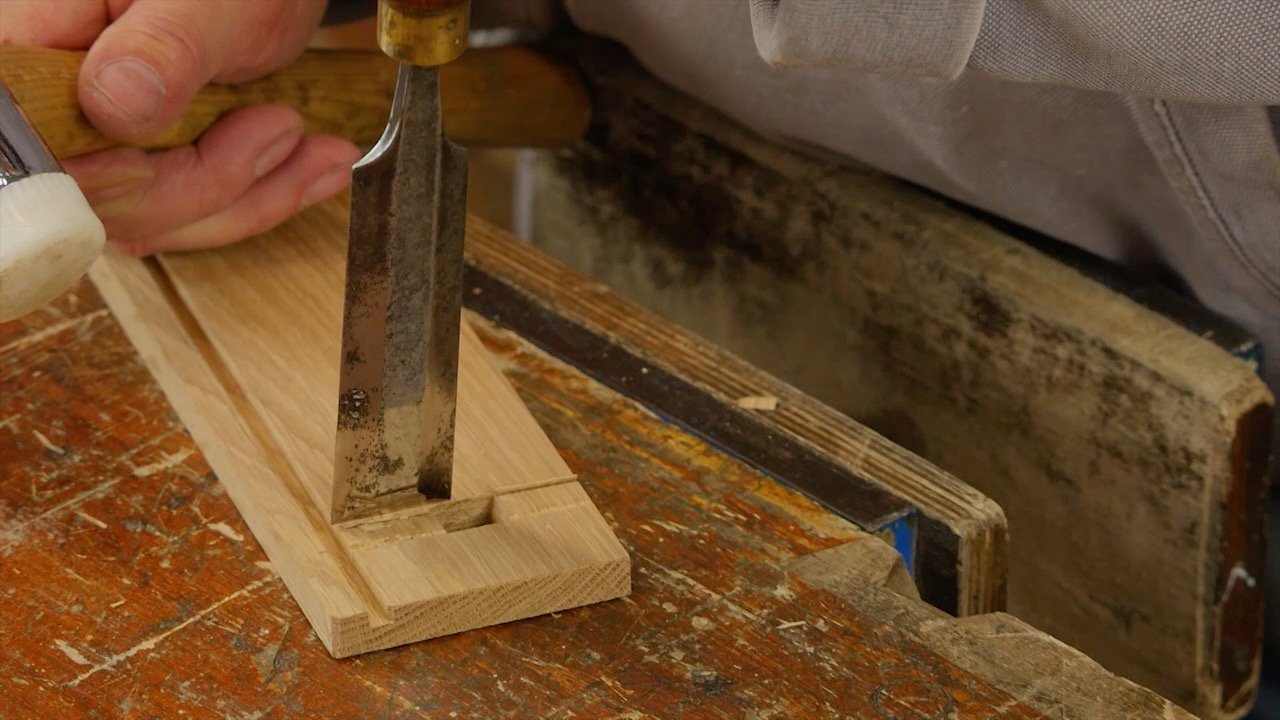
For the back of the drawers, Paul uses a housing dado combined with a through tenon. He goes through the layout with a combination of the knife, pencil and mortice gauge. The then cuts the housing and then tenon, using the knife to ensure an exact fit. This finishes off the joinery on the draws, and we are ready to glue up.


Thanks Master P.Sellers (and team) for another great video 😀
Paul, you are the master of master woodworkers. Thank you, and your team, for bringing such valuable and dare I say rare knowledge to us all.
Bill
Paul, have you tried liquid hide glue in an application such as this. I make a lot of small boxes and I’ve though of using LHG because of the easy clean up. But I wonder about the holding ability and the lasting quality of this glue. I really enjoy your work and watching your talent, you make it look easy.
Kirk
Thank you for the lesson.
Thank you for the video(s) this tool cabinet build offers a lot in the necessary procedural steps that must be applied (weather one uses hand or power tools) in order to strive for accuracy.
one question
how does the drawer bottom stay in place
In honesty I had no interest in building the cabinet at the beginning after following I’m pleased to say it has made it to my list and your straight forward approach in your teaching style has encouraged me.
Thanks to you I have learned saw sharpening , chisel sharpening, plane iron sharpening and proper use of the three lay out and design. the list could continue but my continued support will have to do for now. Thank You
I really like this drawer. Very strong and the ability to pull it out all the way without the use of metal full extension slides makes it wonderful.
Thank You WWMC team!
Thanks for all the great videos. One question I had was when marking the housing dado on the inside of the drawer, you marked both sides with the knife. In your other videos, you marked one wall with the knife, and the other with a pencil until you could test fit for accuracy. Is there a reason you marked both walls of the housing dado with the knife before cutting it?
Thanks again for the great content.
Outstanding!
Paul
The world needs more people like you.
Thank you for all that you give
Hi Paul,
While perhaps not as elegant as adding square mortise and tenon joints to the back of the drawer, it seems to me that after glue-up it would be a simple matter to insert/glue a dowel through the sides into the drawer back. Doweling in this manner (even using multiples) would be faster to make, secure and I think would still look okay. I’m sure you’ve considered this and I would like to hear your thoughts about the choice.
Thank you for the excellent and helpful work presented on these videos!
Hi Paul, I’ve been watching back to back, drawer makeing episodes, a great evening, thanks for sharing the tricks of the trade and for keeping the craft alive.
I enjoyed watching the closeness to detail and the dovetail marker. Currently I am caught up with some major decorate in, I’m getting restless to get out in the workshop.
Many thanks Larry.
If you happen to cut your housing before chopping the mortise, I’ve found it’s not a problem. Just use your combination square to transfer the mortise layout lines from the outside face to the other side. To be more accurate, you could instead use a piece of thin stock that exactly fits the housing dado to do the same transfer of layout lines.
Why not house the plywood bottom in the drawer on all sides?
So that you can remove and replace it at a later date if necessary.