Garden Bench: Episode 2
Posted 17 April 2019
This is an episode in a paid series. Want to watch it? You just need to sign up as a paid member, and you can enjoy this video and many other videos we think you will love.
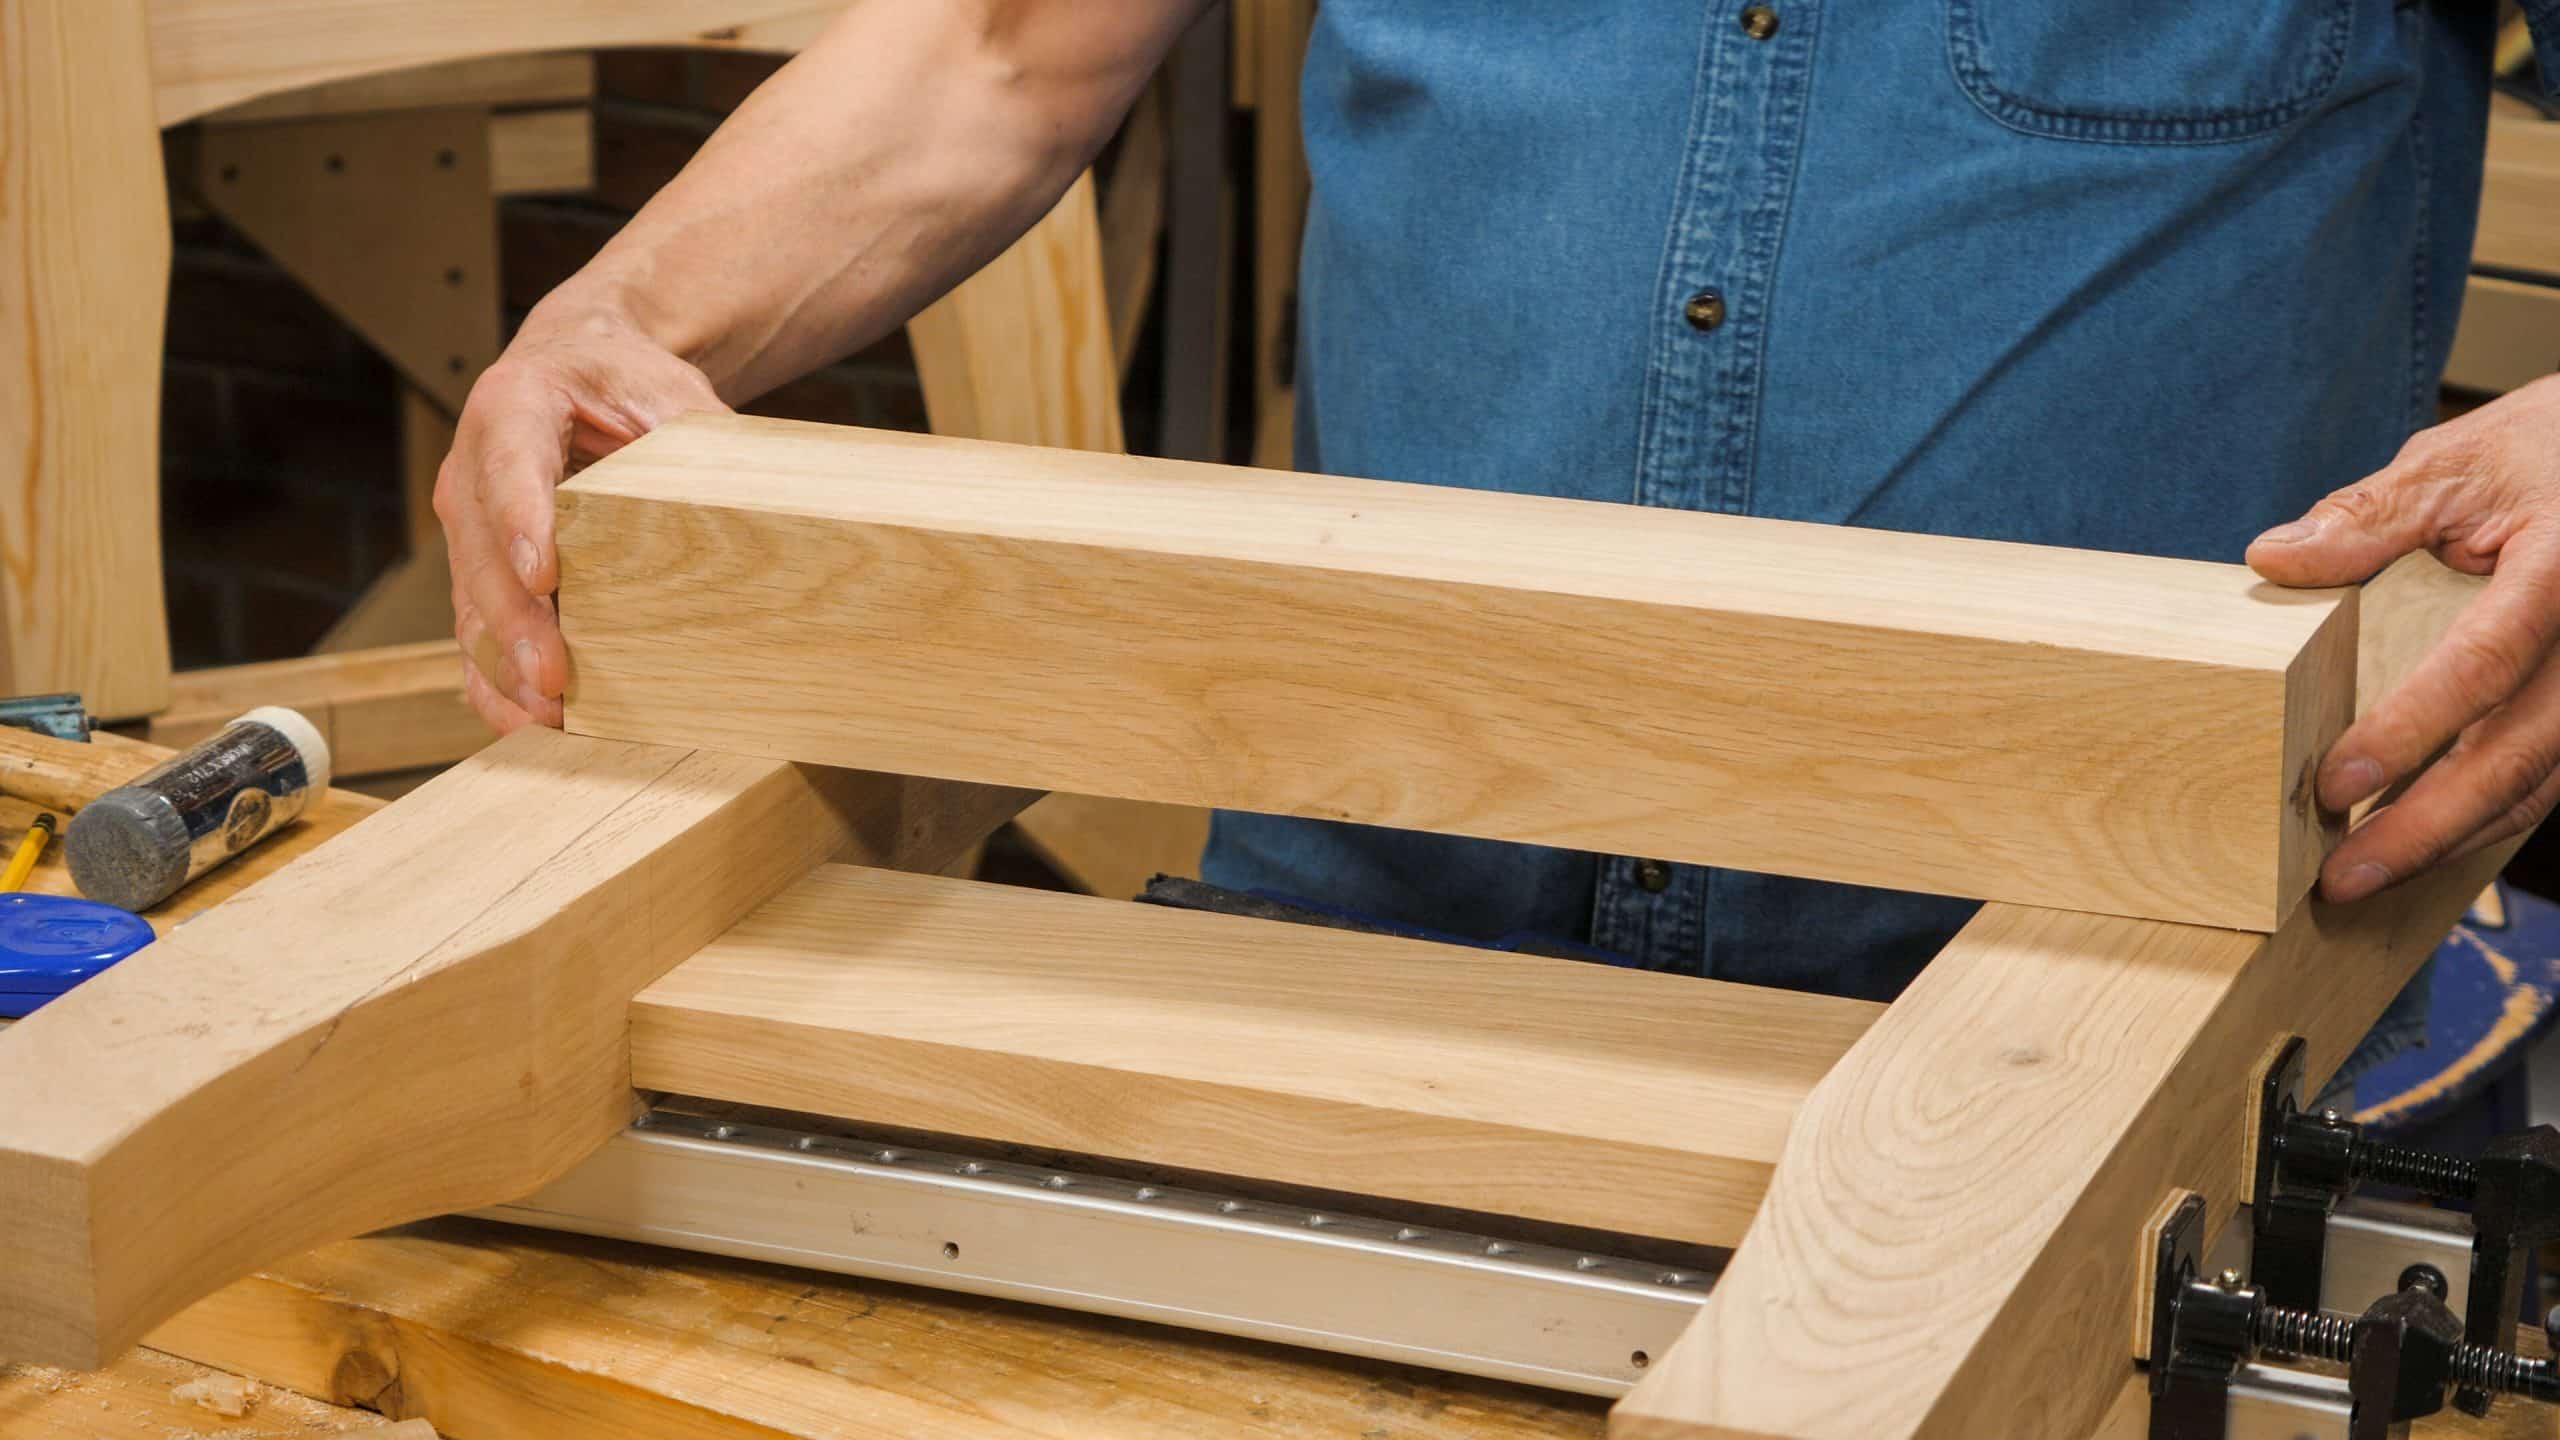
In this episode, Paul shows how to lay out the joinery for the arm. This is a little tricky because the mortise and tenon at the back of the arm are angled making this a little harder to lay out than normal. Paul then goes on to chop the mortise and tenon which are both quite straightforward despite the angle. Fitting, however, turns out to be a real challenge for this particular joint. It is a real struggle but it gives Paul the opportunity to go through a variety of troubleshooting methods.
Great – love the problem solving!
It’s looking good Paul, I take it this can be cut down to make a matching chair if needed.
It certainly can. It would just be a matter of shortening all the long rails and slats and reducing the number of uprights in the back.
Anyone have thoughts on using pressure treated pine for the bench? I know it’s used for fence posts because it resists rot, but I really don’t know any more. I’m in coastal Florida. Ideas?
It might not be real good for all the contact you will have with it and cutting it puts bad stuff in the air. It also isnt pressure treated all the way through. You might be wiser to just use pine and thompsons water seal or some other weatherproofing
Terry,
On the treated lumber-Don’t
Since you’re in Fla you might consider Cypress.
Try to get old growth if possible.
Here:
http://www.crackersawmill.com/products.shtml
Among others.
Craig
Paul, thank you so much for spending the time to show us how you fit that tenon. At home, we often have shoulders that don’t close up or other issues when things don’t go exactly as planned. Watching how to troubleshoot and fix the joint was extremely valuable. I would love to see a series where you show common “mistakes” and how to remedy them. Offset shoulders like this, thin tenons, mortises that aren’t quite perpendicular, tenons that aren’t quite perpendicular, etc. Understanding when/how to fix a sloppy joint vs. throwing the piece out to make a new one is a valuable skill that I’d love to learn more about.
I agree. Very glad to see this happen and Paul fix it.
Me too!
When a joint is going to be pinned in place rather than using glue would it be a problem to rub a tinny amount of beeswax on the tenon to reduce some of the friction experienced during assembly?
Hi,
Paul says it would be fine to do that, but he’s never done it.
Kind Regards,
Izzy
Might the origin of the problem be the freehand cutting of the mortice? If it is not perfectly parallel to the side face of the upright, the joint will have a gap on one side.
The solution chosen will work well here, where the arm is short and the front of the arm will be thrown sideways only a short distance. This can be absorbed by repositioning the front mortise slightly.
I don’t think it would work for a long stretcher where the far end would be farther out of position and the mortise could not be moved easily, Is there a different trick here?
regards,
Geoff
At the 26 minute mark Paul you hold the front edge of the saw with your left hand – what was the reason for this – wood working finesse or just comfort?
Oh, and I appreciate the comment ‘Glad this happened’ because it gave the opportunity to show what to do when things don’t quite work first time.
Hi,
Paul has been away so I passed your question on to Joseph and his answer is below:
This was to give the saw some extra oomph.
Kind Regards,
Izzy
Thanks Izzy
Paul, great work as always enjoy all your series and shall be making this garden bench very soon as It is definitely on my To Do list.
My query though is on this video you state the knee for the back leg is 16″ but on your Technical drawing download it states 18″ ? Which measurement is correct?
Also I have noticed that some of your leg stock have splits in them, will these widen and weaken the legs in time or not? Is there a way to fix these in the future?
Kind Regards, Anakha
Hi Anakha,
We checked the drawing and it is 16” which is correct. Paul says the split won’t weaken the legs, they could widen but they could also close up.
Kind Regards,
Izzy
Paul said he was glad the problem arose really because it showed what we have to go through sometimes. Maybe for Paul this is a rare occurrence, but for me watching him deal with that difficult shoulder line was incredibly valuable, because as a beginner I have lots to mistakes to confront. I wish I hadn’t but sometimes there they are. What would be phenomenally valuable is a skills video where Paul takes two or three tenons that are not seating and shows different ways of evaluating the problem and correcting. For example, I have watched lots of hours of his work and I have never seen him put the saw in the joint line and create a new shoulder. I’d love it if he had time to slow some of those things down and talk through them with a video where that was the point. Just a suggestion, but I bet I’m not alone there!
I’m just about to start on this project and was watching this episode again. At 6:01 in the video, the mortise for the rear seat rail looks very close to the slope of the lower edge on the back leg. The drawing appears to show that only the top part of the rear leg slopes and then below the 18″ knee the leg is vertical with the mortise a further 3/4″ from this vertical. Which is correct?
Paul: In my build the back leg is getting the sloped cut at the bottom 16″ half as in the video (Paul marks it during 1:02 to 1:50). To me it looks better that way but I’m also moving that mortise a 1/4″ inwards (using cedar and concerned about that thin wall).
As you pointed out, the drawing looks a bit unclear on this. May be Izzy will notice and clarify.
On the front face of the rear leg I made the knee at 16 inches. On the back face of the back leg I made the mark at 18 inches which left more wood around the mortise. This worked great for me.
Is there anyway we can get a loop of the music played during with the various scraping, planing, sawing, tapping and sanding that paul does?
It is just such a peaceful montage that I would listen to all day here at work. Some of the best sounds around!
Paul I feel your pain, just lately every time a shoulder wont seat its always the piece with the mortice is just out of sqaure thanks to my unrelentlingly cock eyed planing!!