Garden Bench: Episode 3
Posted 24 April 2019
This is an episode in a paid series. Want to watch it? You just need to sign up as a paid member, and you can enjoy this video and many other videos we think you will love.
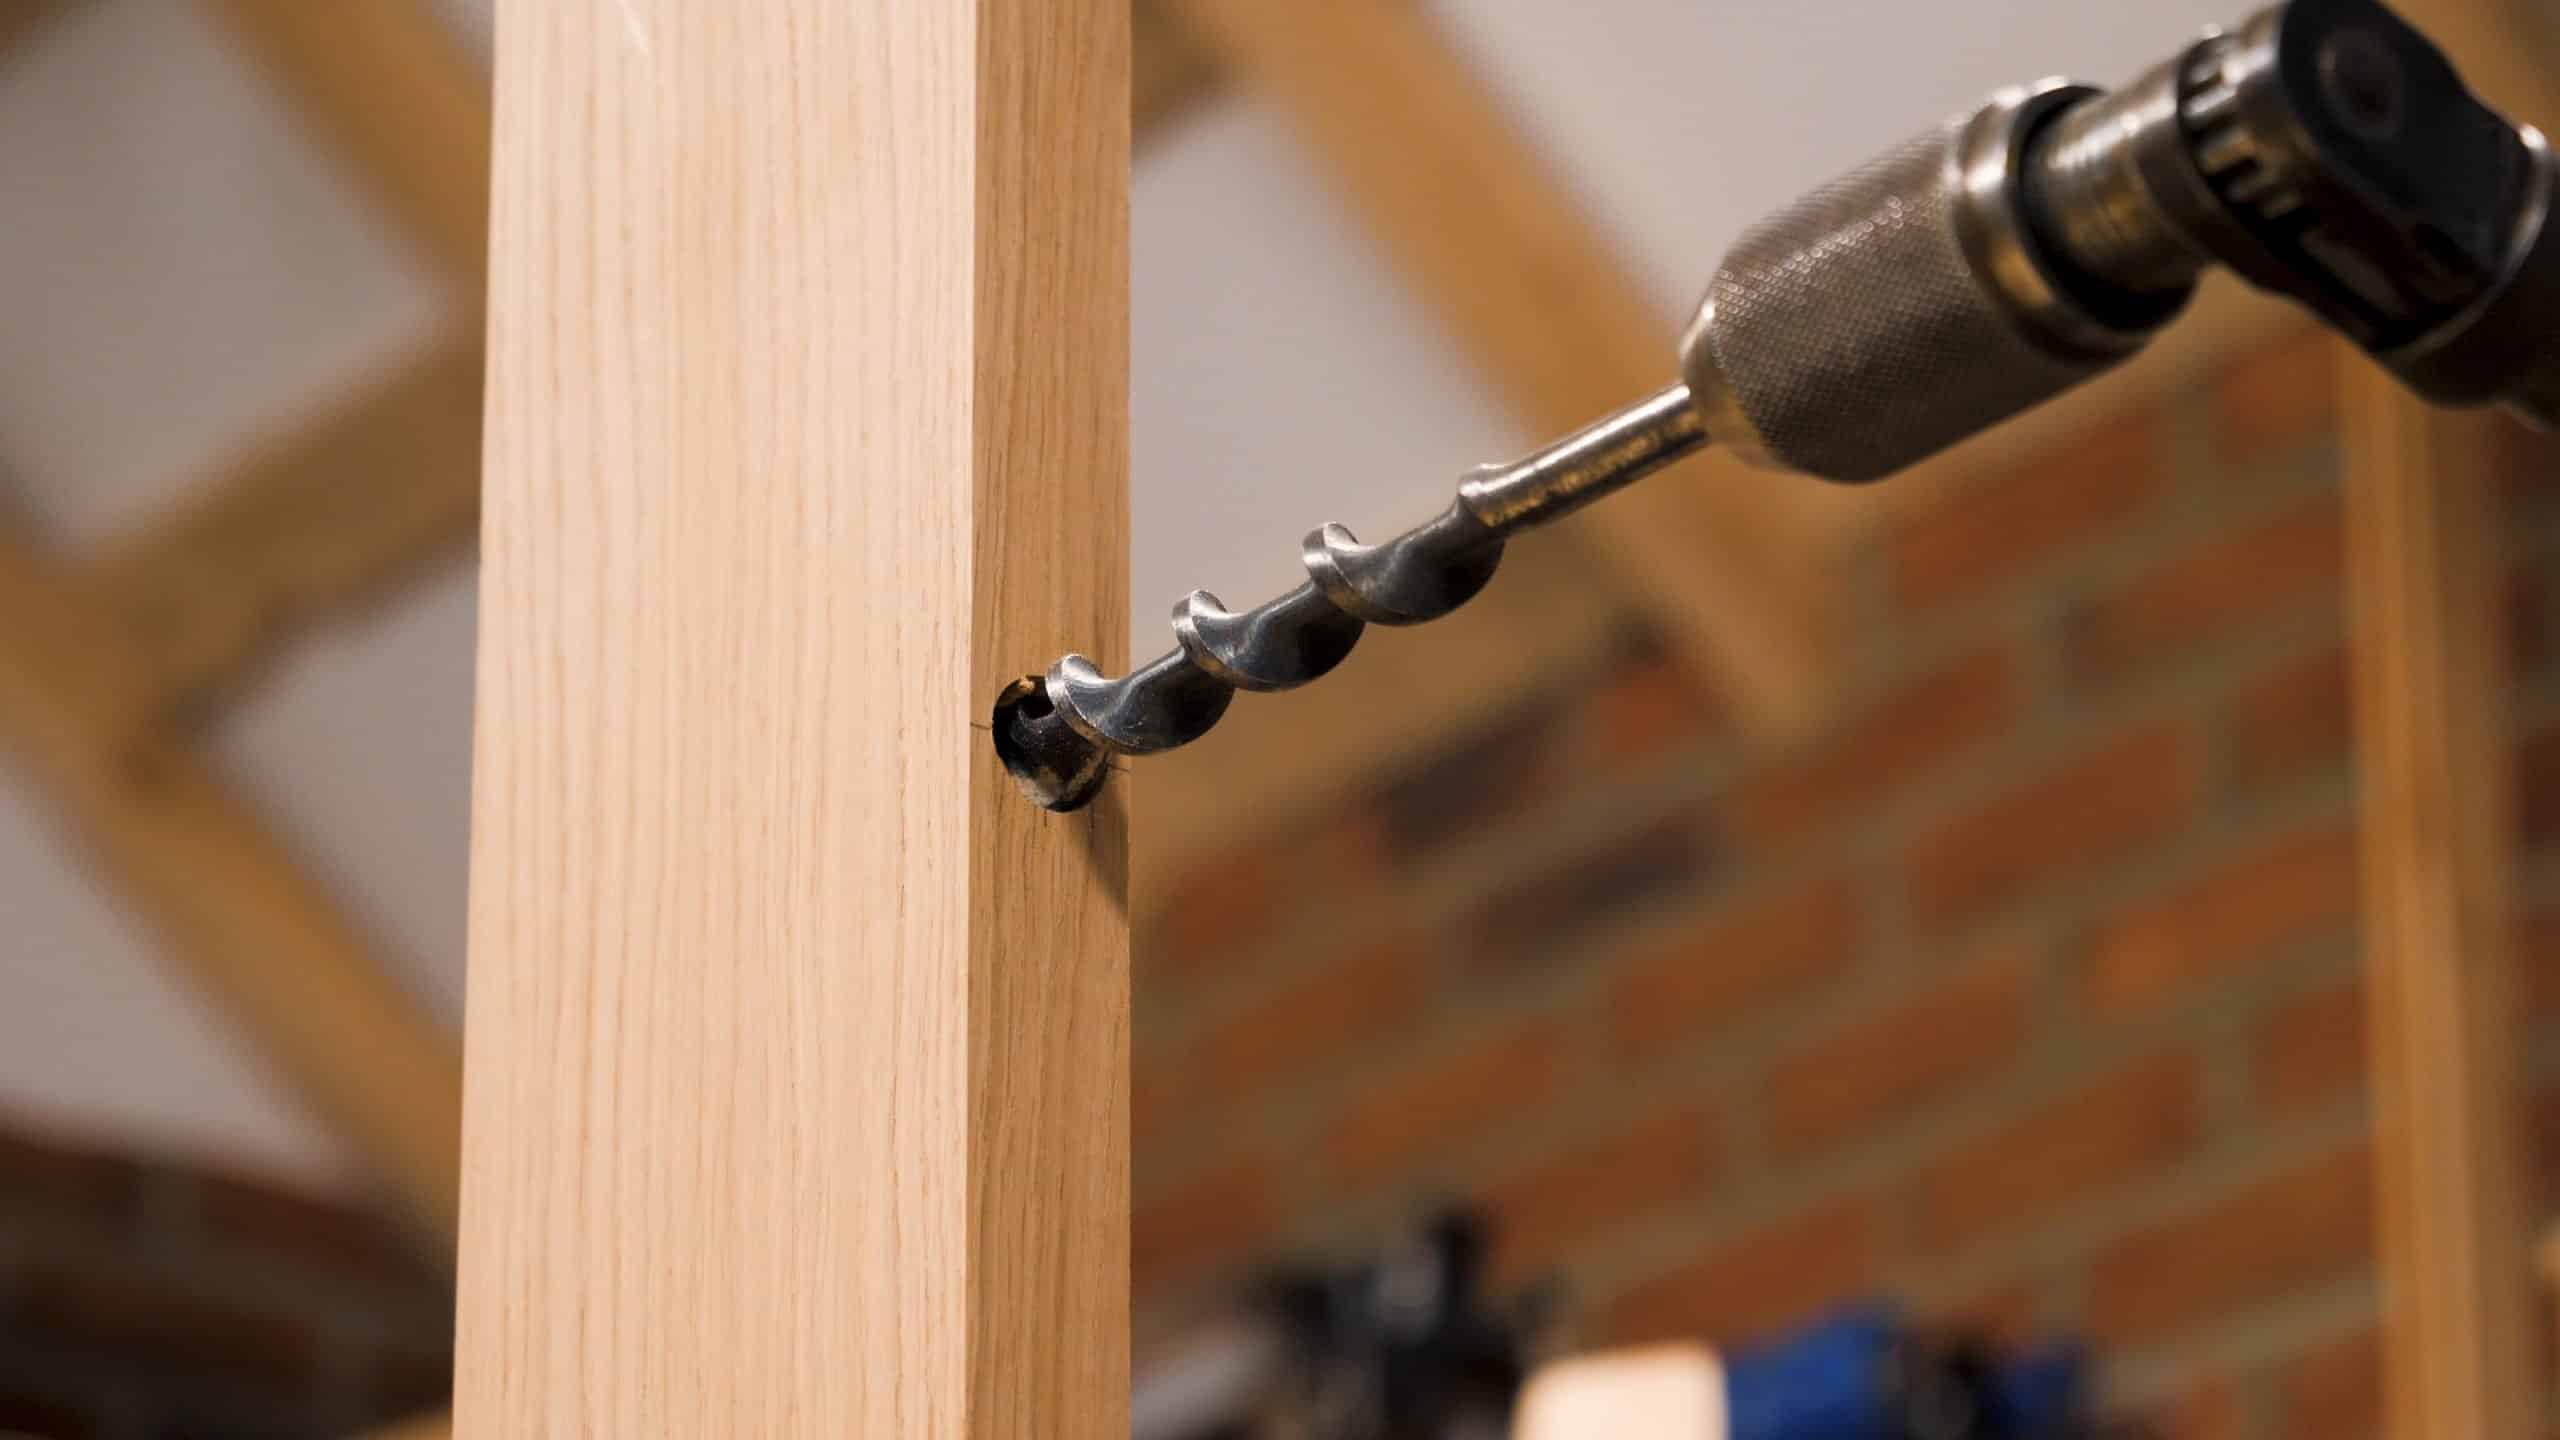
Paul completes the joinery on the arms by laying out and cutting the mortise and tenon which fits them to the front legs. He then shapes the arms. Next up, Paul cuts the curves in the end rails, top and bottom. After laying out and cutting the mortises for the back support, Paul demonstrates his method for defining the curves needed on the long rails and back. He then begins the process of boring the recesses for the slats.


Just beautiful…
I really appreciate the prototype in the background. There have been a few times in the series so far where I couldn’t quite understand the layout because I had trouble visualizing where we were on the finished piece. All I had to do was look over at ten prototype and it all became clear.
I especially liked the video angle you took when Paul was doing the round over. It was a different angle than in past videos and it nicely showed how it went from a 45 degree angle to a radius curve.
This is a fun piece.
I like that Paul gets his steps in with chiseling LOL
Paul,
“Counting revolutions” to get the depth right….priceless. Simple, elegant and so practical. Things like that are just one of the many things that make your instruction so very valuable and special.
Thank you for all you do to share your invaluable experience with those of us who are endeavoring to emulate your skill.
Steve
I’m unclear about the placement of the mortise on the arm. What is the distance from the edge of the mortise to the end of the arm? I see the mortise itself is 2 inches.
Hi,
Paul says:
It is ¾” but it can be any length you want it to be.
Kind regards,
Izzy
Wdelliot: You don’t measure the mortise from the end of the arm. You should have a mark made earlier that shows where the arm insects with the front leg (done when you were originally calculating the angle for the tenon for the back of the arm). You use that line as the start of the mortise and then just measure 2” for the hole size.
Wdelliot, see the line Mr. Sellars makes at time 14:13 in episode 2. you measure the 2” mortise from that line.
Great music, excellent guitar player/composer. I hear influences of Pink Floyd & a bit of Eric Clapton among others at times. really good stuff.
Also, nice project & good job to the film crew in every role. Thanks guys.