Hat & Coat Stand: Episode 2
Posted 26 February 2020
This is an episode in a paid series. Want to watch it? You just need to sign up as a paid member, and you can enjoy this video and many other videos we think you will love.
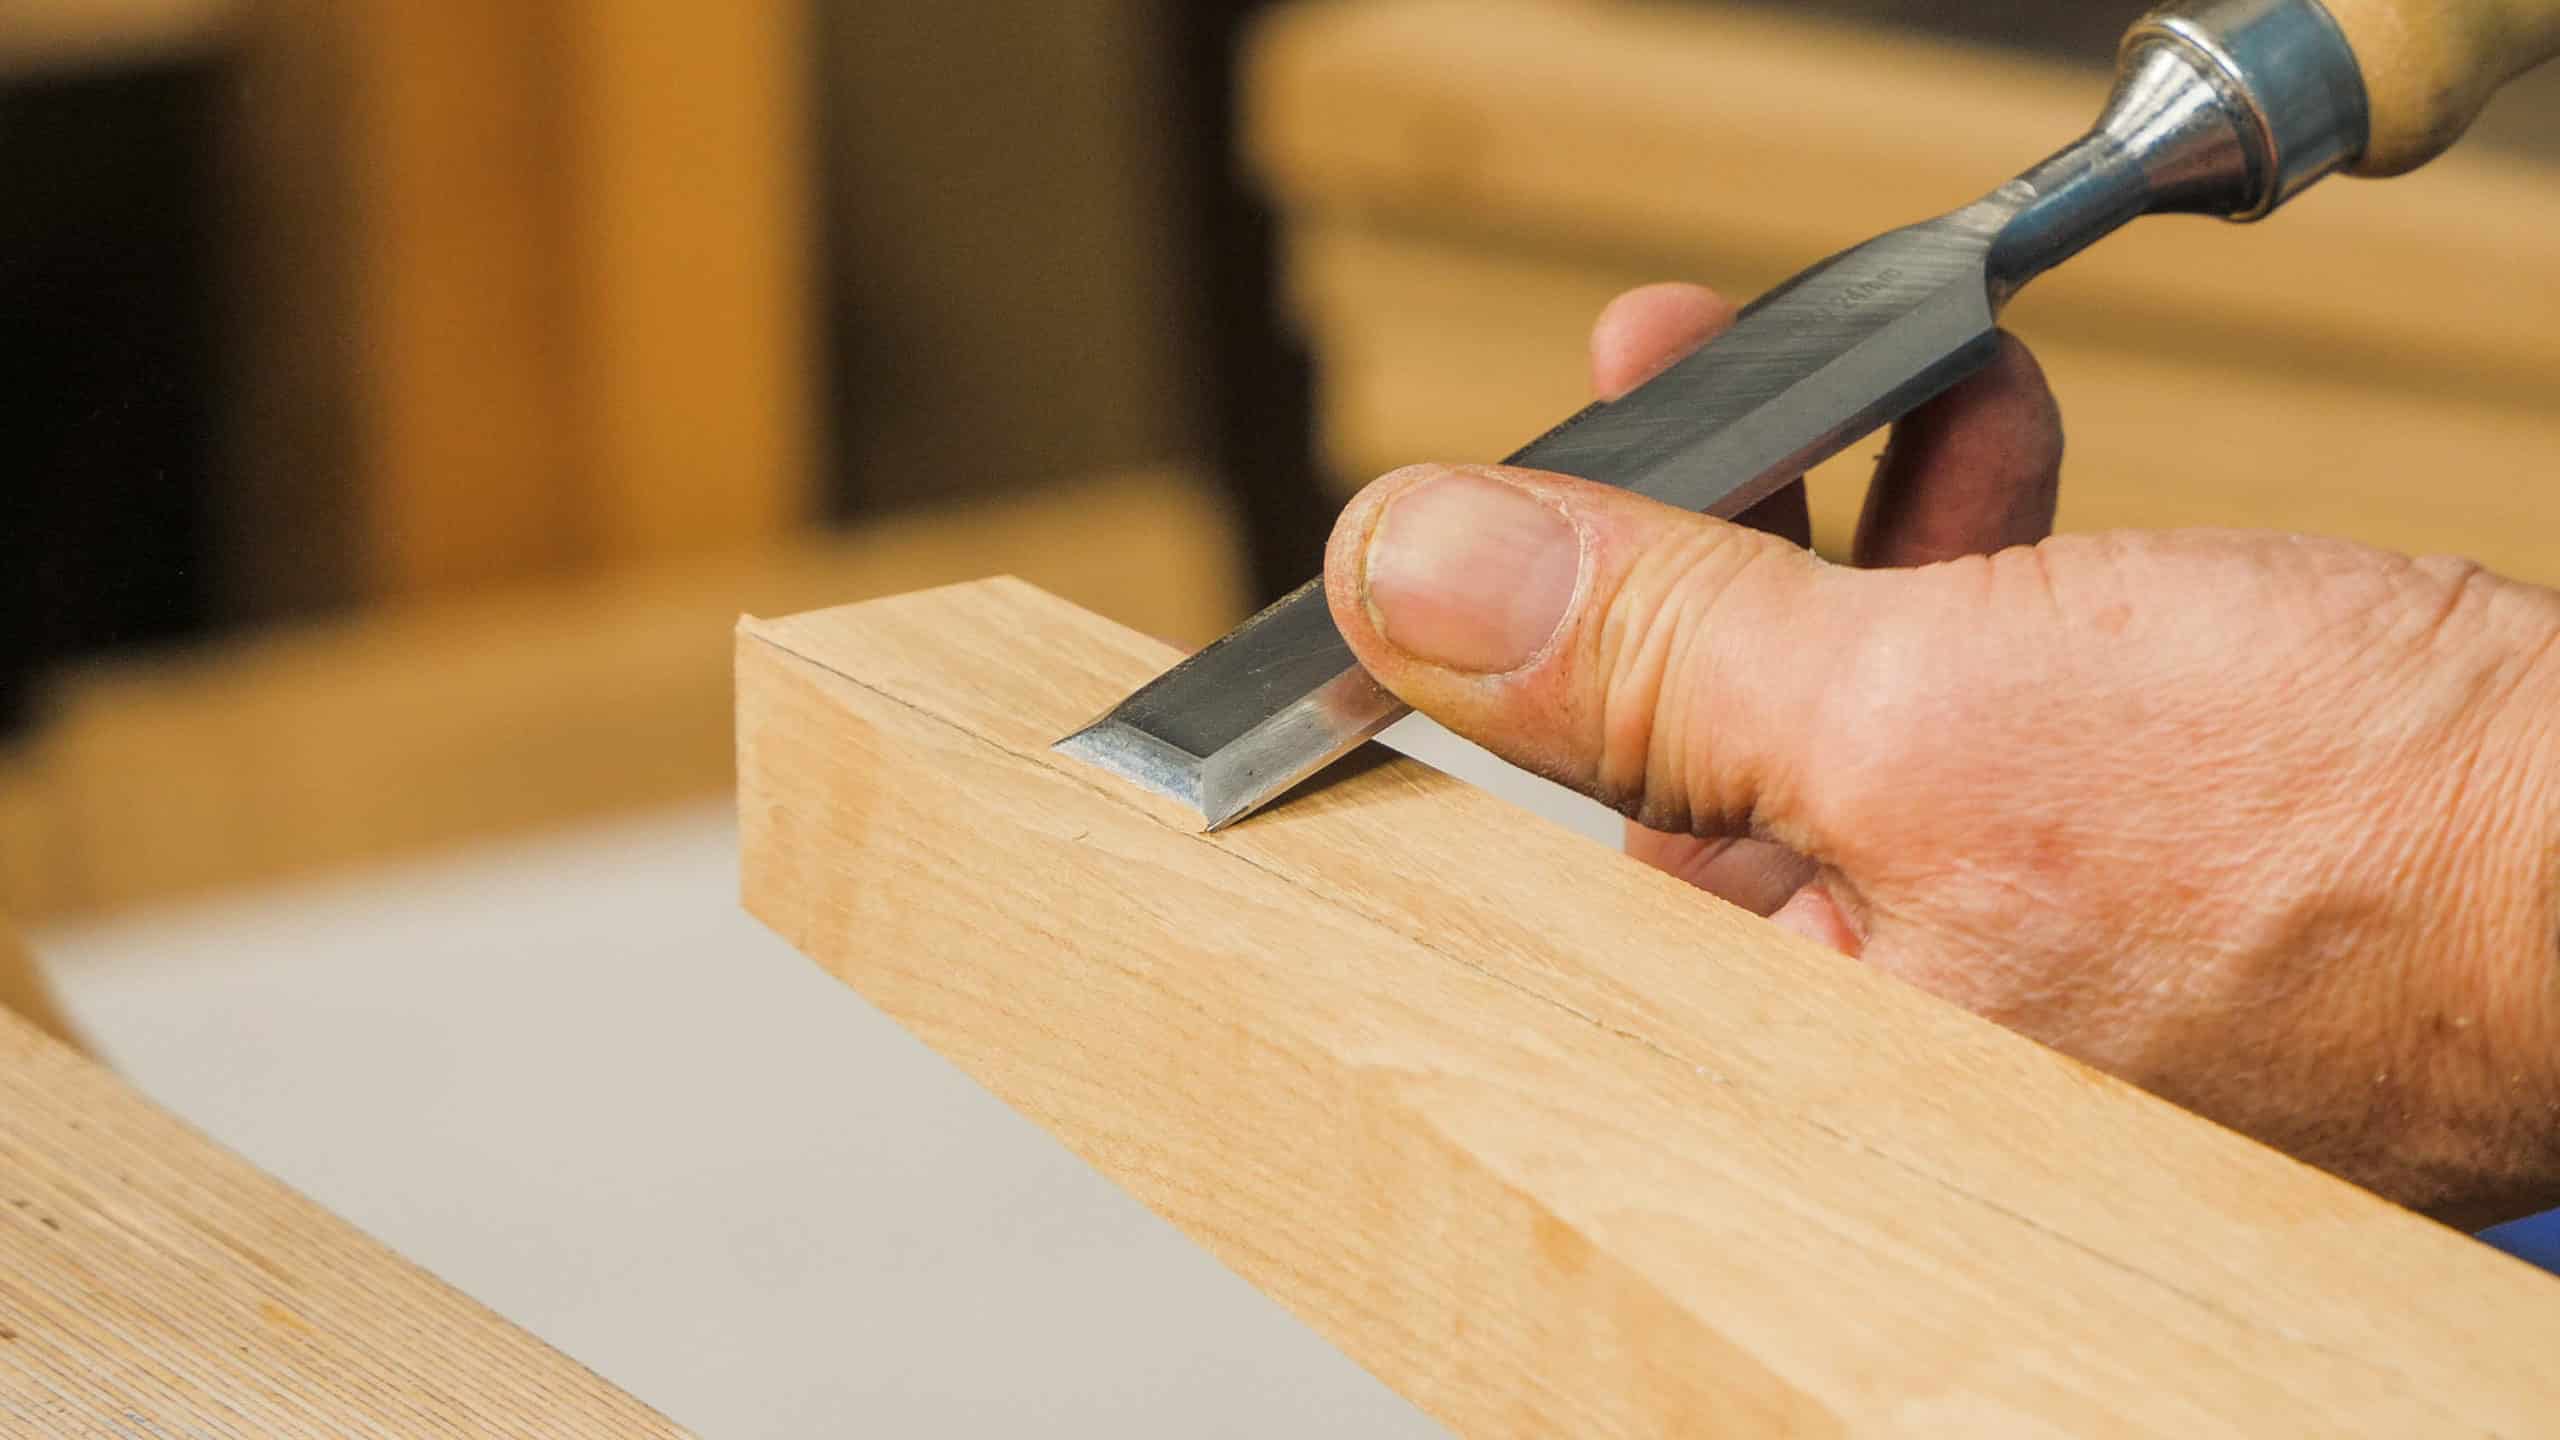
In this episode, we engage with the long tenons which tenon the front rakers into the back posts, and also the lower mortise and tenons that make up the two end frames. The mortise and tenons have some intricacies that accommodate adjacent mortises, housing dadoes and such, but then there is the actual fitting of the tenons into the mortise holes. The ever-important layout ensures that the two frames come out exactly the same and this prepares us for developing the cross-rails and the shoe shelves below.


I think a brew was called for half way through cutting that tenon.
Paul,
From the point of teaching, at which you excel of course, there is a slight danger of assuming too much. You have run through this project so many times, you have familiarity. The viewer does not have this knowledge. You were losing me a few times on your set ups of the mortise and tenons, the cutting off of the end, and so on. If you had stopped along the way and used your prototype to illustrate your over-all design points, then I think I would have appreciated more your ideas. I suppose the point is that the viewer is seeing this for the first time, you have repeated run throughs. You might keep this in mind.
As always, I enjoy and appreciate what you do.
Mr Sellers,
In your old videos/workshop you would always cough when cutting oak, is there something different in your new garage space that has caused this to stop?
Many thanks,
Allan.
Hi Allan,
Paul still coughs, however we tend to edit this out.
Kind Regards,
Izzy
Hi Paul, I really enjoy watching this series and I enjoy you not using the mortice guides this time. The guides are great – no doubt – but it’s refreshing to see a few operations outside “the system”. 😉 Many thanks
Hi Paul…Is it ok if the rakers are 1 inch thick. I was wondering if that is of any concern as I do not have 1 3/16 inch stock? Thanks.
Hi,
Paul says it’s fine.
Kind Regards,
Izzy
Thank you Paul.
The angled super sized tenon was a lot of fun to watch.
I learned a lot in this video when you tried to fit it. The size made it easy to see the fulcrum point and then using the square on the tenon itself to see it rock was a great tip that I won’t forget.
Hi Paul, you sawed the big tenon and it seemed to be very exhausting. Would it be possible to make the tenon with a skewed rabbet plane or a shoulder plane?
Hi,
Paul says:
Yes, of course it can and perhaps I might even do that myself but I have to face the reality that 95% of my audience does not have access to this and if they do, they will know what to do.
Kind Regards,
Izzy
Another point to the topic of making the big tenon is that I would cut away from the knife wall. After sawing or planing the tenon I would plane the shoulder with a small shoulder plane to the knife wall to create the shoulder of the tenon. In the video you can see that there were some breakouts on the tenonshoulder. When you would plane the shoulder with the grain you wouldn’t have them.