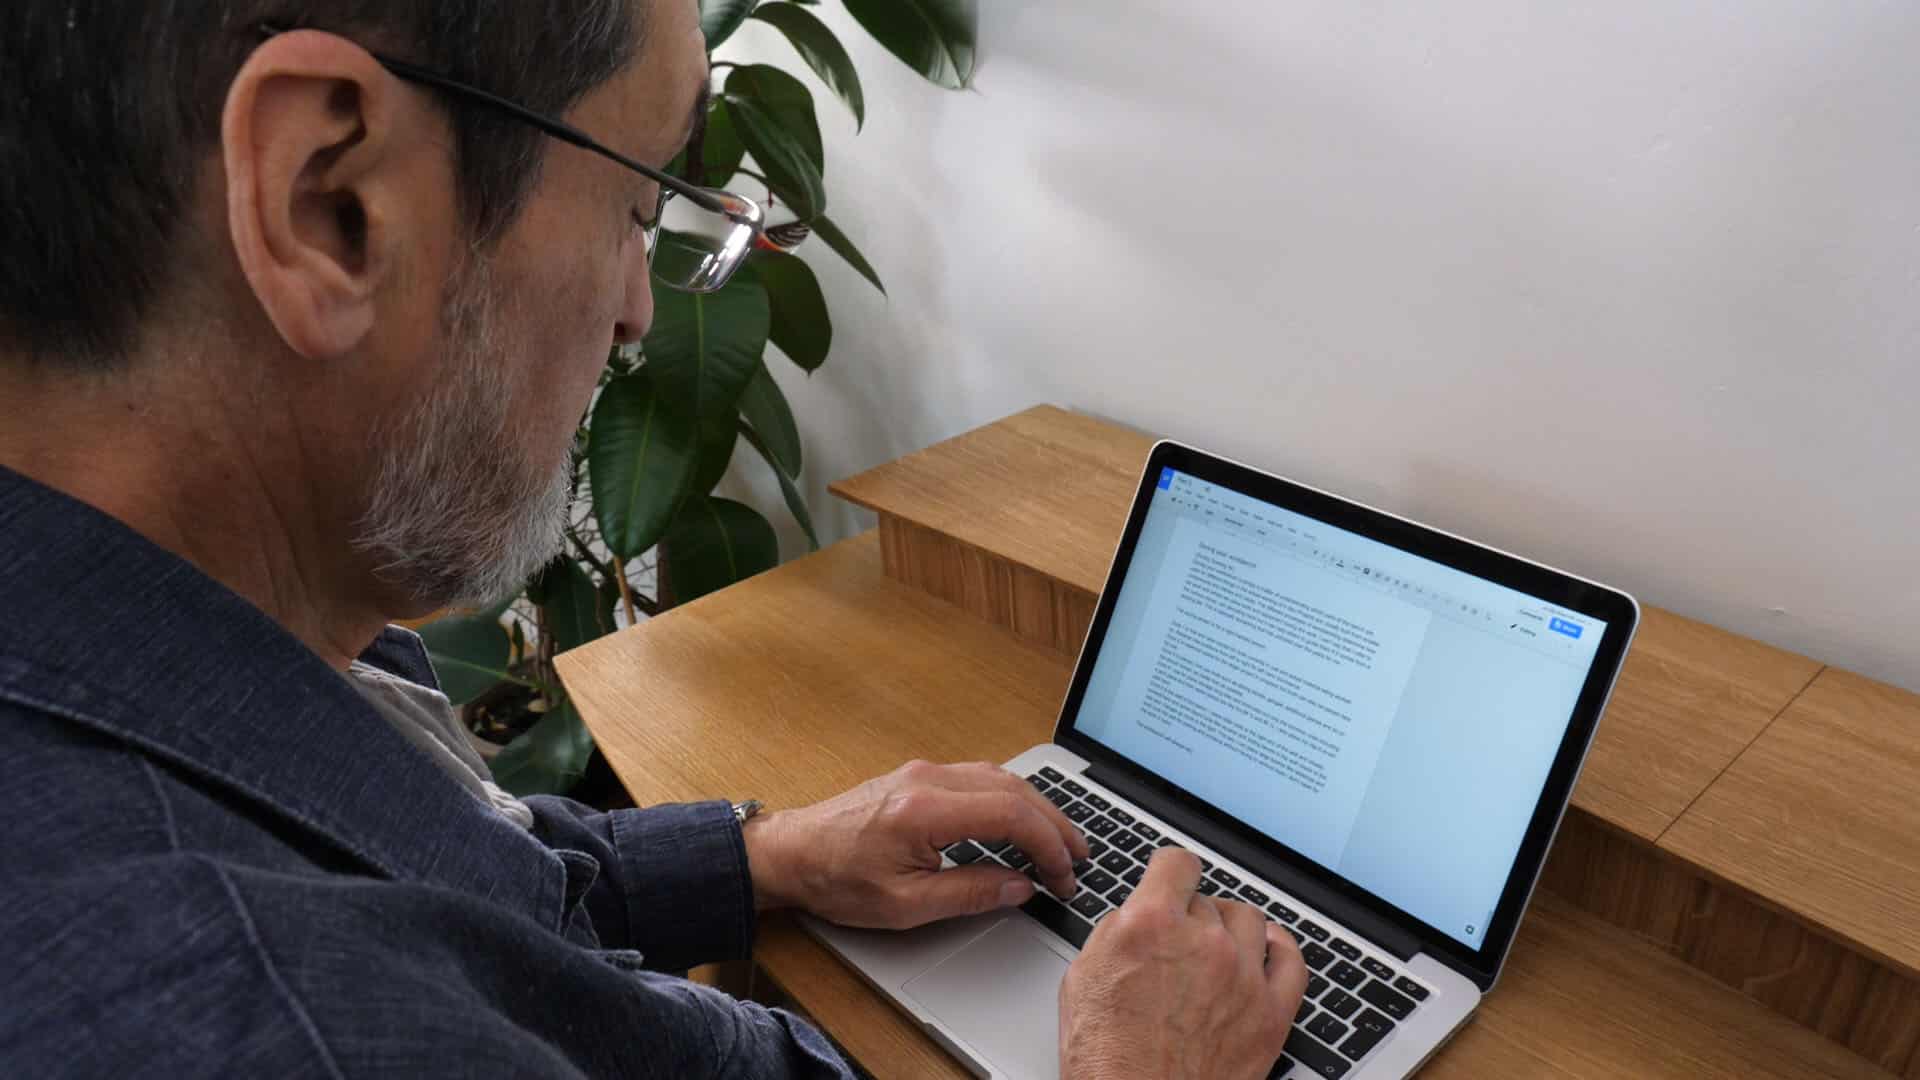
Laptop Desk: Episode 10
Posted 30 August 2017
This is an episode in a paid series. Want to watch it? You just need to sign up as a paid member, and you can enjoy this video and many other videos we think you will love.
There are a few finishing touches necessary to complete the desk. Paul has sanded and smoothed everything in preparation for finishing. The front legs are cut to the correct angle, before the three coats of shellac are applied.


Hello Mr Sellers and Team,
The veneers that I have experienced on furniture have been very thin, so I am basing my question on that. Is there a potential problem of delamination occurring with people’s thighs moving against the front apron or does your thicker veneer solve this problem. If it is an issue could you add something along the same lines as a drawer beading as protection?
Regards and thanks,
Allan.
Hello Allan,
With careful application and trimming of the veneer, this shouldn’t be a problem. You can also make adjustments to the height and depth of the apron to avoid it being a rubbing point.
Once again, you and your colleagues have created a great project and a great video of that project.
It is a beautiful laptop desk.
Thank you.
This desk would also be beautiful in cherry, mahogany, or walnut, or quarter-sawn white oak.
A great design.
Marvelous
beautiful. love the desgin . thanks
Great design, execution, and educational video’s!! I have added this to my list of must make projects.
Great project
Thank you Paul. Do you also shellac and wax the brass hinges as well?
The brass hinges are usually buffed out, then you can apply a little wax to protect them.
Beautiful piece.
I think Paul used 240 grit sandpaper before the final shellac coat in other finishing videos- the same here? Couldn’t quite make out the grade used in this video but i imagine it’s more or less always 240?
Thanks!
Hi Hugh,
It is indeed 250. We sometimes use 120 for initial shaping, but otherwise use 240 for sanding pre finish.
Philip,
Do we need to use sandpaper. Hate the way it feels and looks and is a big waste of materials. Can I just use scrapers instead?
Thanks,
Jeff D.
Hello Jeff,
The sandpaper gives the surface tooth which gives something for the finish to attach to. All the surfaces are planed or scraped prior to that, so the sanding of the whole project only uses a couple of pieces of 240 grit. Maybe try with and without on a test piece and see how you get on?
All the best.
Phil
Beautiful. All that but I can’t stand using laptops 🙁
Is the method of attaching the pencil box used here a typical/traditional method? I see lots of antiques that have a small case piece on top of a flat top and was always curious how they were attached. Thanks
Beautiful desk. What size leather punch was used? And do you have issues with the sticky tape adhering to the wax finish?
Many Thanks.
Hi Donna,
Paul says:
I didn’t have any problems, I think it was probably 5/16”.
Kind Regards,
Izzy
I’d like to make this, but with the boxes slightly deeper (top to bottom, not front to back). What, roughly, would be the maximum depth without causing movement issues between the veneer and the solid wood? Thanks!