Making a Wooden Spokeshave: Episode 2
Posted 28 July 2017
This is an episode in a free series. Want to watch it? It is free to do so, you just need to log into the site, and you can enjoy this video and many other videos we think you will love.
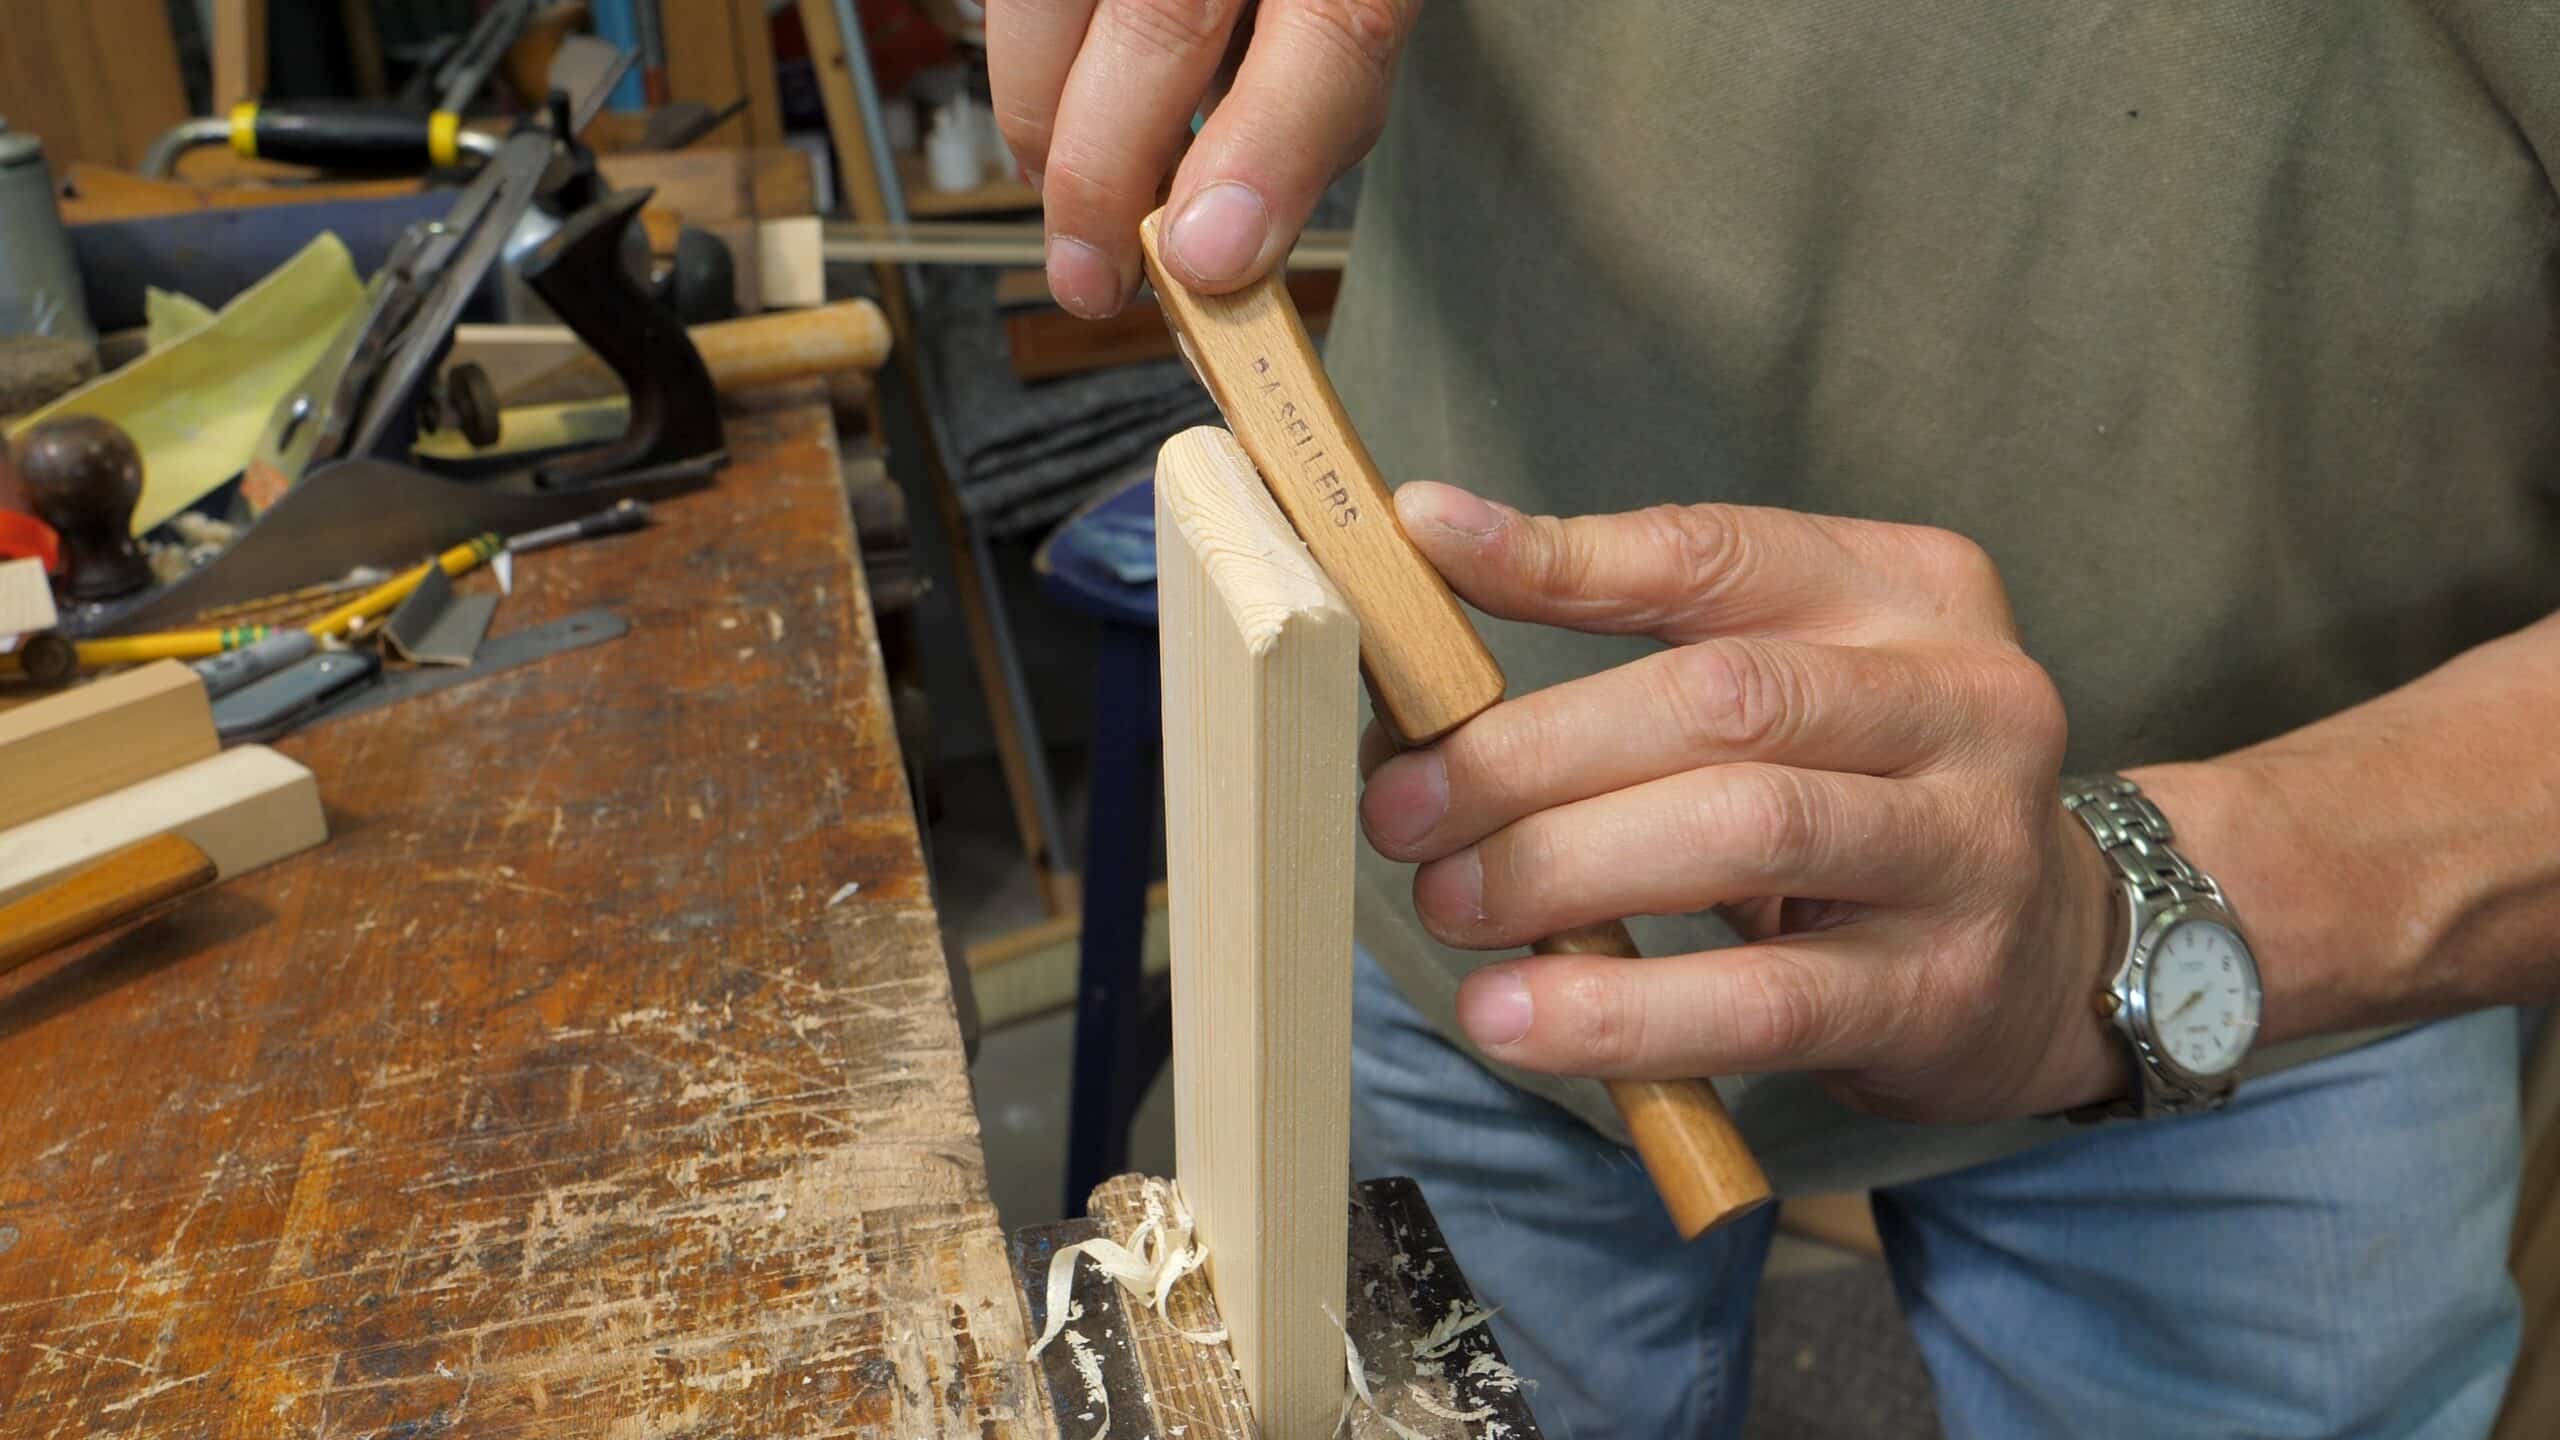
The shaping proper starts with the coves. They are drilled for an even radius, then Paul saws down the line. Then the handles are refined and shaped using a spokeshave, rasp, plane and scraper. Then the adjuster can be fitted and the blade sharpened ready for use before the finish is applied.
Thank You WWMC Team!
Really enjoyed watching the spokeshave video. I`ve added it to my list of projects to do. I especially enjoy how Paul takes the time to show how the tool is sharpened and set up to cut. Thanks
Love this small project. Can’t wait to get back home and make one of these. It will go well with my other tools. 🙂
I completed all the steps from your first video, and waited for the second video with much anticipation. Now that I ‘e seen the second video, I am eager to complete my wooden spoke shave! Your way of teaching… “how To”… is so relaxed, it has given me confidence to try many of the procedures you have taught. I am now at a point in my woodworking hobby where I prefer using hand tools, especially ones I have made. I personally would like to thank you for all that you have taught me. Gary.
Awesome video. And that Shellac really looks amazing on that piece of beech. Such a nice deep rich color.
Thanks Paul
I there from Portugal,
Very nice video, and will go to the TODO list 😀
In Portugal is no easy to find shellac, can I finish with Linseed oil?
Obrigado(Thanks)
Hi Augusto,
Yes, Boiled Linseed Oil (BLO) would be fine.
You don’t need PURE Shellac, or Shellac Flakes etc.
Shellac is a component in products sold as ‘French Polish’ or ‘Button Polish’.
Most Varnishes would look good too. Just finish with Beeswax.
Alan (UK)
Augusto.
It should be available premixed as goma laca in paint stores. A a dewaxed version is sold as sanding sealer.
You’ll know you have the right stuff if the solvent is alcohol.
In Lisbon or by mail you can get the flake form here:
http://www.restaurarconservar.com/Goma-laca-Limao
wonderful project and so essential , too. This made my day for some month ahead !!!!
Please tell us, Paul : how about curved soles ? I imagine you would give it a good hammer blow whilst the iron reposes on it’s extremities. Is that right? and are curved sole useful anyway?
Thanks anyway !!!
We don’t often use curved spokeshaves, so won’t be covering how to make one.
Best, Phil
I thought that he said it was furniture wax. Apparently furniture paste wax. I can’t believe that I watched Paul use a power tool. LOL.
“I can’t believe that I watched Paul use a power tool. LOL.”
Still cordless….
A born teacher. No doubt about it.
Have you considered using an insert nut as the depth adjustment?
http://www.leevalley.com/en/hardware/page.aspx?p=44203&cat=3,43576,61994,44203
Yeah I was thinking of using threaded inserts. I figured Paul used screws because they are readily available and cheap making it accessible to everyone.
I think that the wooden threads have much better tightness to them than the threaded nut insert type. Probably this can be used…however I think adjustment will be off quite often.
Wonderful work, Paul. I can’t wait to get one (or two or three) completed for my own shop.
Awesome video! Always peaceful watching and listening to him talk us through it.
Why does Paul often finish his tools with shellac instead of oil? Is it just a personal preference?
It is indeed personal preference, as well as avoiding having to carefully dispose of rags that are prone to spontaneously combusting.
I will have to make at least one of these. As always, a very well made and produced video.
I just completed my spoke shave. I would like to say “it works awesome! It actually works better than the Stanley I used to shape it. I whole heartedly suggest this project. It was fun to make and will be funner to use. Thanks Paul.
Gary Mercer.
Outstanding video, thank you.
Excellent job mr. Sellers. Another wonder born of their hands
This video is especially very helpful for those who are watching the latest episodes of the laptop desk project. It’s a must see project, by the way…
Thank you for the excellent video Paul. I love making handtools for wood working and this is one design I particularly like, especially the micro adjustment of the blade.
I have a number of wooden spokeshaves made in boxwood and beech, all of which are such a joy to use. I also have a couple with the cast iron bodies which are not so pleasureable.
I have difficulty understanding why tool makers like Stanley transitioned to making them from cast iron. They’re so clumsy and unrefined, even feel brutal in their use compared with the light finely crafted wooden devices I have.
A great project for every woodworker to enjoy.
I think you migh be overstating a bit. Properly tuned, it can do great work.
In this article PAUL states he has used the #151 every day for 46 years. If it was as bad as you say, I doubt he would have done that.
https://paulsellers.com/2011/04/the-151-spokeshave/
What a great project! Thanks Paul!
I think this has to be one of the most simple of all woodworking tools, which may be why I have the least skill with it. The more simple=more skilled required. Paul makes it look easy.
thanks for another great video. I am anxious to give this one a try.
Thank you!
Thank you very much, what a honour to be able to watch this
What a beautiful video and lovely spokeshave. I found this so calming to watch and yet excited to try myself. What a wonderful legacy to give to the world. Thank you 🙂
Once again just a perfect lesson. Just the length and simple to follow. I have 4 or 5 shaves already so I don’t see me making this one so but it was still very informative as to lay-out and fitting. I’ve got and use bothe steel and wood shaves. Don’t really get the whole elegant to use thing. They all work well if sharp and set up properly.
As always, a throughly enjoyable video to watch. Always seem to learn something from your videos. Thanks.
Anyone like to comment on the different types of wood suitable for this. At the moment I have Ash, Oak, Cherry, Walnut and Pine lying around.
I would think ash or oak would do as they are both hard and tough wood.
Hej Kjell,
If you are OK with the response from a dabbler, I would say it’s a just question with a very complicated answer.
Assuming you are in Norway, the ranking would be Ash > Walnut > Oak > Cherry, with pine as a dark horse. If, on the other hand, you are located in North America, it will be Ash > Walnut/Oak > Cherry, with pine as a more remote dark horse.
Basically, what this spokeshave calls for is wood that does not flex under load, and does not break when the load point of flexing is reached. The hardness, i.e. the force necessary to impact/dent the wood, is not that critical. Thus, Scandinavian Scots Pine (Pinus Sylvestris) would the first choice, if that’s what you have available, because it grows so slowly. The opposite applies for the four hardwoods: the faster they grow the less elasticity, with variations explained by the nature of their pores. Hence, albeit that winters can be very cold, as the growth period is longer in much of North America (NY on the same latitude as Naples), an American white Oak is more resistant to flexing than an European, even though the latter might be harder. A slow-grown long-leaf pine (Pinus palustris [very rare, I think]) will surpass all the discussed ones. Only European beech would be better.
Finally and probably most important, the wood should have straight grain along all four sides (faces and long edges). Cross running grain will break much more easily, with the associated risk of injury.
Best
Sven-Olof
I wonder how silver birch would fare here, or maybe rowan (rönnträ). Both are known to be good for tool handles traditionally.
Seems spokeshaves are put under similar stresses as tool and axe handles. Working from that logic, maybe hickory would be a good choice for a spokeshave?
I suppose pine is suitable but I just wouldn’t want a tool made from one, don’t get me wrong I do 99% of my work in pine and fir, but I get tired of it, and it’s not as pleasant to work with as hardwood IMO.
I currently have a few small pieces of walnut, oak and ash in my workshop, I believe I will try ash for my first wooden spokeshave.
Handles in general should flex before they break, I suppose. That would make rowan useful, and silver birch even more so. There might be a snag though: a spokeshave glides along a surface. I have no idea if that’s relevant given that it’s such a narrow tool, but I suspect that the higher smoothness of lignum vitae (pockenholz) made it preferable above hickory for plane making.
There are videos on making bench planes from black walnut, so the alternatives are probably many, with beech perhaps most out of tradition?
/soj
I do live in Norway Sven-Olof, but most of the hardwood sold for furniture is imported, so all the mentioned wood types are from the USA.
As you mention in your reply, the breaking strength is probably best for and worst for cherry (leaving pine out of it). I was also thinking a bit along the line of how the wood wears when you rub it against a workpiece a few years.
Anyway, it’s not that big project, and any failures only accelerates learning. I’ll probably try with the ash. Or maybe I can find a big enough log og birch in the wood shed.
What an absolutely brilliant idea! Monday morning I will be off to the woodshed for some nice split birch; not to make a spokeshave (Veritas is far better than me at that), but for a nice box.
Thanks
/soj
Hi Paul,
Love your videos and the way the skill of a craftsman of fifty years shows through.
I’ve been watching you for about two years now and would like to make a comment about your description while heat treating. Please don’t take this as a criticism, but as a point of technical correction.
Let me preface this with the statement that I’ve been a professional blacksmith for as long as you’ve been working wood.
In a couple of your videos when you are heat treating tool steel you first harden the piece and then mention that you are going to “anneal” it or that it could be annealed.The process of annealing is to heat the piece of steel above the critical temperature or “nonmagnetic” and allow it to cool slowly. This process ( for most steels ) brings the steel to it’s softest hardness possible. The term you should be using is “temper”.
To Temper a steel is to draw some of the harness out of the fully hardened steel by heating to a predetermined temperature, say 300* F and stop at that point. This removes some of the brittleness of the hardening process but still allows the steal to retain some other property’s like edge retention for a cutting tool or elasticity for say a spring.
I only mention this because a student or viewer of your videos who might delve further into the heat treating process on the web or the library might get confused when trying to follow your processes as you describe them.
Yours Helpfully intended,
Dick Sargent
Hello Dick,
Thank you very much for your clarification, it is very helpful. It’s one of those where the wrong term sometimes get’s said in the heat of the moment, and it should have been referred to as tempering as you say.
Many thanks, Phil
Thank you! I’ve been trying to understand the differences and this response makes everything much clearer!
I enjoy your presentation it is so thorough and understandable, and through it I learned the care and usage of this tool. Thank you
I did the spokeshave! Just without adjusters.
I want to make the cam clamps also but I don’t have 1/8” chisel to chop the recess for the bar can I use the stock I have left from making the spokeshave blade to make a 1/8” chisel? Thanks.
In my attempt at making this spokeshave I ran into an issue with the throat getting clogged and no matter what I do to adjust the blade,(by the adjuster screws) it doesn’t seem to help. What can I do to fix this problem I’m having?
Hi Jenessa,
I have just gone through the process of making a wooden spokeshave, myself. I actually made it using the Veritas Spokeshave kit ( one that I think Paul has referenced a couple of times in the past blade + adjustment hardware). It is identical to the one that he makes in the videos, with the exception of a slightly more engineered adjustment mechanism and a brass plate inlaid in front of the blade edge. For all intensive purposes though, they are the same. It took me two attempts to get it working. I found that if I didn’t make the gap between the blade edge and the edge of the bodies sloped relief (in my case the edge of the brass inlay) as tight as possible with the blade fully retracted into the body ( for reference Veritas suggests a gap around the thickness of a business card) the spokeshave would clog as I would not be able to close the mouth enough to make a fine cut.
Slightly related is also my trying to get a recently eBay purchased moulding plane working. After I had “sharpened” the blade and gotten everything straight it continued to clog up. I went back and examined my supposedly sharpened edge and have to admit it wasn’t as sharp as I had led myself to believe (my technique requires a lot more work). A keen edge is a necessity. That, plus the fact that I really needed to tighten the blade to the edge of the mouth, really impacted the clogging issue in this case.
By the second attempt at the spokeshaves body, allowing for the above points, it worked like magic.
Thank you Paul for such a concise guide to making a taditional wooden spokeshave…every step is a precise explanation and im going to look forward to making one for myself…there’s nothing better than to make your own tool that will last a lifetime and hopefully be past on to future woodworkers…many thanks again!!!