Occasional Table episode 8
Posted 17 December 2014
This is an episode in a paid series. Want to watch it? You just need to sign up as a paid member, and you can enjoy this video and many other videos we think you will love.
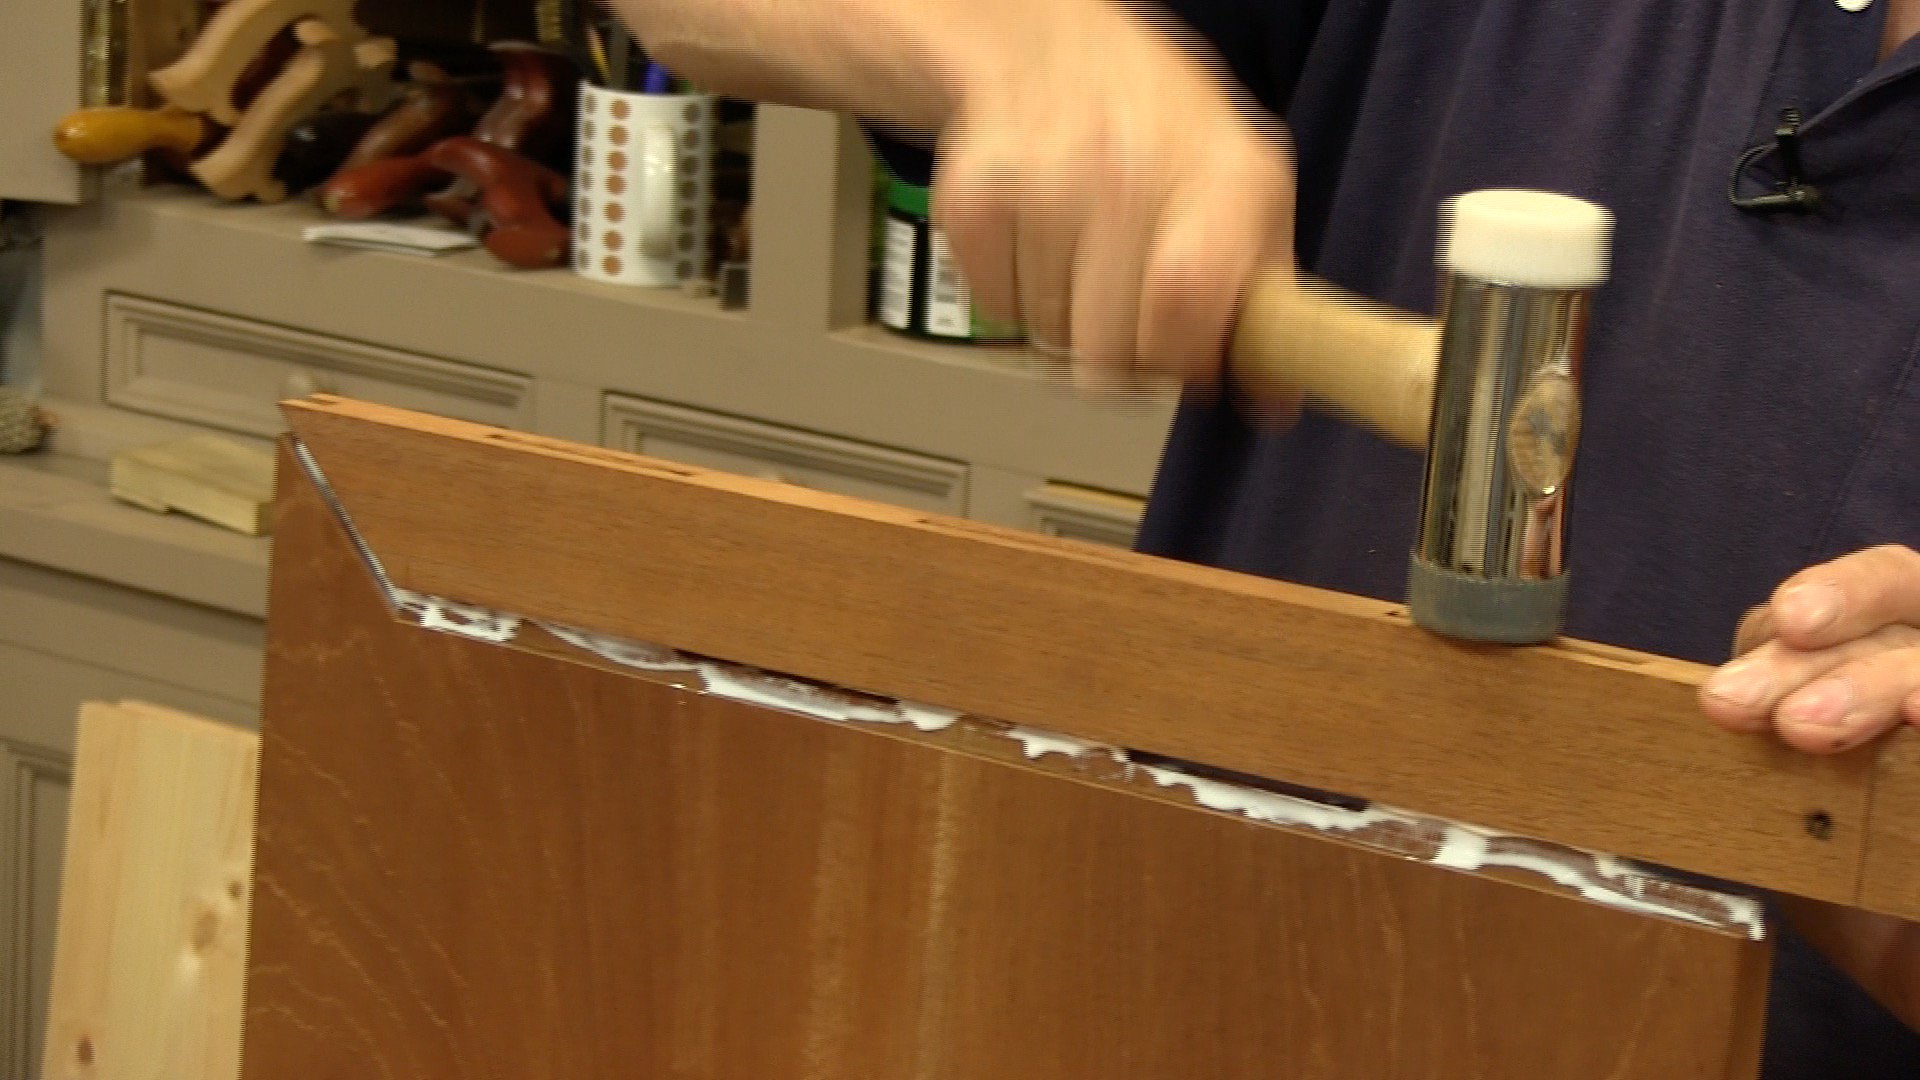
In this final episode, Paul does the final preparation for and glues up the breadboard end, including wedging the tenons. The table top is then ready for the final shaping including rounding the corners and surface planing. Once he has attached the table top to the base frame, we are at the end of another project.
THANKS for taking us on a fine journey of recreation!
…or perhaps I should have said re-creation.
What color you going to paint it?
=-)
Thank you for adding another dimension to an already interesting project piece by de-constructing and analyzing the techniques of the original craftsman. This information simply isn’t available from anyone else. Much as I enjoyed the project however, I still find myself asking why the bread board end with the miter? If it was to prevent cupping, why aren’t there two of them, or is it just there because…….. Thanks again for all you do Paul.
Thanks again to Paul and crew.
You all did a wonderful work there.
I enjoyed this project so much! I built a small pine occasional table along with you. It is a little simpler Shaker style. I’m afraid I’m a little too neurotic to use the single breadboard, so mine has one on both sides that I pegged. Thanks Paul. I learned a bunch! It’s time for me to take the plunge, and move up to hard wood. That little mahogany table was beautiful.
I enjoyed being taken through how the original was made. You haven’t shown how you made the pockets for screwing the top down, that would be useful. I don’t understand why there appears to be no allowance for seasonal movement of the top across the grain when the top is firmly screwed down. The buttons on the stool allowed for this. I personally don’t find the end grain of the tenons attractive but realise it is part of the original design. By having through tenons and wedging them did it allowed for some glue failure to occur in the original’s glue but without the top coming apart. Was this thinking? What you are producing is such an amazing resource. Many thanks.
The screw pockets were covered in the beginning of episode #5
Thank you, Paul. I did enjoy it, immensely.
I am learning so much about methods of work from your videos – knifewalls, work holding, use of chisels – all sorts of things. Brilliant – thanks.
[As an aside – allow me to speculate on the origins of the table top. The design has been bugging me – my curious mind won’t let it go. Could the original have been cut down from a larger table top that originally sported four mitred breadboard corners? Was the nail in the tongue and groove joint a hasty way of covering a gap in the join – only discovered when it was sawn through? Were the unexplained filled dowel holes in the underside of the table something to do with the original fitting of the larger table to the former base?
We will never know. But this theory makes more sense to me than the original maker designing a table top with only one breadboard end and a mitre on only one of its corners.]
Thank you again. I feel that some of the mysteries of furniture construction using hand tools are being unfolded for me – making it all much more accessible.
Cheers – and merry christmas.
Claire
Well I loved this series. Not sure I will ever want to produce this exact table, but as always there is so much to learn from: the forensic work on how the old table was made, and the translation of those techniques into something we can do today. But mostly, and especially on this last episode, it’s the economy of effort that impresses. To look at the length of the video, and what was achieved within that time is inspiring. For the whole series, can you imagine how long it would take to set up the machines to achieve this result, if it were even possible?
Thanks Paul, enjoyed way more than “half as much”.
Paul,
Do you change glues to achieve a longer setup time? You mentioned the need to be quick on the glue-up, but would a hide glue work better?
Paul,
I have a second question: When you reach for the tool and we observe it is sharp I wonder what are your best practices. I assume that you sharpen your chisels and planes before every work session, but could you indicate your practice on sharpening?
Thank you for the lesson.
Another enjoyable series. I just wonder though, after taking care to replicate the original and how the original would have been done why stop short of also using the appropriate glue? Why use PVA on the new one when the original would have been done with hot hide glue? Was the original put back together with hide glue or cleaned off and put back together with PVA?
Some times my decisions are made based on what the larger percentage of viewers will have access to. Not many will have double burners or hide glue so that was the reason in this case. that said, anyone looking for authenticity in this aspect for the remake can choose whatever glue they prefer.
Great..just great series. In the 8th video you are using what I assume is a Marples screwdriver. I’ve always wondered about the reason for the flat area below the handle and above the shaft. I enjoy restoring furniture and in the past I have used it with pliers to provide extra torque for difficult screws but have no idea what the real purpose might be. Ideas?
Why did you glue the all the breadboard tenons to the board? Would this not stop the table from expanding and contracting? In the video for the cutting board you did not glue the tenons and you said this was to accommodate shrinking and expanding.
Are there different aspects in place here?
Andrej,
An interesting observation. I made this table a while back and the top split due to the wood shrinking when I bought it into the house. Because the tenons are a tight fit in the breadboard end, the wood on the table top could not move as it shrunk and therefore split along my joint line (see image here).
The tenons were quite tight though, so I guess even if they were not glued, it would have split anyhow. I am not convinced on the design of this tabletop – although I did learn a lot from making it!
I would suggest that you make sure your wood is acclimatised to the location where you intend to keep you table otherwise you might end up with the same problem as me.
This was an awesome series Paul! One of the best on your video workshops. I learned a lot! Thanks for sharing each and every detail of the dismantle, explaining how the original table was built and reconstruction of a matching one.
Hands down the best video series I have watched yet–there was so much knowledge and wisdom clearly and concisely explained through the process of recreating the original. Really good stuff!
I am still catching up on older projects since becoming a member. I think this was the best series that I have viewed. I particularly liked the antique table disassembly and understanding how the craftsman built it. It is fun to romanticize working with hand tools, but those old craftsman were under tremendous pressure to quickly and accurately execute their work. Their livelihood depended on it. Pauls insights into the aspects of the craftsman’s work were really interesting.
I have a few antique tables that I would like to replicate for my children. This series will really help with that.
Thank you Paul!
Years later and I learned a lot from this series. It seemed Paul knocked the table out in about the same time as the original!