Plywood Workbench: Episode 6
Posted 18 April 2019
This is an episode in a free series. Want to watch it? It is free to do so, you just need to log into the site, and you can enjoy this video and many other videos we think you will love.
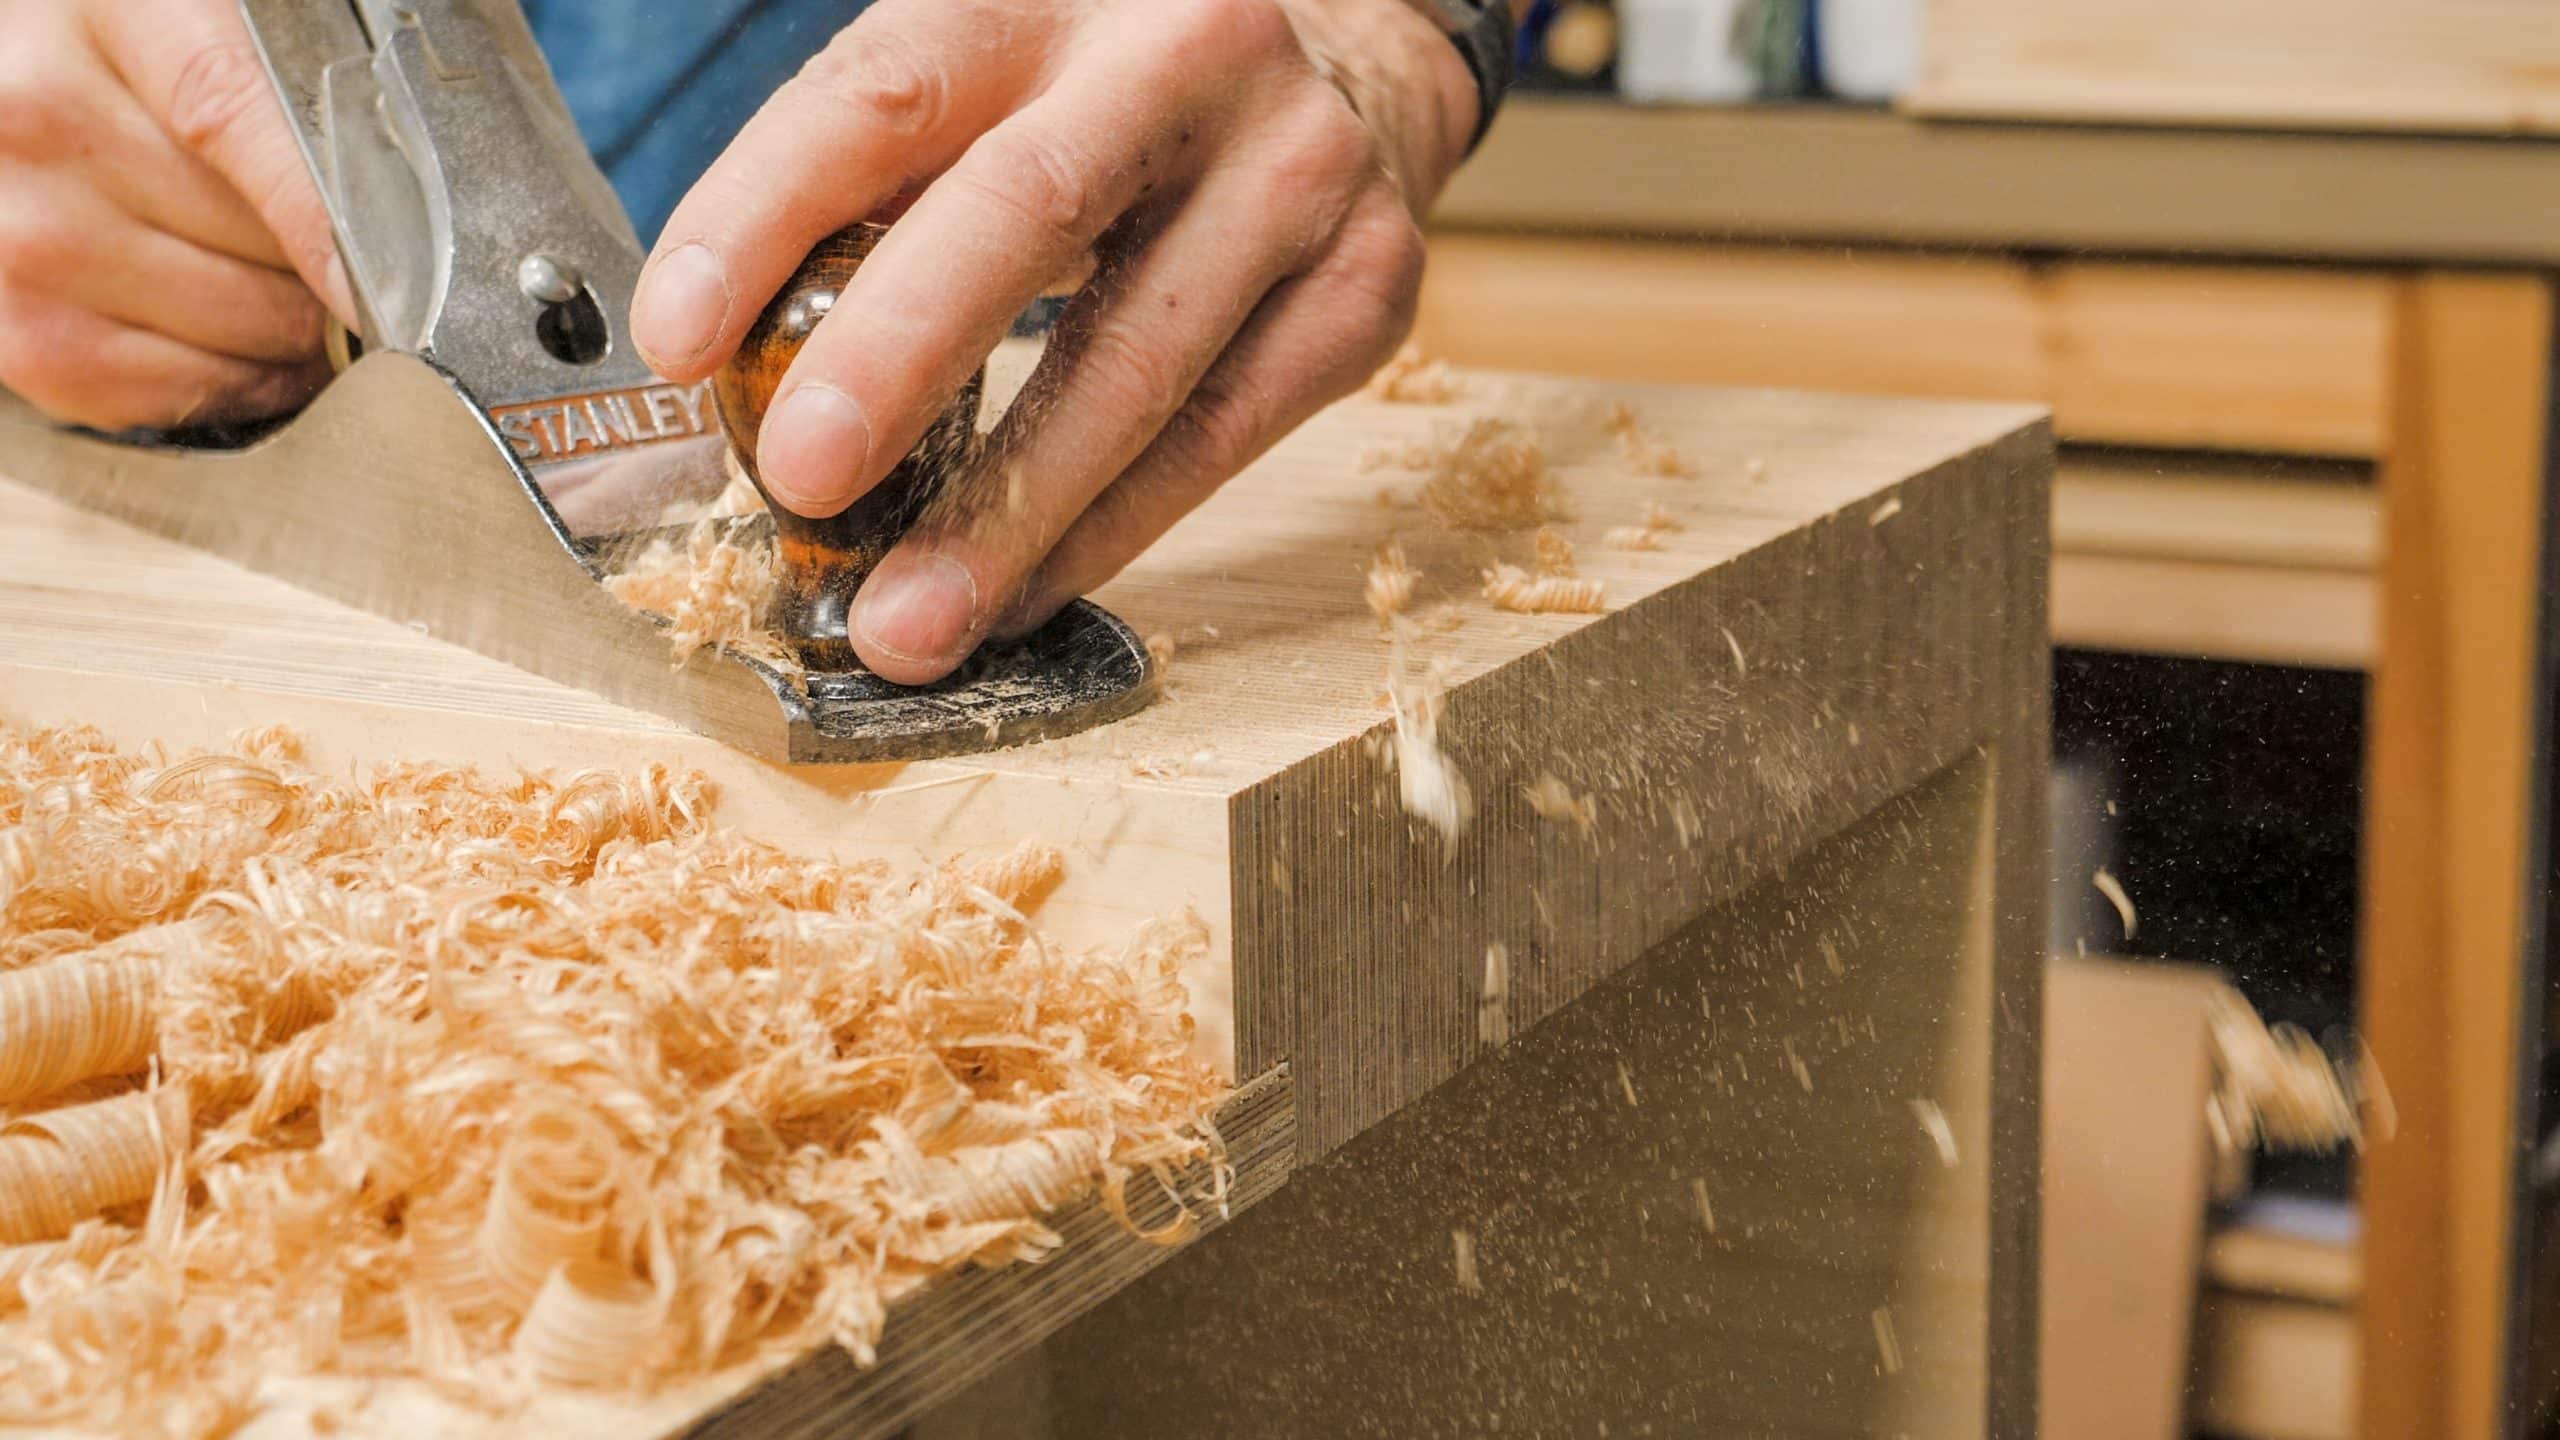
Paul is now on the last few steps of completing the construction of the bench itself. He starts this episode by cutting and fitting the wellboard. Paul continues to cut two pieces of wood on the bandsaw, which are then glued in place on top of the wellboard. Once this is all finished, Paul moves on to retracting the screws from both apron pieces and replacing them with bolts. He then moves on to the finishing stages of planning the benchtop and making all things smooth. Paul then ends this episode by applying two coats of water based finish.
Hi, great video, nearly there. Can I ask, did you use a PVA as a sealer for the end grain and then go over with 2 coats of water-based varnish?
Been a great series
Best regards
MikeB
Hi Mike,
No he didn’t use PVA, he used multiple coats of water based varnish.
Kind Regards,
Izzy
Beautiful!
Thank you Paul. Happy Easter to you and your family.
Thank you hope too see more projects.
I do have to say when you tapped the well board into place, I got a little excited. It is almost finished.
Great Job Paul. Very Impressive. Could you mention what kind of sealer you used. Thanks and have a great Easter.
Hi James,
Paul used ‘Ronseal Crystal Clear Exterior Varnish’.
Kind Regards,
Izzy
– Paul, in these two last video, you seem exhausted as if you were starting a flu but had decided “the show must go on”.
Although, the video are not diffused immediately but, for those two, many weeks later.
Please, don’t stretch the elastic too far.
– If one want to be able to slide out/in the well board ( easier access to the back wedges, access to install the drawer slides, …) it might be interesting to have some clearance instead of a snug fit. Otherwise it might be necessary to unmount the L-beam (worbench-top glued to front apron) first.
On my solid-wood workbench, I didn’t even screwed the well board.
What about using the space between the aprons under the top/well-bard?
I am in the process of building this bench with two slight modifications — using two slabs with a center well and overall length is slightly longer at just under 7’. I would very much like to have a sliding center well bottom to have ready access for clamps. The idea of a little wiggle room for easy removal is keen.
Would be Interested in Paul’s opinion of trying a sliding center well bottom or building a tray with reinforced sides to pop in and out (center well will be 4-5 inches).
Love this series as well as the previous solid bench build. Learning to Paul’s cadence and background music is therapeutic — bought three planes during this process and looking forward to finishing and begins building more projects with hand tools.
The workbench build in the back garden in 2012 had two slabs:
https://paulsellers.com/2012/06/making-the-workbench-7/
(One can zoom on the technical drawings with “ctrl +” or using Ctrl key and mouse wheel)
The well was screwed from under (which is not absolutely necessary in my view as screwing the slabs to the leg-frames ensure the the leg-frames and the apron remain a rectangle and doesn’t become a lozenge under longitudinal stress, although it might gives this already sturdy workbench a little extra sturdiness). The joint between the slabs and the well was hidden by quarter round moldings.
video: look for “how to build a workbench – (part 11) fitting the well board”
This was a very high, long and wide workbench. The height was adapted to Phil. I adapted the measures to build mine with a single slab and 1.50 m long.
Thank you for the thoughtful reply. I will check out the back garden bench build.
Hi Steve,
Paul has been away so I passed this on to Joseph for you and he said it sounds interesting, go for it.
Kind Regards,
Izzy
Hi Benoît,
Paul says:
When I built the original prototype, I did in fact enclose the underside of the bench top apron to apron which gave me great tool storage. I didn’t add that in this workbench build because I wanted to keep it simple and anyone can customise their bench once they have built it as I did.
Kind Regards,
Izzy
Very nice. It’s been really fun to follow along and see this project come to life.
Very nice music also!
This has been an excellent series. Paul explains everything so well. I am starting my bench next week.
Best,
Brent
Paul,
What is the purpose of the two long strips you glued atop the well board please?
– make the back apron (18 mm) thicker;
– make the workbench-top (18 mm) wider; and
– keep the tool-well board down in two grooves without having to plough those grooves.
(grooves and rabbets were ploughed to install the tool-well on the solid-wood workbench)
What’s Paul using to apply the finish, besides the roller? Is it somkind of a pad? Where can I buy it, and how is it used?
Thanks.
Hi António,
Paul is using a paint pad.
Kind Regards,
Izzy
Brilliant, Just Brilliant …
I am just getting started setting up my garage to have a tool and working corner … I’ve got some old chisels, saws, couple of planes …
I have purchased the three sharpening stones and plan on putting together the sharpening-center first.
Then on to saw horses and perhaps a project then when everything looks settled I would love to make the plywood work bench.
I can not say enough about how wonderful, and inspiring every thing that Mr Paul Sellers does is to me.
Thanks. Few people could make a plywood work bench so desirable, and attractive. I had reservations, but you made me a believer. Keep up the excellent work.
very useful and entertaining course paul. i have learned an awful lot from your video teachings. please keep them coming.
tony
Hi Paul,
Thanks a lot to share your skills and ideas, what a great moment when I finalize my plywood bench! I’m a woodworker (only in my free moments) for 20 years, but never have enough space to work on something else that black&decker work mate and prefer to do all things by hand…. A nightmare when use it with planes :'(
Now, I can buy raw wood and plane it without breaking my back, it’ s a dream that come true because of you.
Thks From France
Hi.I am wondering if I could use #12 screws or lag screws to attach the apron to the legs?
Is there a minimum thickness for the benchtop?
On the solid wood workbench, Paul used 2.5″ stock (before flattening).
A thick benchtop adds mass and rigidity.
It doesn’t bounce back much when chopping on it (although it is always better to chop above one of the workbench foot).
The tool well depth will only be the difference between the benchtop thickness and the well board thickness. Although, Paul adds a second tool well that one can make as deep as one whishes.
IMHO the benefit, if any, of going above 3″ doesn’t justify the expense.