Plywood Workbench: Episode 7
Posted 3 May 2019
This is an episode in a free series. Want to watch it? It is free to do so, you just need to log into the site, and you can enjoy this video and many other videos we think you will love.
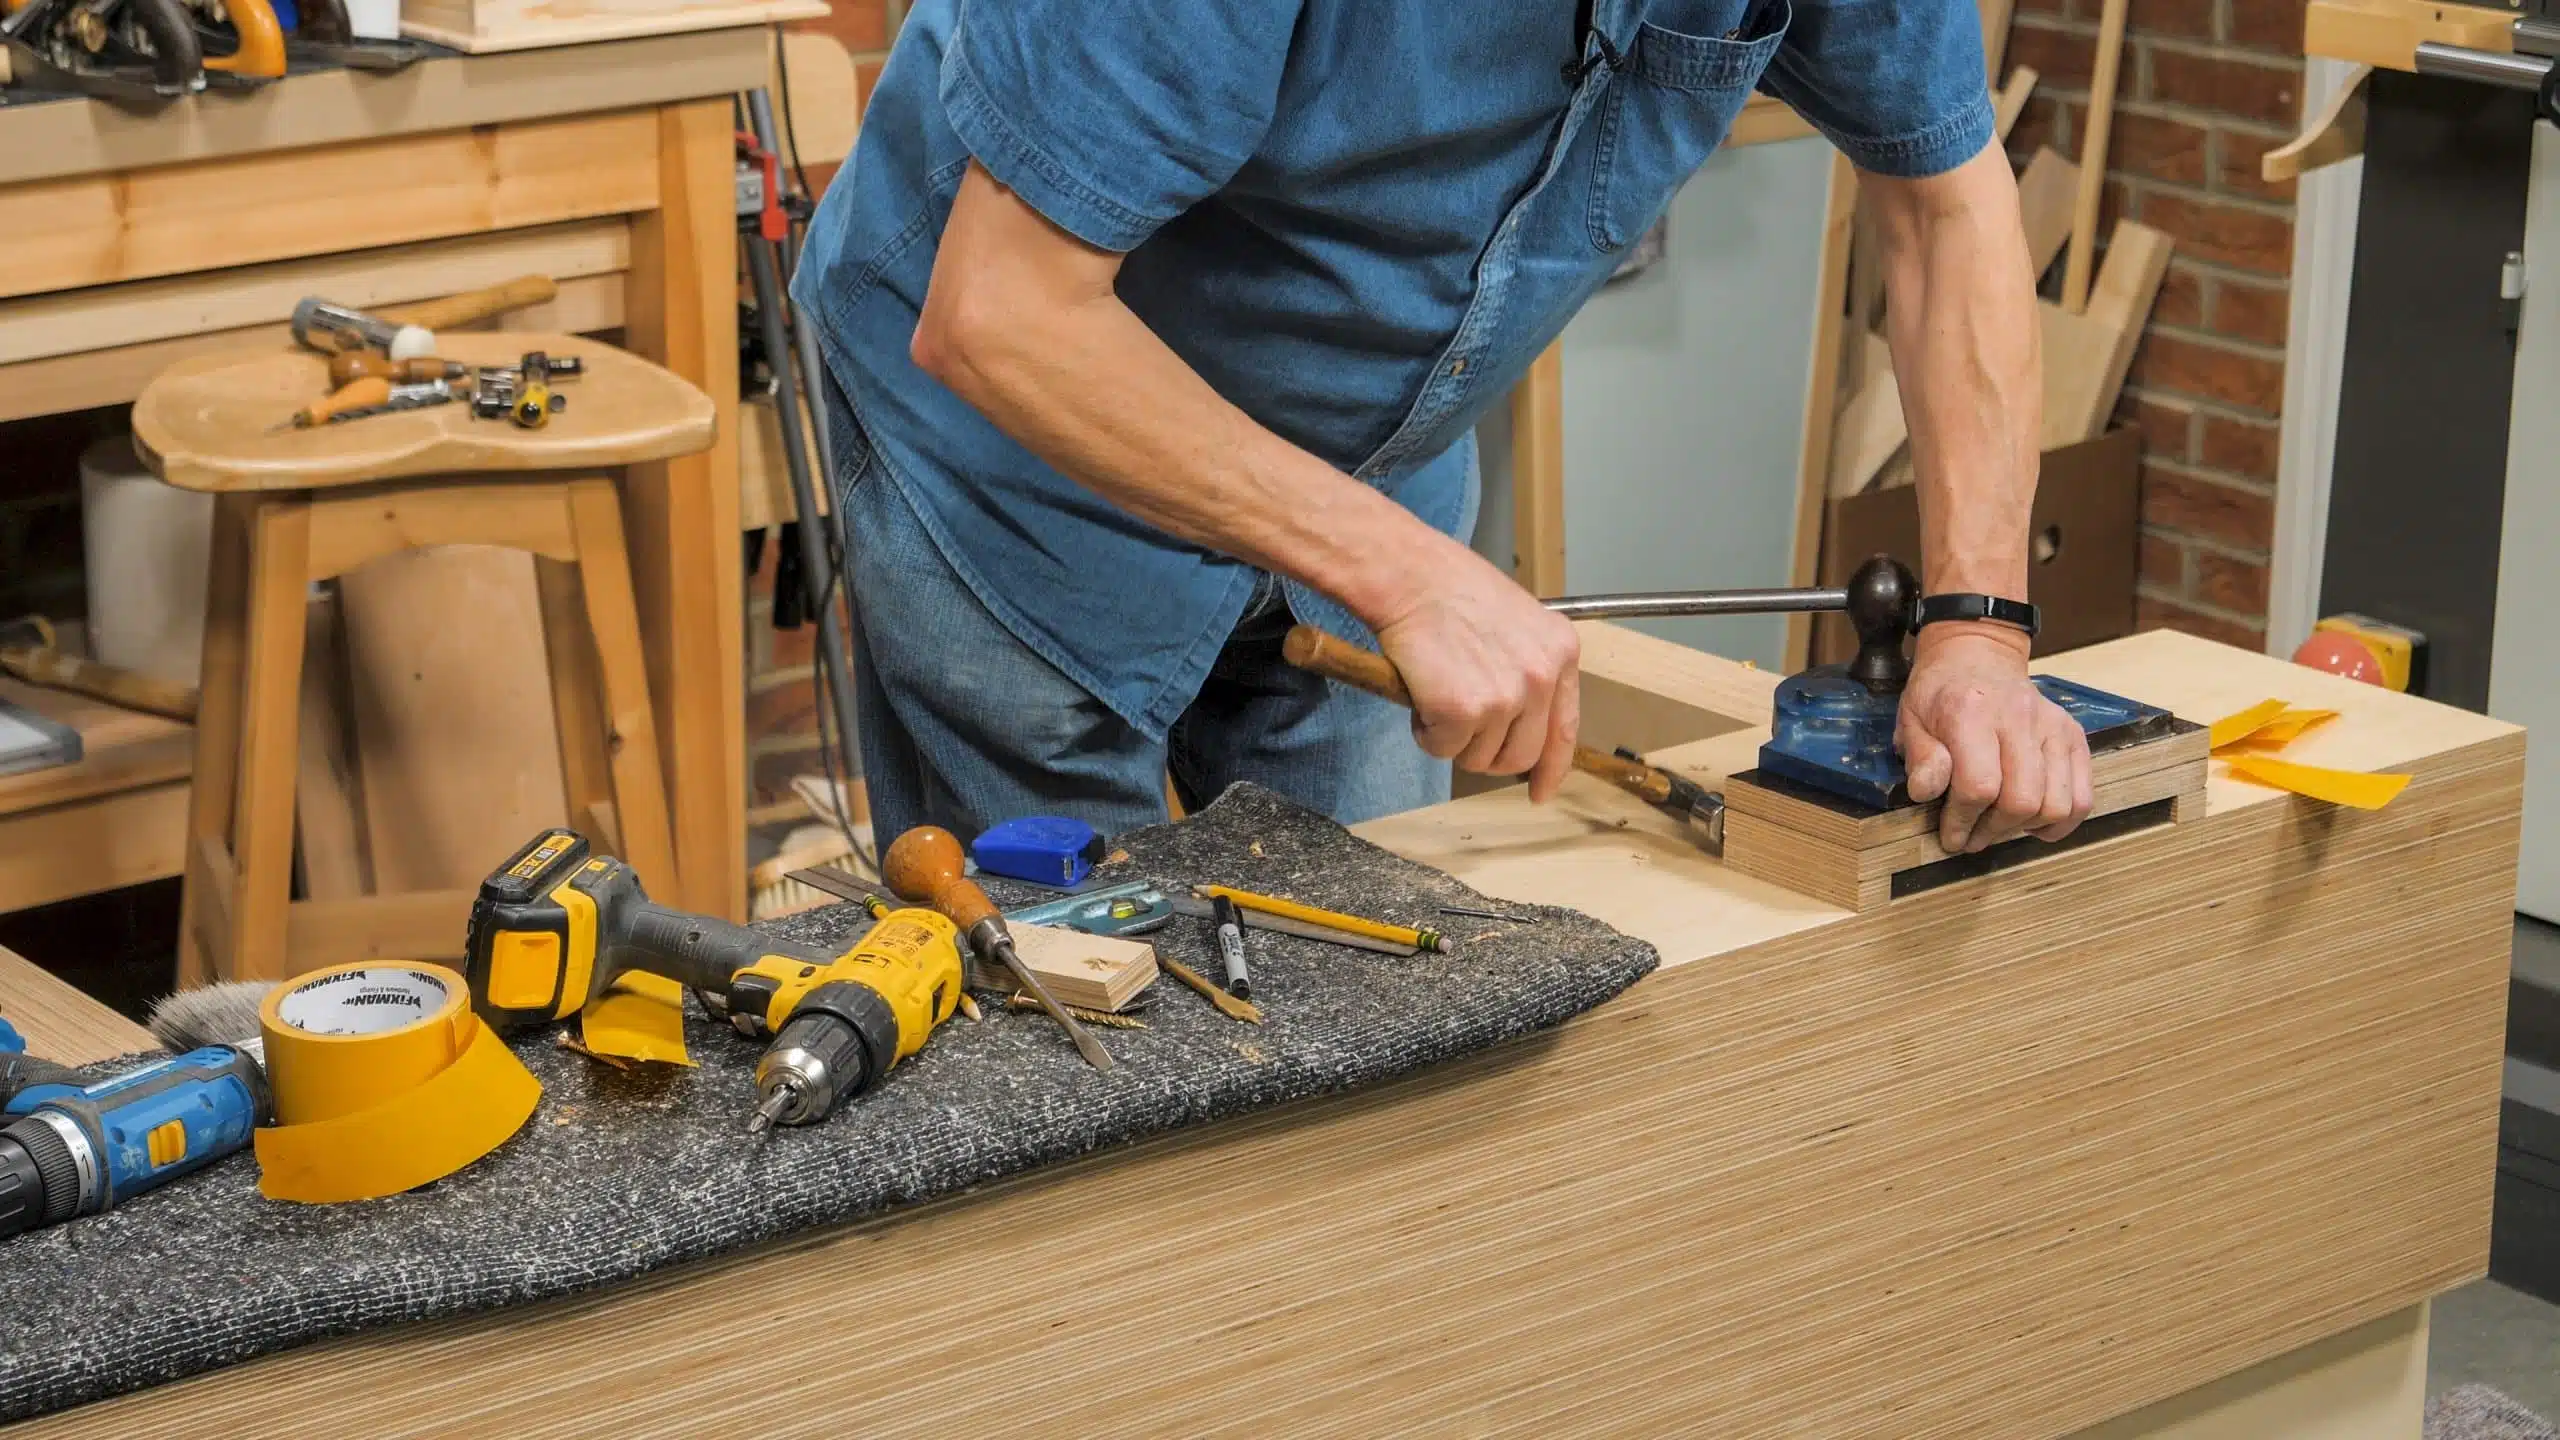
The completion of any project should always be exciting but when it’s your workbench there is something really special and unique about it. In this episode Paul uses methods for installing and fitting the bench vise which he has developed to guarantee a rock solid fit. The vise is, of course, your third hand. You do not want one ounce of movement in it. The jaw liners too must match the vise and the workbench for solidity. It’s all lifetime stuff for living woodworkers with style.
Thanks for the series Paul, very enjoyable.
Impressed Paul’
I think that i have made 8 benches during my lifetime. some early ones were converted chest of drawers. Smallest approx 3ft by 18 inch. Largest appox 20ft by 3 foot. Steel frame, still in use on a farm after at least 4 decades. Presently have 2 (plus workmate). One with mdf surface, now used mainly for metalwork. Other is your double sided earlier design. Between my present 2 I use 6 vices. ” of these are 2″ ones that I use mounted in my 6″ engineers vice for some model work. Prefer these raised vices for small work.
Every one has had advantages and disadvantages. I suspect that I won’t make any more now, but you never know!
Thanks for your insight and perspective, Keith. You might be close to my age but I’m just starting out. I keep convincing myself that all I need is the “perfect bench” and I’ll be able to do all sorts of wonderful things in wood. I think I’ll (belatedly) follow your example and just make something and see what happens. You never know….
Regards,
I love it – it’s so cool Paul – thank you. I am putting the finish on mine this afternoon and I LOVE it! – Rob in NZ
Nice series I plan to make one of these benches. One thing to look for in a vice is for the screw to be an ACME thread. They are more expensive to manufacture but are a much stronger design that won’t stretch. I bought a used vice that was in a school from a recycling company for about $100.
I’m so lucky ….bought 2 quick release 10″ wide x10 max between jaws both acme threads for 0.99 pence on eBay…both excellent condition………lucky me
Excellent and inspirational
I loved the attention to the details in this series. Thank You Paul.
I use my vise for irregular and tapered objects such as guitar necks, and so I’ve configured the jaw pads differently. They’re 1-1/2″ maple, and on the top edge I’ve drilled several 1/2″ dog holes. Then I made several sets of auxiliary jaws (with 1/3″ bolts) that can swivel or stay fixed at a desired angle. All jaws have thick leather faces as well.
Is it important that the two spacers on the left and right have to be exactly flush with the rear face of the vice?
I leave my spacers flush with the vise to make it easier to clean debris out of the 1/8″ deep trough between the top of the vise jaw and the bench. I made them flush with the top originally and when I added an additional vise I lowered the spacers and after doing that I went back and trimmed down the old ones and haven’t been sorry since. They clean out great and the 1/8″ difference hasn’t been of any issue other than making my life easier.
Ted,
I am talking about being flush with the rear FACE of the vice, not the top.
If they are just behind the metalthen surely that negates the point of having them as no contact being opposing faces in this side areas will be made when the vice is tightened. If they are proud I won’t will there be problems as wouldn’t this take way some of the gripping power at the centre? I think I will micro adjust (plane) the side spacers to be perfectly level. Maybe the double sided tape provides a springyness that allow them to compress?
I will be gluing leather to my faces anyway so maybe being slightly proud will not be an issue
Hi Mike,
I passed on your question to Paul and he said:
Ideally it makes for a continuous surface level with the vise jaw therefore clamping near to the outer edges will be as secure on the spacers as it is on the steel back jaw.
Kind Regards,
Izzy
Paul, am I correct that you have cut into the wedge?
That is something I did no saw on the 2012 videos. So, on my solid-wood workbench, I installed my vise farther away from the leg. (plus some extra cm because I made a marking error).
No impact on the vise functionality but on my 1.50 m workbench, I could have made my drawer 5 cm wider.
Hi Benoît,
Paul said:
Yes, I did cut into the wedge, but it didn’t affect the functionality of the wedge.
Kind Regards,
Izzy
Love the bench. I’m a bit sad now that the series has concluded.
As I mentioned in a previous comment I am completely captivated by “The Woodworking Master Classes”
And I am getting started … My garage is now much, much more organized.
I have a new ‘corded’ drill (less expensive and more powerful than battery)
I have the 3-Diamond Stones and a ‘strop’.
The first project to get me started is sharpening my existing tools then making the saw horses then onto this fabulous plywood bench!
Zach
awesome series. Love Pauls manner of teaching. I could listen to him all day. Wondering if anyone could tell me what kind of plywood he used on the vice? I could not hear what he was saying clear. Just wondering. Maybe its a regional type of material.
Thanks guys. Love it just love it.
it is plywood used for the floors of trucks with a no slip surface on it. I have never seen this, but I suspect you could get a can of spray on truck bed liner at walmart and coat your own.
I did find these in the UK.
http://www.winwood-products.com/eng/timber-products/mesh-plywood.htm
https://www.buildersmerchant.com/product-category/timber-sheet-material/sheet-materials/phenolic-plywood/
I did not find anything in the US. I would be interested in anyone does.
It is called Buffalo Plywood- very hard to get in the states and very expensive. Unless someone else has found a cheap source.
Hi Gregory,
This was Buffalo Plywood.
Kind Regards,
Izzy
I’m still trying to find the double sided tape. I found some at my local Hobby Lobby but it’s 1/4 in wide which is fine for holding my sand paper to my flat surface but I’d like to find some that’s wider. I see some in catalogs called mounting tape but I’m thinking it’s a foam tape not the thin stuff.
its carpet tape for laying carpet. find it at builders supplys, home depot etc.
I still cant find the tape. I bought some carpet tape. It has strings in it that make a mess when trying to trim it to size.
https://www.homedepot.com/p/Ottomanson-Indoor-Outdoor-2-in-x-30-ft-Double-Sided-Carpet-Tape-Roll-RTP9002-10Y/301460494
I think this is it or similar
Zach, if you don’t have ‘power’ tools besides a drill, you may want to build the previous version of Paul’s workbench which relies only on hand tools (and a drill). I’ve gone this route, starting with learning how to sharpen and building trestles, and thoroughly enjoyed the process. This is not to criticise the plywood bench, as both versions of Paul’s bench are superb and come with detailed instructions…
Great job as usual Paul.
When I installed my vice I inset it so it is flush with the front of the bench.
“Vise” I meant to say. I have many of the other as well though.
I have more than one vise but don’t know if I could count my vices….
so did i and now i regret it when my hands dont fit behind boards im clamping up. will follow pauls design on my next bench
Well, I’ve loved this project. And, judging by the little unconscious smiles that escape through your beard, so have you. Thank you so much for sharing this helpful and enjoyable video.
This was a most pleasant build to watch, I watched the build of the first bench over the last couple of days, well worthwhile also.
Just for what it’s worth: In retrospect, I wish I had encountered this series, and heard Paul’s point (elsewhere) about the cost of a good table saw buying a lot of high quality hand tools before I made that investment (and muscled that saw into my basement workshop). I’m not sure I’d give up that machine, but I’d probably have downsized it at least.
Oh well.
For some reason I was expecting Paul to start pounding on a 3/8th chisel with a wooden mallet to make the vise hole. I feel so silly now…..
Hi Paul
Can you tell why you have installed the vise in the left side of the bench?
It is a personal preference or it is another practicality that eludes me?
Close to a leg is better than in the middle of the bench to reduce bounce when chiselling for instance.
If one is right handed, as Paul is, putting the vise on the left is more convenient (as one can then use one’s right had to grab tools which are to the right side of the bench). Left handed people should do the opposite and install the vise on the left side of the right leg (as between the two legs is best for stability in any event)
Thank you so much Paul, I’m very happy for a few weeks already with my Paul-Plywood-Bench and enjoy to work on it! It fells great!
My workshop is quite small, so I reduced the size a bit with no problems.
Greetings from Switzerland!
Much applause! Very nice project. I miss not having the other accessories that you made for your other solid wood bench such as the saw hangers.
When I installed my vice on my old bench I did it like Paul’s first bench online. However, I could not face the steel sawdust trap on the bench side so fashioned a sliver of wood to fill the gap. I aim for perfection and consistently fail to achieve it.
Thanks so much Paul for this series. Although I’m a beginner, I managed to successfully complete the plywood bench thanks to your instruction. I posted some photos of It along with some notes on the issues I had in building it over in the “plywood bench” subsection of the “Project Series” section of the forum. Thanks again.
is Paul using a new vise? if so what make / model is it. I am thinking of replacing an old on that I have
Thanks.
Hi Andrew,
I passed your question on to Paul and his answer is below:
I’m still using the original vise, but having said that, I do have 3 or 4 benches. 2 of which are plywood, both of these have vintage vises on them. They are second hand, one is Woden, one is a Record.
Kind Regards,
Izzy
Hi I can not find a cutting list for The plywood bench how many sheets (8ft x 4ft) make the bench Paul made. Looking forward to
Making one.
With Regards
woodcarver Tom
Go to the start of the series. Tech drawings are right on top
How i can fill the 1/8 gap between workbanch and the head of vise
It is peepeing from inside .
Because i have watched youer all video available on YouTube and website but i not seen any gaps on your vise?
Please ans