Sellers Home Coaster Set: Episode 1
Posted 10 November 2021
This is an episode in a paid series. Want to watch it? You just need to sign up as a paid member, and you can enjoy this video and many other videos we think you will love.
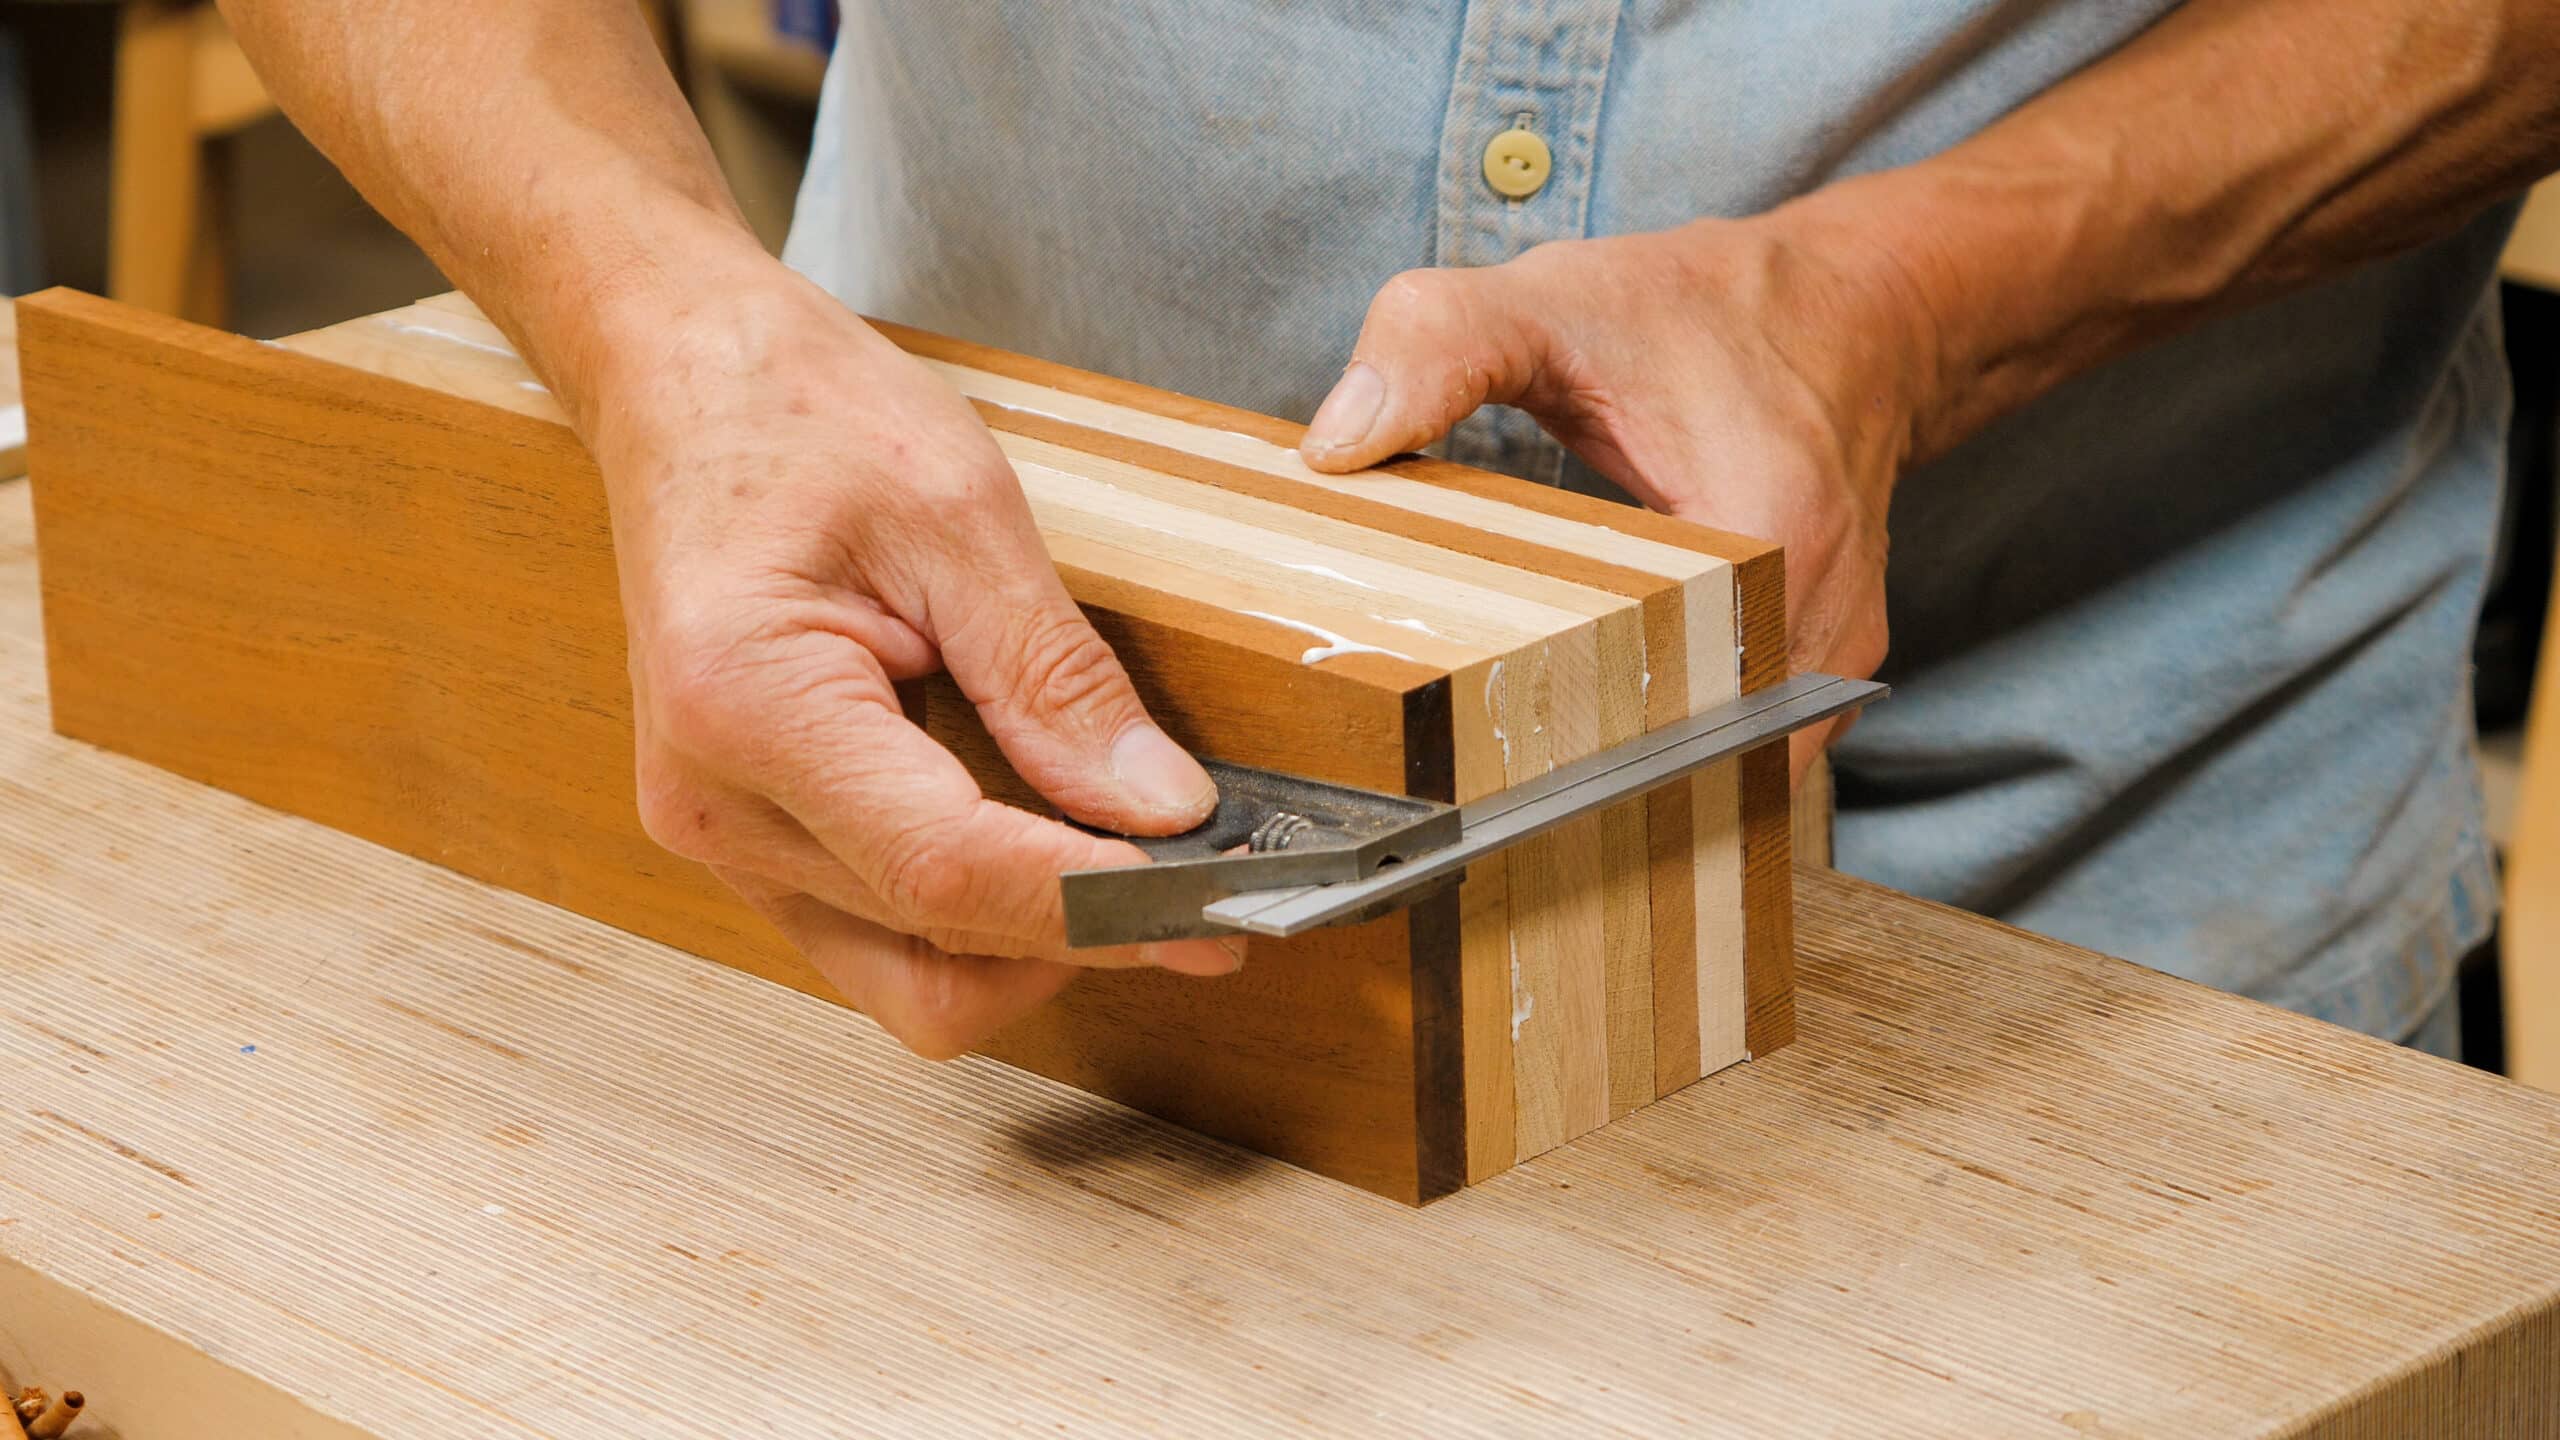
Throughout this coaster set, there is no joinery yet the work is quite high demand and very enjoyable; sharpen up your tools before you begin and the outcome will become all the more pristine for you. Paul focuses on developing accurate hand skills and shows you how to create neatly made and accurate hand-worked pieces, using only the very core woodworking hand tools. Paul used only five or six hand tools to make this beautiful set of coasters. Planing the different woods gives a unique experience, but you could use fewer woods and use a more balanced approach according to your taste and preference.
Outstanding!
A back-to-basics question: Are you “powering” the saw through when you crosscut the stack? Or are you letting the saw do most of the work?
I ask because it appears to be the former. When I saw, the more I force the saw, the less accurate my cut.
Not that this particular cut needs great precision, but I was just wondering and observing.
Paul mentioned, “Just let the saw float.” I took that to mean he letting the sawing action and weight of the do the work…
I think he means something else when he says, let the saw float. If he is just starting a cut, he sometimes describes this as “just lightly rub the tips of the teeth on the wood.” You could also call this letting the saw float. When I do it, I am resisting the weight of the saw, lifting it upwards, so that the saw isn’t bearing down on the wood. Doing this lets me set up my sawing motion and keeps the teeth from digging in and upsetting how the saw is settling into the wood. As you gently rub the saw (don’t think of it as cutting), you will remove a little dust and start a kerf. As that becomes defined, you relax more, let the weight of the saw come back onto its teeth and continue the cut. For me, it feels like floating the saw, gently rubbing until I have a sense of my motion and the kerf is starting and then I give a definitive and defining push. Sometimes, you may see Paul start a cut and come to a complete stop, perhaps withdrawing the saw and wiping dust off. This is the same thing and you’ll probably see that he’s done what I just described, including the definitive, defining push.
That’s a great description, Ed. We’ll articulated. It’s a funny feeling to just ‘coax’ the first dust out, but it makes a really big difference.
You should always let the saw do the cutting.
lovely ,never thought of making them that way . so achievable so simple brilliant
Such a great gift, and complete justification for my habit of “saving the bits”.
Recycling and gift making in one!
Lovely project. I have some questions though, mostly just curiosity,
– I’m guessing you could use (fake) leather instead of cork too?
– why the steel wool at the end? Are they too slippery on top otherwise?
Leather absorbs moisture where cork is more resistant to absorption
John, Paul’s apprentice said regarding your question using steel wool:
The steel wool always gives a better finish on shellac than using sandpaper as it kills the sheen and actually makes the surface smoother.
Just curious, when planing the end grain on the stack before the next cutoff, why not plane lengthwise with the layers?
Since it’s end grain Paul is planing, changing direction wouldn’t make any difference. John.
A question, how muck is thick the cork used? I guess something like 1 mm.
Hi! Yes, Paul said it’s 1mm sheets.