Sellers Home Dining Table: Episode 2
Posted 2 February 2022
This is an episode in a paid series. Want to watch it? You just need to sign up as a paid member, and you can enjoy this video and many other videos we think you will love.
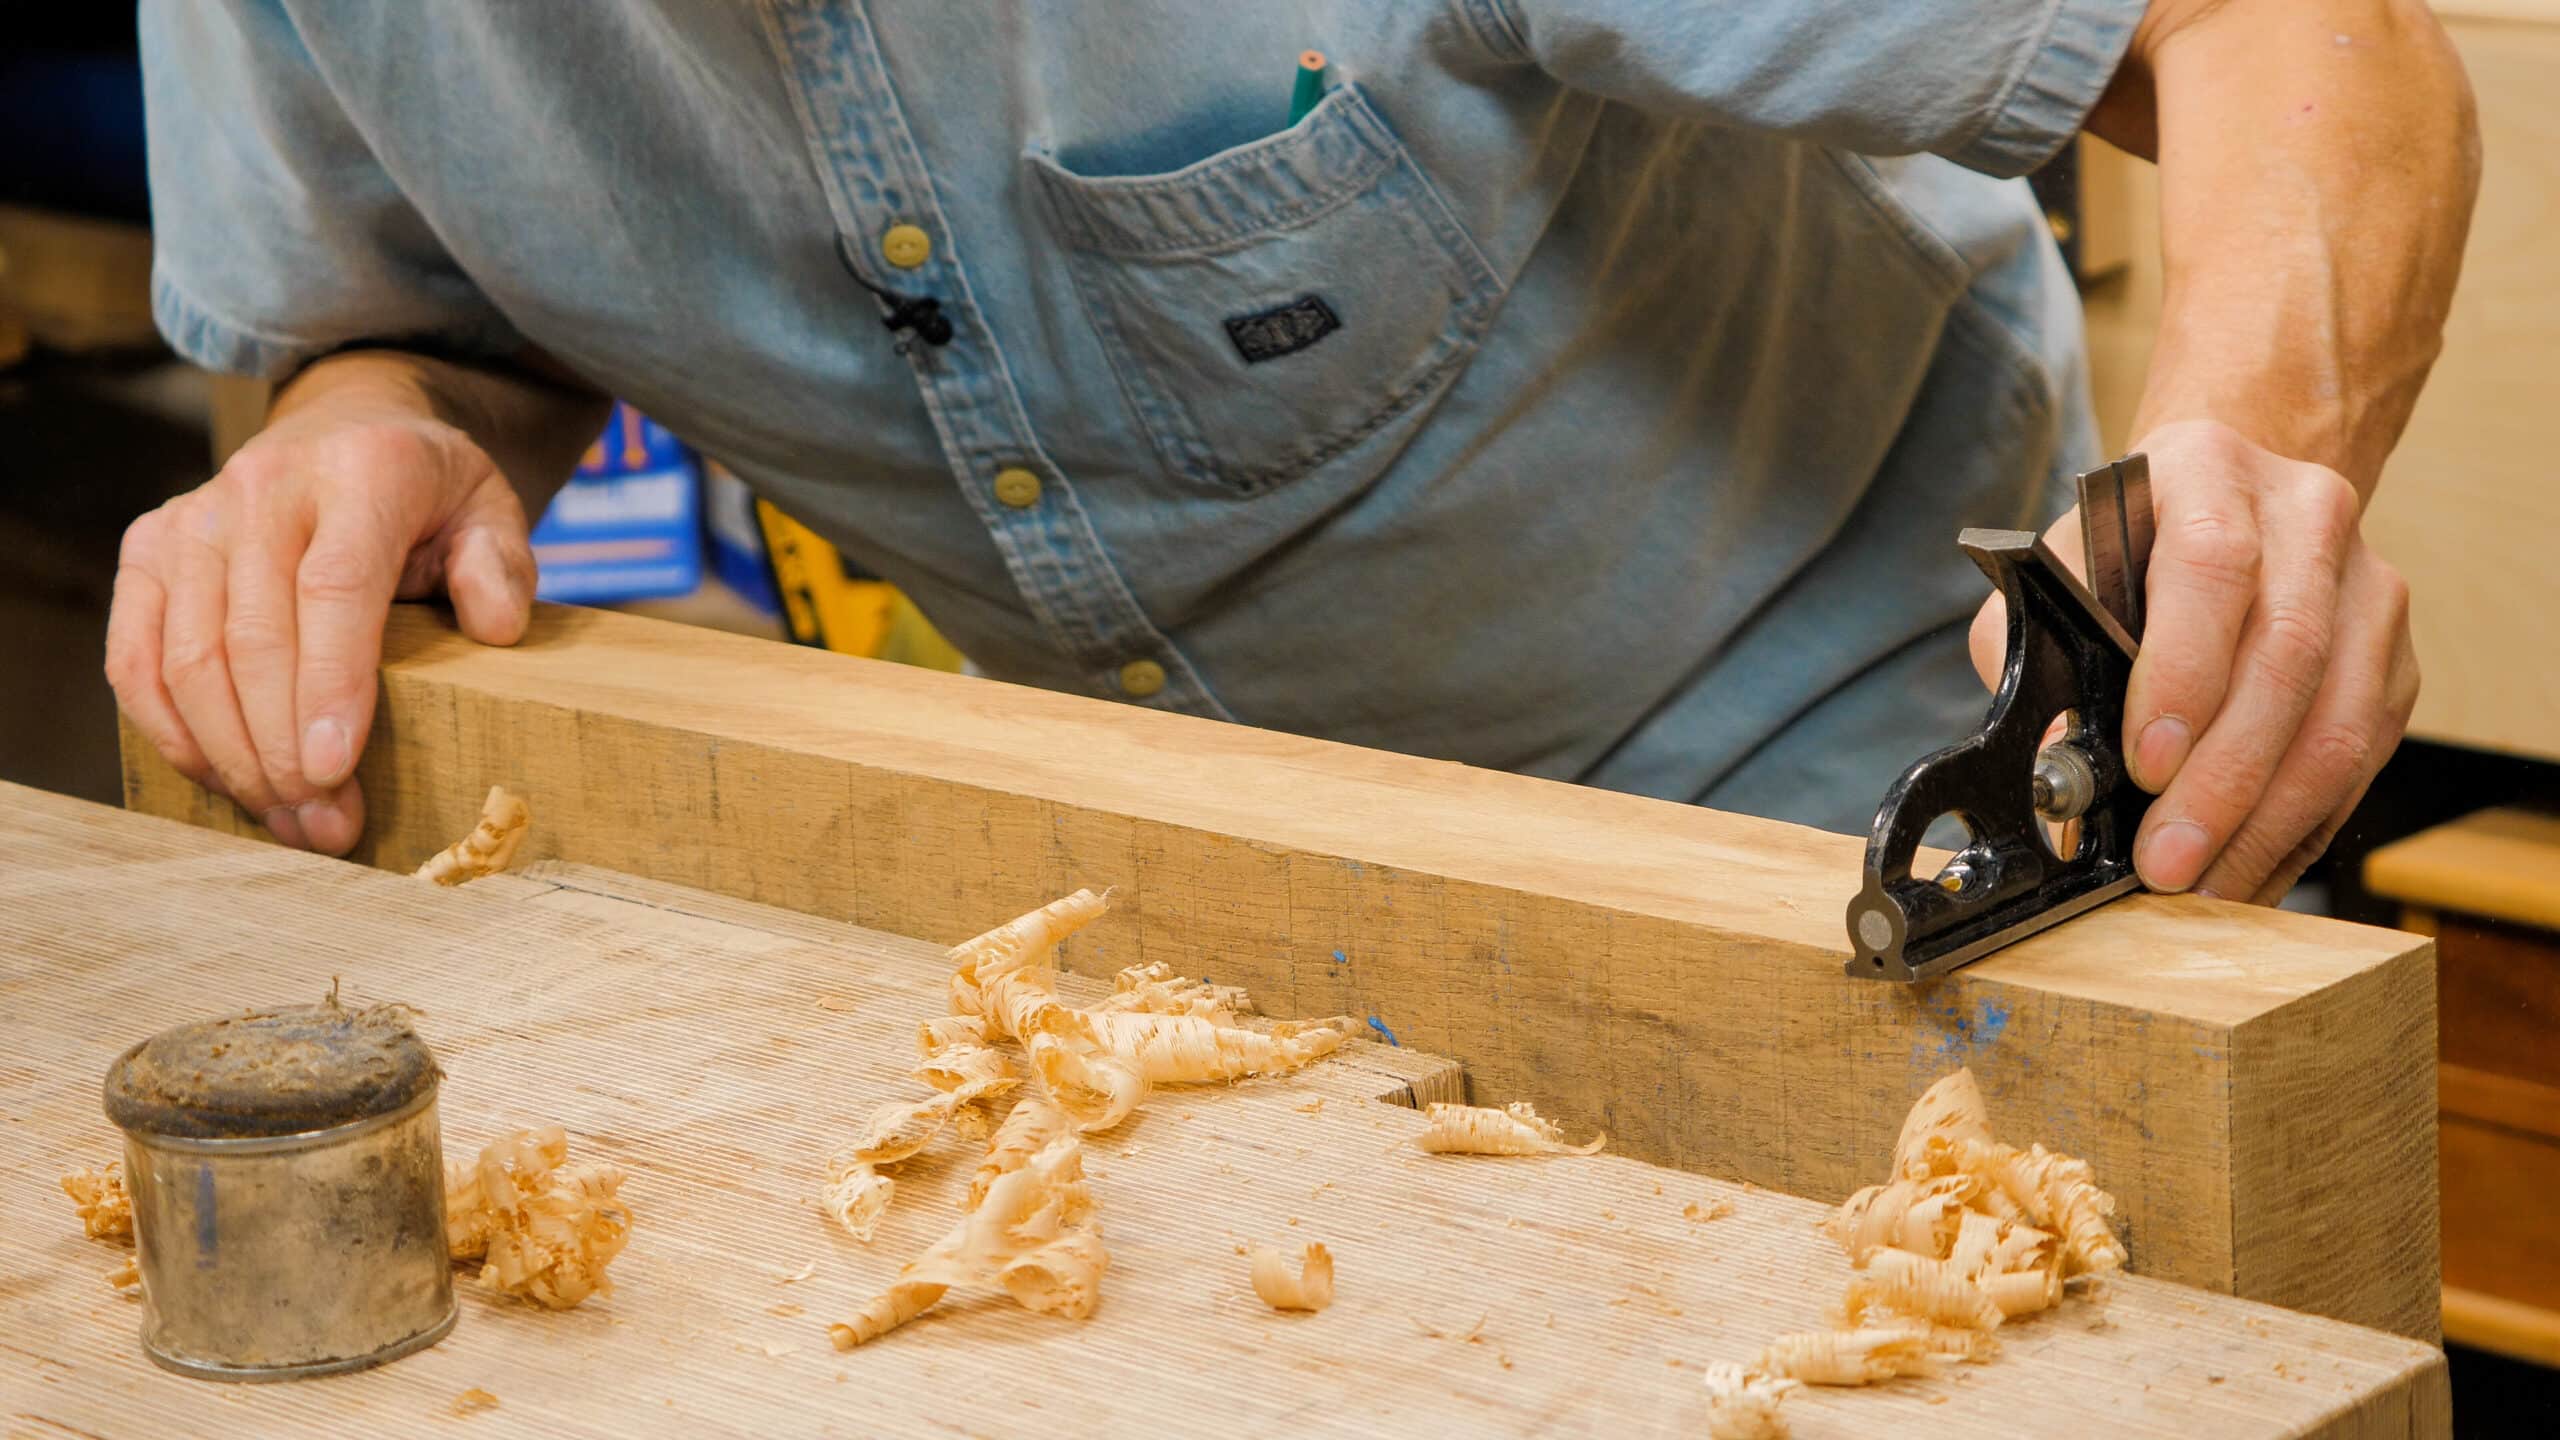
The much-misunderstood area of any project after you have visited the timber yard and selected your wood is the preparation it takes to change rough-sawn wood into finely dimensioned material ready for the layout, laminating, and so on. Spending quality time here leads to ease in subsequent joinery and so on. In this episode, Paul walks you through the steps he takes for every project. How do you handle twist, cup, crown, and splitting? We wanted to spend time on this to explain and show how to deal with stock preparation of thinner stock and then the heavy leg stock too.


Curious what Paul was doing with the string and little sticks along the edge of the long board?
Appears to me to be a way to establish a straight edge. The board is longer than any straight edge tool
I’m sure I have seen PS use this method before but I can’t remember which project it was on. The three wooden blocks are equal depth so if the string pushes up in the middle then take more off the middle of the board, if it is loose then take more off the ends.
He showed it in a short video on youtube : https://www.youtube.com/watch?v=A_y0PJxPA_U
The detailed explanations and demonstrations in the first 2 episodes have been very educational for me. I have either faked my way, or felt my way, through many of the issues Paul encounters.
I completely agree. I’ve had some self doubt on making some of these decisions but seeing Paul do this has helped me feel a bit more confident.
Every single video something new. String line for long boards. Why am I so slow. Wish you had shown me that a couple of years ago. (Just kidding) thanks so much Paul.
Loved the details about wood quality, cracks etc in first Vid. More please.
It is funny how sometimes the most basic things are the quickest and easiest way to do something. I can’t tell you how often I have pulled a string line to ensure something was level, but I never even considered doing it for a longboard.
Great seeing this part of the process
I noted the deviation from the planned 1″ or 7/8″ thickness of the rail. What do people think… I wonder would that new thickness then be mandatory on all 4 rails? Or would one “manage” the discrepancy in thickness between rails when cutting joints by cutting each joint individually.
There shouldn’t be any need for all 4 aprons to be the same thickness. Simply layout the tenon from the outside face so the outside shoulder and the tenon are a consistent width and let the inside shoulder width be wild. I believe this would have been common in pre industrial times.
Thanks for your response. Makes good sense and is most economical
What a excellent instructional video that was Paul, thank you.1
At around the 11 minute mark when addressing the crown in an apron by planing across the width of the board, Paul says he doesn’t allow the plane to follow the crown. How does one make sure the plane doesn’t follow the crown? Downward pressure on the toe of the plane?
By using a longer plane I think.
Hi there,
What wood specie Paul is using for this project?
Thank you
Made from solid oak
@PAWELG
Plans are on the introduction page