Shoji Screen: Episode 4
Posted 29 July 2020
This is an episode in a paid series. Want to watch it? You just need to sign up as a paid member, and you can enjoy this video and many other videos we think you will love.
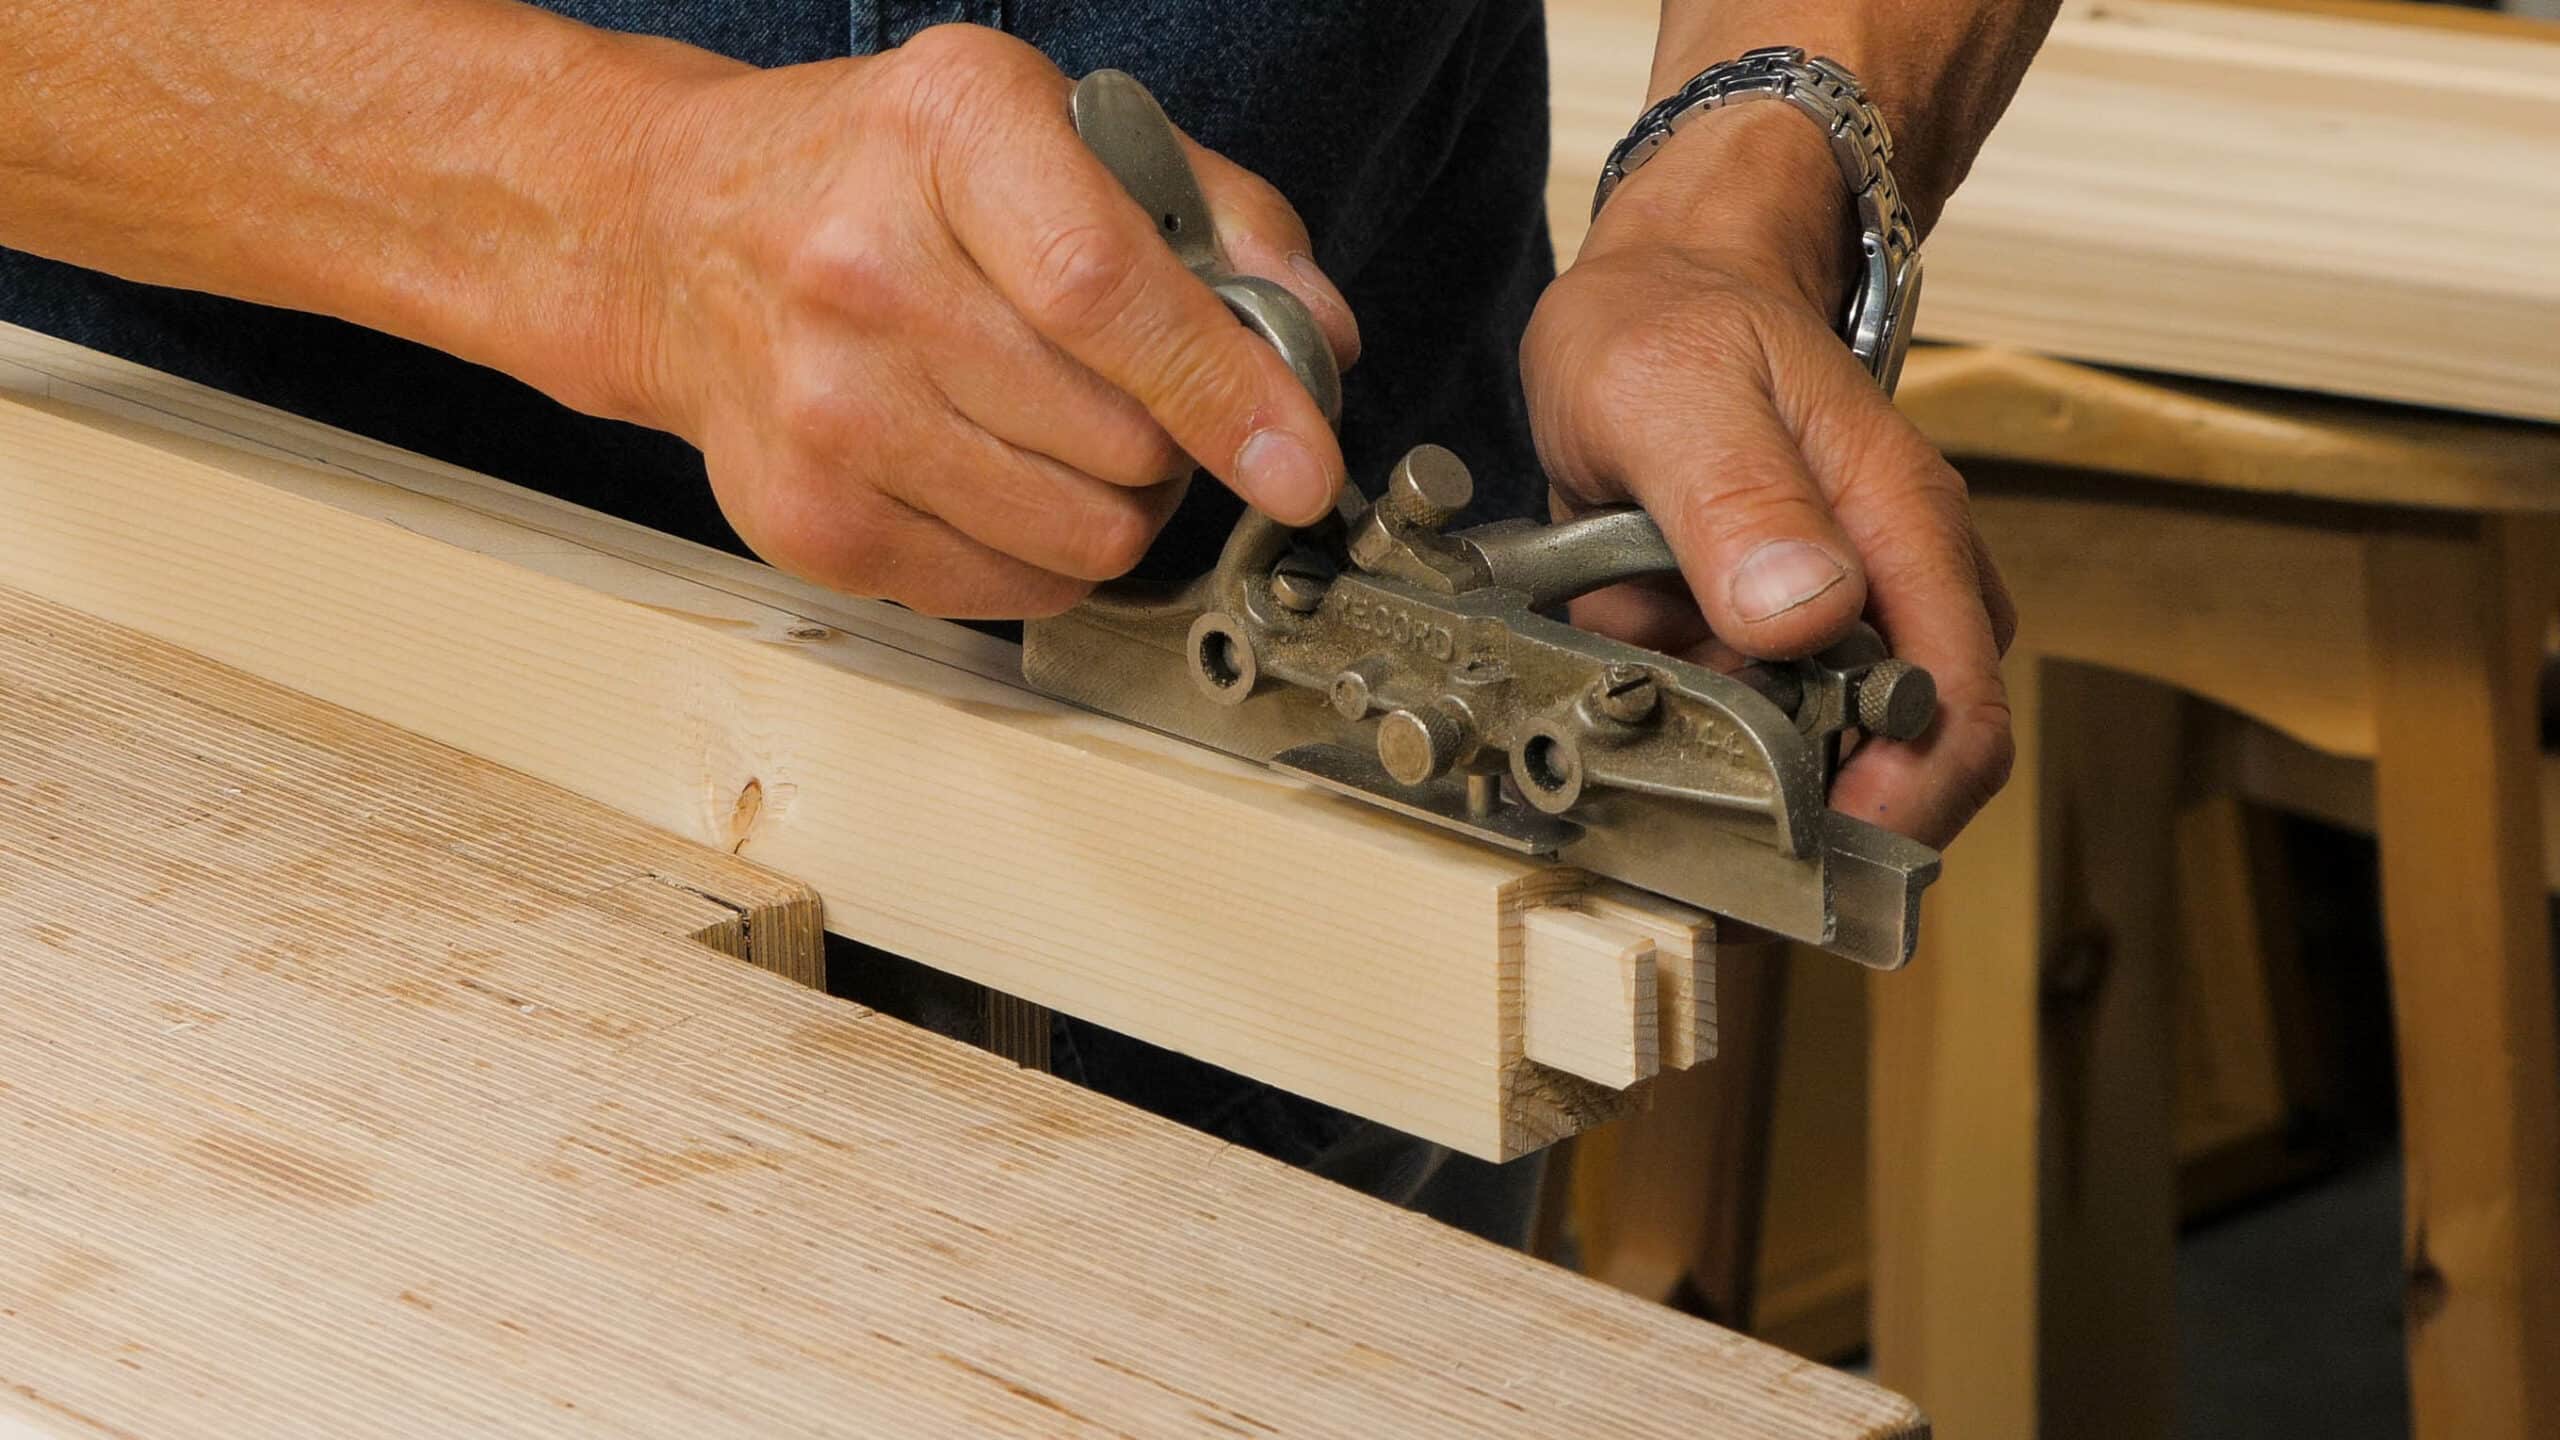
In this episode, Paul focuses on forming the grooves to the main frame, and then bevelling the panel and fitting it to the grooves and frame. Paul starts to layout for the half-lap joints to the vertical and horizontal Kumiko using a method that guarantees exact sizing and matches the half-laps to the stiles, top, and mid-rail. This fitting and checking are essential to test all of the components before the final glue-up assembly.
BOOKMARKS:
MAKING THE GROOVE FOR THE PANEL – 00:07
FITTING THE PANEL – 12:07
HALF-LAPS – 29:40
It appears Paul is putting all half-laps on the same side on the vertical and horizontal members — the cross members have it all on front face and verticals have it all on the back face (time 33:25 to 33:40). Traditional shoji designs I have seen use alternating half-lap notches on vertical members and a group of half on one side and the rest on the other for horizontal ones. As in Toshio Odate’s “Making Shoji”, for example.
I had understood this to assist in keeping the kumiko frame planar. Is this less of a concern because Paul’s lattice members are as wide as the frame material (or should I say as deep) unlike the narrower kumiko strips used in traditional designs? Like 5/8″ strips as opposed to 1 9/32″ wide ones used here.
Hi,
Paul says:
I was careful to consider this and felt that it was unnecessary in this case. I wasn’t really trying to achieve an authentic replication of a Kumiko in any way ie, woven effect. It has stayed perfectly flat without any issue.
Kind Regards,
Izzy
Thanks for the follow up, Izzy. Much appreciated.