Tool Chest: Episode 7
Posted 28 August 2013
This is an episode in a paid series. Want to watch it? You just need to sign up as a paid member, and you can enjoy this video and many other videos we think you will love.
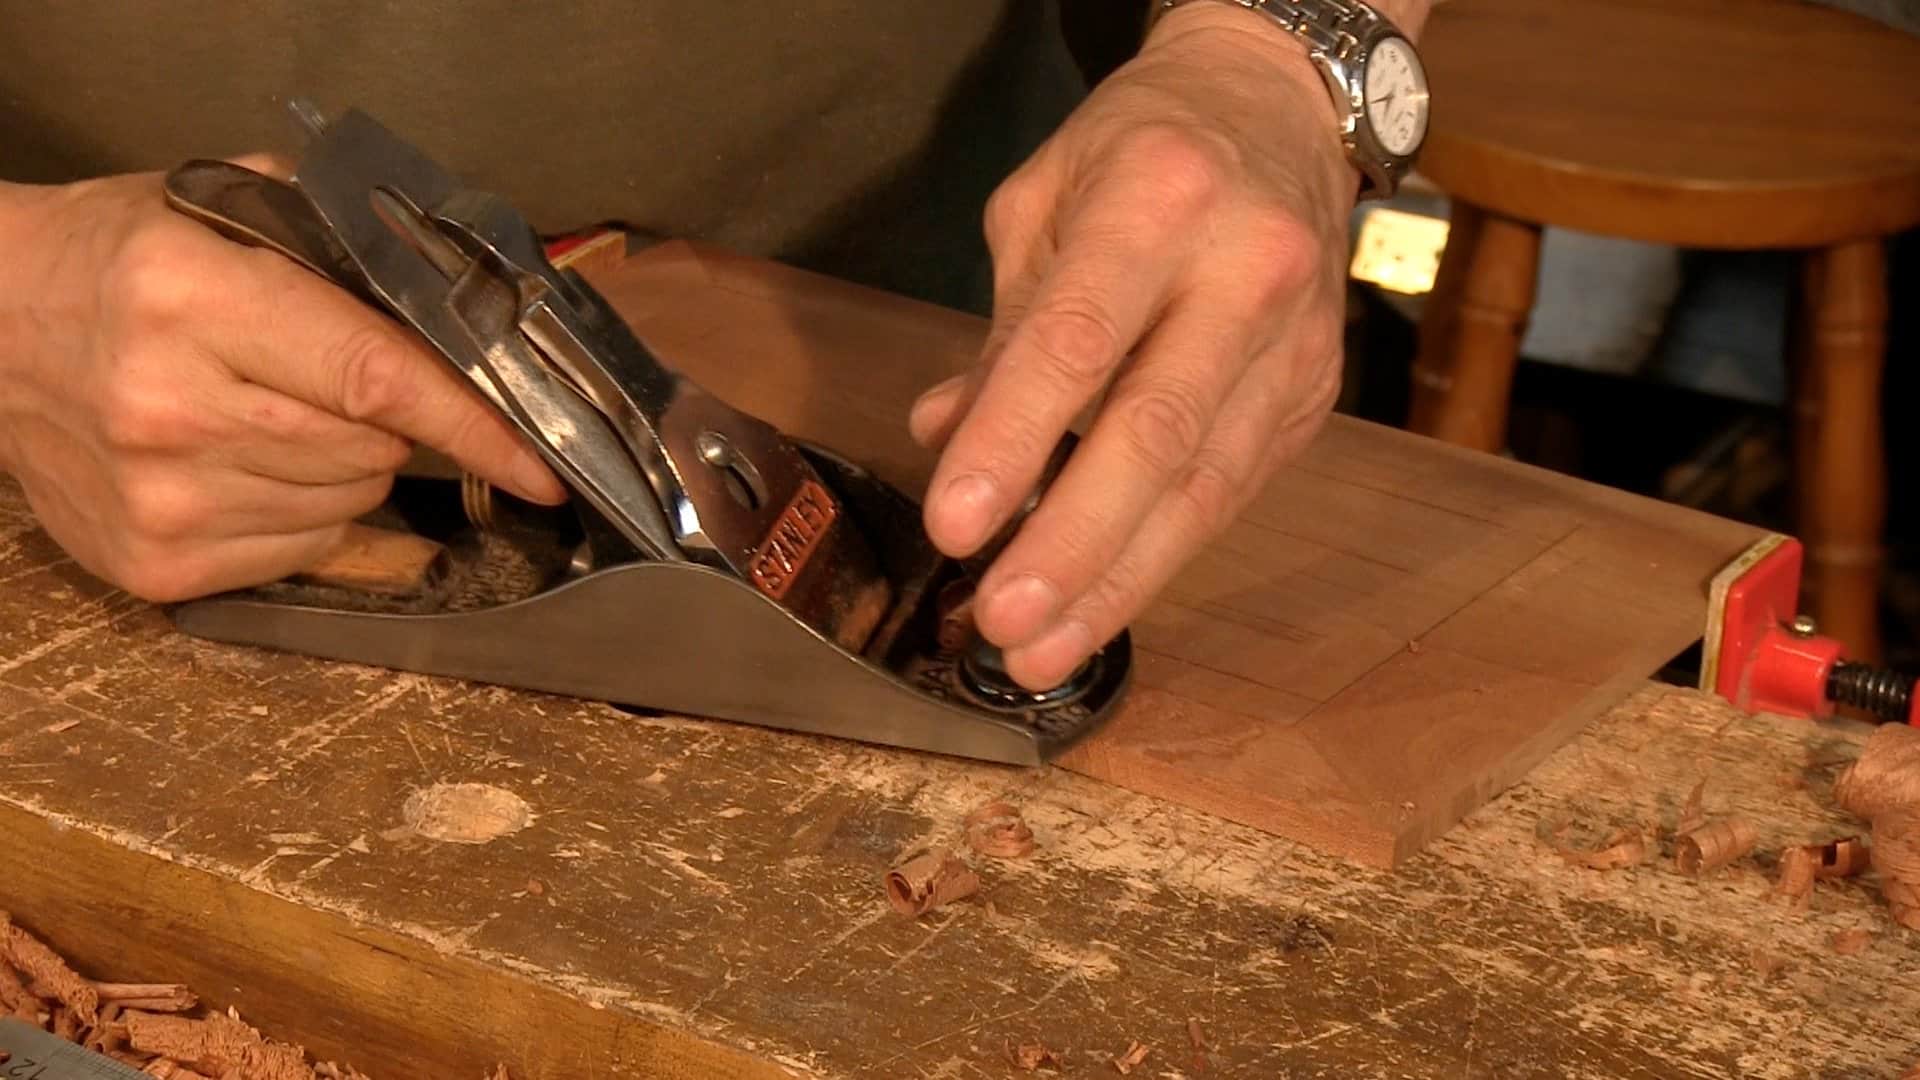
In this episode Paul shows how to use the smoothing plane to raise the solid wood panels to fit in the top frame of the chest. He introduces a few different approaches to make sure you get, crisp, mitred corners and an even chamfer.
Someone got out of bed early! Thanks, chaps! 🙂
George.
Thanks for this one, great job guys 😉
episode 7 is numbered wrong on the dashboard and plays episode 6 if you try to click on it
Thank’s Eddy, should be sorted now.
cheers Phil
Great episode, great series and a great teacher. Thanks for this one.
Simplicity to address of small details, simplicity on measuring, simplicity on raising panels, simplicity on clamping, and overall, precision with our own hands applying the just force of our body, plus into a quiet environment an using just simple tools. I can not add more compliments to this grateful work.
Another wonderful master class. This is not only woodworking, it’s an absolute therapy. I love it all. Thanks a lot, Paul.
Great job. Thanks. Oscar, your comment is excellent and accurate.
Oh! Savi, thanks for your kind approval. Really this course is changing my point of view definitely.
Xavi, sorry for change your name 😉
Thanks Guy’s I am learning so much, that #4 plane is wonderful isn’t it, it just sings through the wood.
Steve
Hi Steve,
I noticed that you like the #4 plane. I bought one last year at an antique store. The Chap wanted $17.00 and I asked if he would take $12. He thought about it for a while then said, “Yes”. I took it home and spent the afternoon taking the rust off and cleaning it then a good sharpening job. After using it I felt ashamed for not giving him $17. I have been using it almost daily ever since. It’s been great so I went by and told him about it and thanked him but he didn’t care and sold me a broad ax for $12. What a great guy! I love that #4!!! –Jim
Well done lads :
Oscar said it for me more than a woodworking class pure therapy. is anyone using mahogany for this project .its wonderful to work with but wonder is it hard on saw teeth? or maybe its just my sharpening technique , i also noticed some of my pieces are noticeable darker than others ,is this the nature of the wood or should i be concerned? thanks.
Another good episode.
I like when Paul shows multiple ways to attack a problem. I hope he continues to expand the use of more tools. I imagine a lot of us are here because we enjoy (or want to enjoy) hand tools, and don’t want to be limited by only a #4 plane. I am pleased to see him reach for the plough plane. How about a rabbit, shoulder, jointer, scrub, etc.?
Am I the only one who enjoys buying new (or new old) tools, and would love to see their proper use? I don’t know the demographic of the members of this online school, but I have to believe a majority of us have more then a #4 plane at our disposal. Let’s not keep the episodes geared towards the lowest common denominator (people with only a #4 plane). If I don’t have a tool that Paul uses, I want to be inspired to get it, and that happens by seeing it demonstrated.
Don’t take my comments as criticism. I’m just expressing my desires, with the hope that I’m not the only one.
Hi Marty,
This first year of our videos has certainly been been one of ‘Minimalist Hand Tool’ woodworking and I can already imagine that eventually they will be listed in the archive as such.
There are three reasons for this approach.
1, It gives people an entry point to start woodworking without paying out thousands of dollars in tools just to be able to make a simple project.
2, It gives everyone an example of flexibility in work. Just because you don’t have the exact tool for the job doesn’t mean you have to give up. There are lot’s of ways of doing things we simply provide examples and principles of work.
3, This way gives Paul a way to showcase simple ways to make beautiful projects. In a demonstration where many exquisite and complicated tools are used people tend to focus on the right tool rather than the right skill. Believe it or not people have even said things like “Well sure, if I had all those fancy tools I could do woodworking as well”.
We intend to do this in phases and already we have quite a few projects which demonstrate these points.
We won’t stick to this strict diet of so few tools forever. 🙂
Completly agree with you. More way, I think making our own tools is another face to become a better crafstman and real woodworker, so dont hesitate to show us some sample about this topic in the near future.
Thanks for your exellent work.
–Óscar
I really like the minimalist tool approach. I like that Paul shows us how we can actually build stuff and, enjoy woodworking without making a huge financial investment. I hope it doesn’t change too much from that.
With that said, I also enjoy learning about the tools from Paul. And I look forward to learning about more of them as the lessons progress.
Kelly
—
I to enjoy the “minimalist approach” I have several nice ( mostly vintage ) Hand tools but like seeing what Paul Demonstrates. Another way at looking at it is when I travel I know I don’t need to take everything I own to enjoy wood working. I have really enjoyed seeing what Paul can do with the common #4. Just my $.02.
Steve
I enjoy the minimalist approach. Good expalaination. I believe skill is more important then tools.
One of my Hero’s is Norm in his New Yankee Workshop I think I have watched every episode ever made at least twice but never built anything as I could not afford the expensive Table Saws, Lathes, Jointers, and Radial arm Saws or have a workspace big enough to use them. I now have a Super Hero in Paul I have watched these videos more than twice and now I am actually made the tote and working on the clock. I have made and used the poor mans router and the beating screw block, I have a Stanley number 4 that still scares the hell out of me but I am sure will become friends
so please keep on showing alternate methods and make the odd tool as it feels more fulfilling when you look at an end product and can say I built that from scratch by hand and with my tools.. A big thanks you to Paul and his team.
Thanks for the nice followup Joseph. Your response makes me look forward to future projects even more.
It’s good to some of the future direction that you’re planning.
i understand your query but like joseph explained if it was not for the simplistic approach to these classes with minimalist tools i believe i would not have joined and even with these tools there is for me anyway a lot of time to become proficient in there use , i for one always believed that one need thousands of pound worth of machines and tools to be able to make anything half decent ,paul sellers has proved it to be completely untrue .theses master classes are a fresh of breath air for me who always had interest but thought i could never afford it. and even tools aside what about the raw materials that we need i would prefer to buy different type of timber like mahogany for the tool chest to understand the difference rather than make everything in pine .i do hope that that woodworking master classes keeps it simple so that we can gradually build up our tools ,stock and most of all develop the skills ,
I am really enjoying the way Paul is teaching the simple tools. One thought might be to show both ways, since most projects have more than one example of an operation. For example, on the Breadboard End Cutting Board, Paul showed how to cut the groove for the end with both a plow plane, and then the saw and chisel. I took his advice and tried it with the saw and chisel as the 3/8″ blade for my plow hadn’t come in yet. I was amazed at how easy it was with some patience. At the same time now that I have a 3/8″ cutter for my plane, I doubt I’ll do it that way again 🙂 But it was inspiring to be shown in is possible with only the minimalist tools, and then go on to complete it.
Paul, thanks for the technique of using the scraper on the difficult grain.
I can guarantee that I’d have fiddled and fiddled with my #4, thinking that I’d buggered the blade when I sharpened or set it incorrectly.
P.S., I might have grabbed my low angle plane. Thank you for the heads up there too.
I don’t necessarily want fancy tools as I just don’t want the expense in that area.I know some things would be helpful (the plough plane or the #80 scraper) but right now a panel saw and cabinet scrapers still do the job.
To put it another way, if you gave me the choice between a $10 Harbor Freight marking gauge and $15 in wood and hardware to make it myself, I would choose the latter.
Great demonstration of real woodworking.
You are giving us all simple techniques that are the essentials needed to raise our skill level. Thank you so much
How come, Paul, you didn’t extend your index finger when using the panel saw. Also, I have tried to use a bow saw to rip thin panels with poor results. Any chance on a cursory instruction using that bow saw behind you?
I really like the bow saw for some work. I am doing some research on issues and have finalised some things. When I am done we will be doing a blog and a video on building and using.
Great! Thank you for the reply.
I forgot, you have five fingers not four, my error.
What do you think about using only one raised panel? It would over stress the frame when it expands and contracts? Could this be solved with deeper grooves?
Thanks!!!!
Alvaro.
Alvaro:
Paul is probably playing is safe, as we will all be using different kinds of wood at different moisture levels. The mahogany he is using may be okay with one panel, but if someone is using pine, say and it is fairly moist when it goes in, then it could shrink by a several milimetres, so it is better to have two smaller pieces so that shrinkage is spread out.
I would go ahead and use a long panel. Make certain the moisture level is around 7% though. The idea of my using two is for the experience of adding the middle rail. The width of the panel is not consequential in this case as the orientation is similar in both directions so shrinkage will get you one way or the other.
I love the look of the twin “double-raised” panels (raised on top and underneath). It’s so different. I can’t wait to try it myself. Well done, Paul!
Paul, wonderful looking Grain on the wood where in the UK is a good place to get such large Mahogany or oak boards or are they glue ups? I live in Hertfordshire and can only get pine boards at 9×1 x meters locally. I am new to woodworking and get confused online when the quote cost per cubic metre and in most case they require very large orders. Many thanks P.
Hello Paul,
We get the redwood, oak and sepele used in the videos from a local timber merchant and the mahogany used in this project is two boards that have been edge jointed.
Kind Regards,
Thanks Paul, this is such a great project for me. I really like all the details and instruction you provide in the videos. I have learned so much from you in the past year. Looking forward to another awesome year. I build my work bench from your youtube video’s and its worked great for the past two years. I would like to build a smaller Roubo style for space saving and move the bigger 96 inch one to the other side of the garage for working on larger pieces and use the smaller one for boxes and all the detail work other reason as well. I would love to see a smaller but still heavy duty work bench video.