
Introducing the Wall Hung Tool Cabinet
It’s great to hear how many of you have been getting your creative workspaces up and running so you can get woodworking. Maybe you want somewhere to keep your tools organised that is quickly accessible. What better place to store your carefully restored tools than a tool cabinet. We have had many requests from people who want to know how to make one like the one housing Paul’s tools in the background of all our videos which he uses daily.
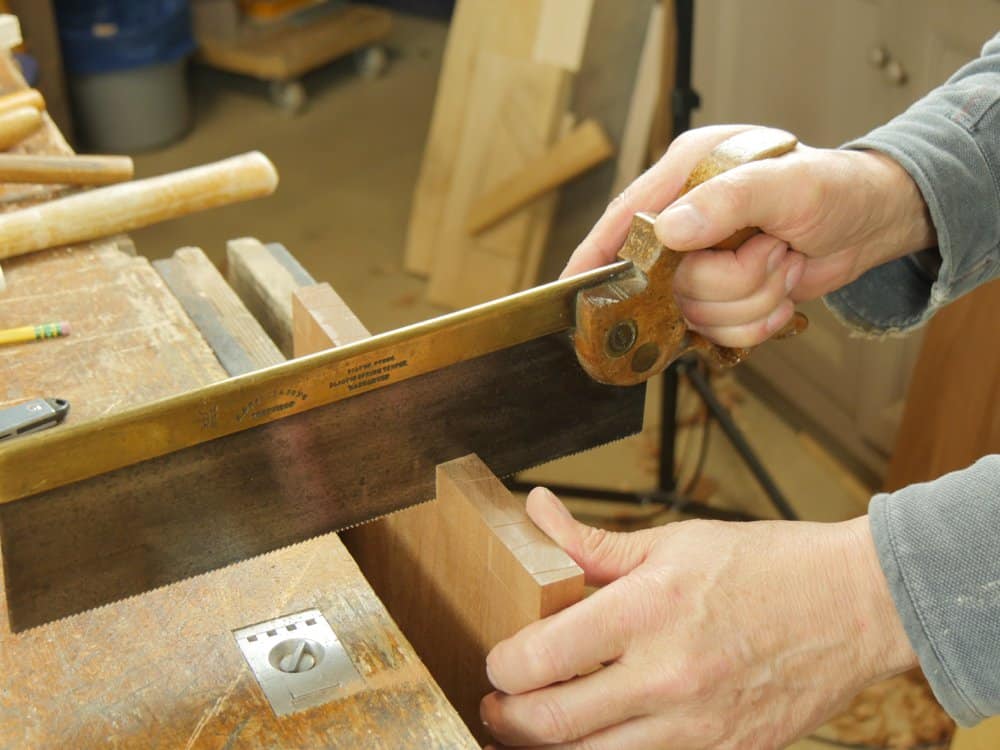
Our next project shows you how to make a wall hung tool cabinet step by step. Paul goes through the construction methods used including the techniques he’s developed to cut interchangeable dovetail corners that has never been shown before, as well as panel making, shelf and drawer fitting. We hope you will join us in making a cabinet that could be adapted to a myriad of uses.


Paul you make this woodworking look so easy, But it’s not at least it’s not for me. I haven’t the time you put into woodworking I have a full time job already and I am 61 and cannot see stopping now but I would love to be able to make a go of it, so to speak. I really admire your work you will probably go down in history as one of the greatest of all master craftsmen of fine woodworking. And you probably deserve it no doubt. I am just trying to learn as much as I can so I press on in my own little way.
Hi Paul. I should probably be patient and get my answer from episode 8 when it comes, but I hope to have my frame panel pieces finished by the time episode 8 is published. The length of your back piece (of the frame panel) appears to be longer than the front piece. In fact, it looks to be the full 32 in. outside width of the carcas instead of the inside width. (Dado to dado). Was this simply rough cut waiting to be trimmed after it is assembled, or will you chop additional mortises in the back of the dados to accommodate more thru tenons there? Wonderful project, and many new things to learn. As usual, thanks for sharing your skills, and doing it so well.
I can’t help but refer everyone to a wonderful book, “Virtuoso: The Tool Cabinet and and Workbench of Henry O. Studley.” Most, if not all of us have seen the poster, but author Don Williams “drills down” with descriptions and pictures of Studley’s tools and cabinet that proves there is real art and real science is this wonderful craft.
This is a wonderful video! I really enjoyed watching and listening to the music. This is a great way to show some of your basic workflow. I would love to see more like this in addition to what you are already doing. Thanks!
Are there any videos where Mr Sellers shows how he comes up with his diagrams? He obviously has artistic abilities, but how does he know when to and how much to angle his T? And how does he get the proportions as I never see him measure?
Thank you,
Jason
A great book on proportion is “By Hand & Eye” by George R. Walker & Jim Tolpin.
Excellent bit of video to get my inspiration up. Paul, I thought I heard or read one time, that you said, it isn’t necessary to wipe excess glue from the wood. Let it dry and scrap it away? Just wondering if there are certain conditions or if it is the woodworkers preference?
I know some people advocate using a wet rag to remove excess glue and I think that that works fine if you have accidentally smeared the glue. The problem is you can’t really see where the glue is. I recommend leaving glue in the corners where it beads up and chiselling or scraping the glue away. It’s worked for me for years and I don’t like introducing water to wood surfaces.unnecessarily.
thank you. It was one of my question this week!
Are the videos for this cabinet available? I can’t seem to find them anywhere on the website.
Found them!