@bubba1
Forum Replies Created
-
AuthorPosts
-

GregM,
Sawing is the gateway skill, yet the least written about and videoed of the basic skills. I can understand your problem. The best advice I can give is check with your local woodworking shop (if you have one) for someone to show the basic way to stand and hold the saw. Once you know how, practice until you can do it without thinking about it.
Bottom line: Stand so your sawing arm can move freely without interference, hold the saw’s tote almost like you would something you did not wish to touch, and try to not saw. In other words move the saw back and forth while trying to just let the weight of the saw do the work.
Do it over and over trying to stay square and vertical. Check each time with a square to see how you did, try to correct any mistake on the next cut.
Learning to saw is mostly about seeing and learning to feel vertical plus learning to trust the saw to work for you.
Ken
[quote quote=317302]…I have found that the better planes all have the frog adjusting screw at the base of the frog. Cheaper, and therefore inferior planes do not have this screw relying on setting the frog using just the two securing screws on the front of the frog under the iron assembly.[/quote]
Ain’t necessary so. Stanley planes pre type 10 did not have a frog adjustment screw. I have a near full set of type 9’s and they are some of my favorite users.
ken
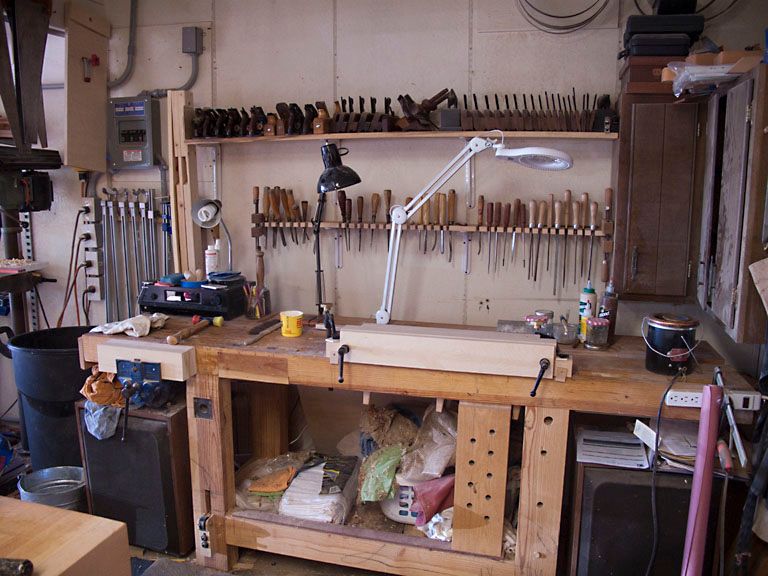
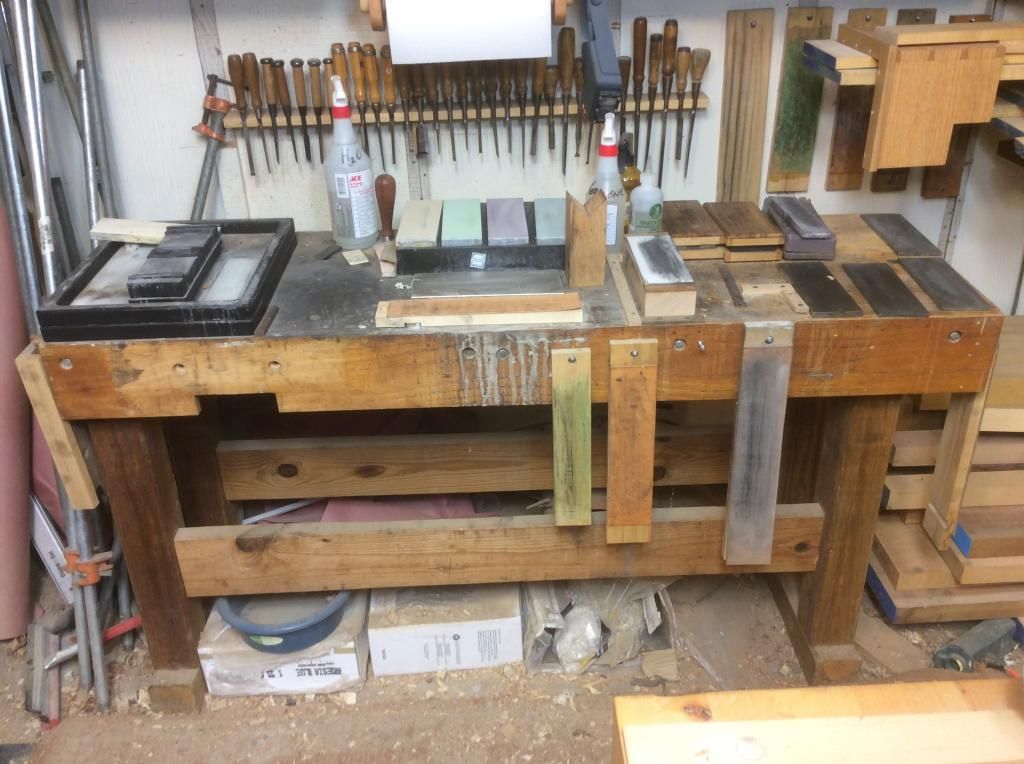
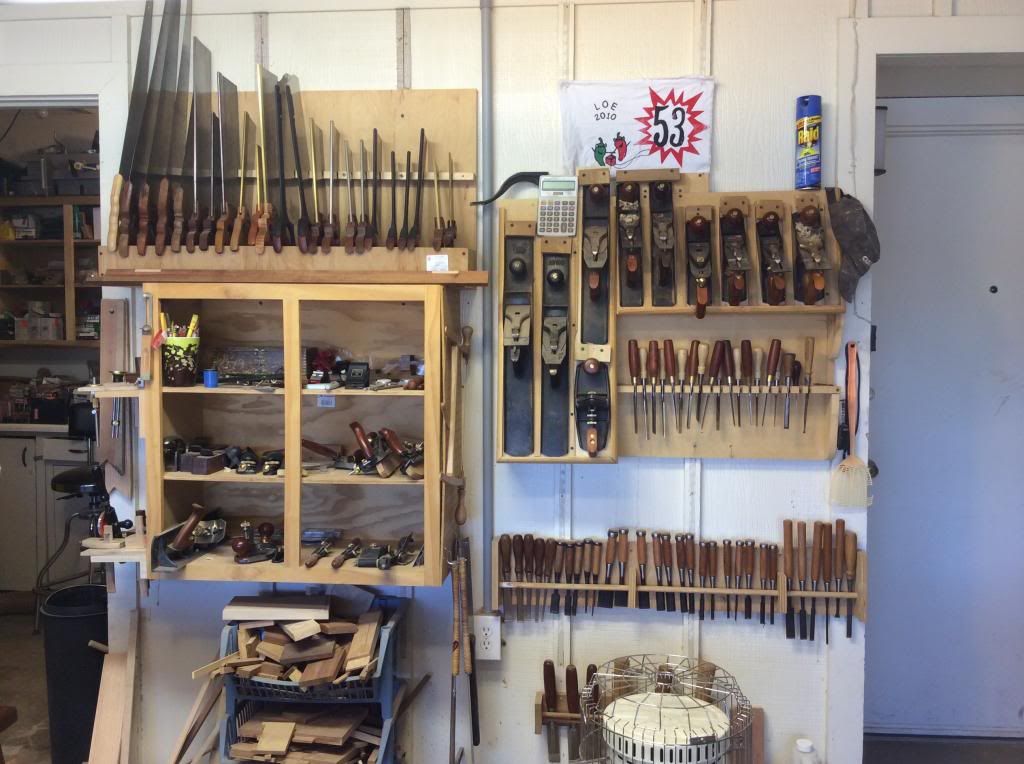
Let me bore you’ll a little more and post some additional photos of the bench area of my shop where most of the work is done. The machines are used to rough dimension stock, it is a love/hate relation. Once or twice a year I will take a rough board and four square it by hand for a couple of reasons. First to remember how and second to remind me why half of my shop is taken up by pig iron.
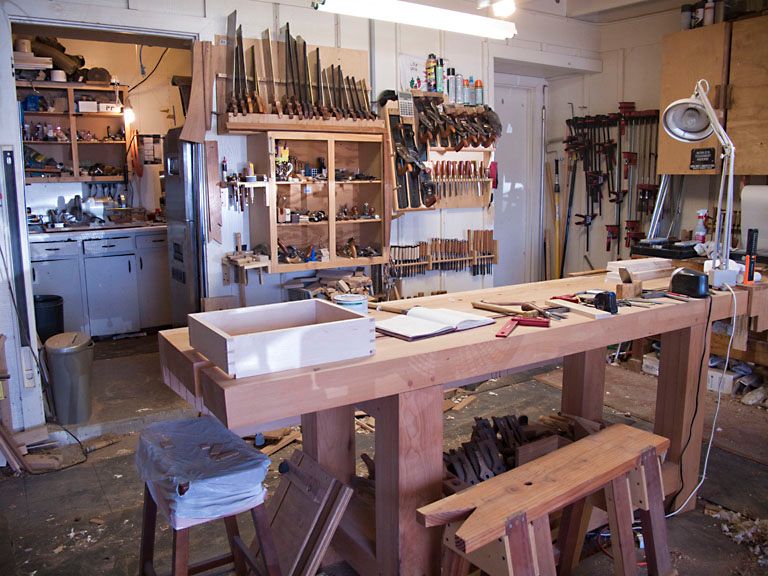
This is my secondary bench, it sets to the right of the main bench. It will usually have the Moxon vise mounted.
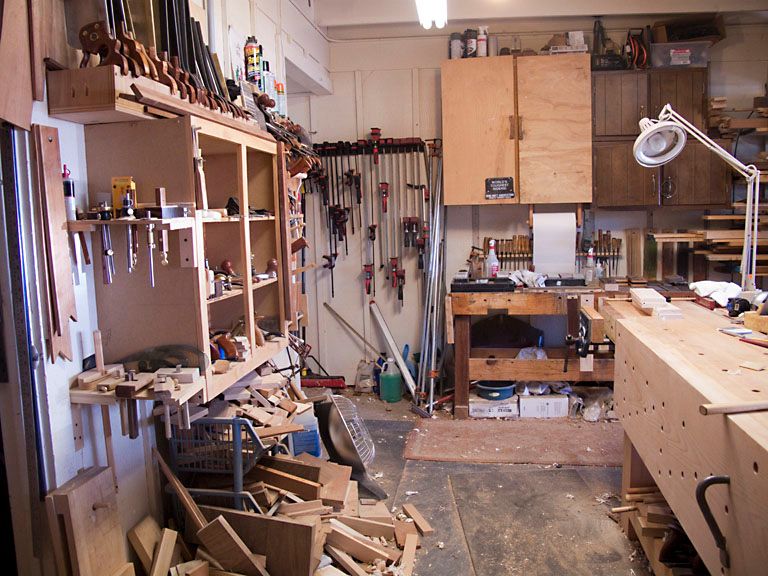
This is looking from the back side of the main bench into the “tool room” aka fibber McGee’s closet. The tool room has my bench grinders, saw vise, lathe, tool box and tools that are not used often.
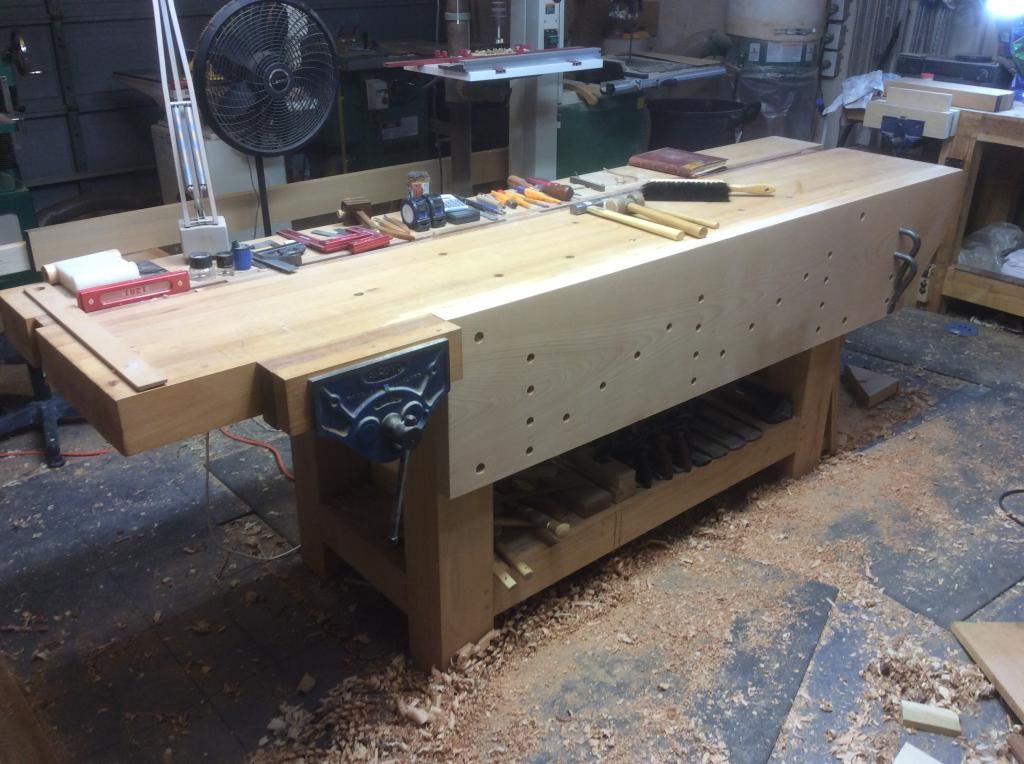
And last looking down the main bench to the left.
It’s small but works>
ken
[quote quote=126960]Ken, that’s helpful info. And I’ll give you a holler in case I do sell the 52.
[/quote]
[quote quote=126960]Ken, that’s helpful info. And I’ll give you a holler in case I do sell the 52.
[/quote]
Edward,
I hope you decide to keep it….It is too good a vise to let go even if you do not have a use for it at this time. I’ve a couple of Paramo (Record clones made to help the War effort) vises that have been following me around for years. They have moved from bench to bench. When I’ve tried other vises it’s not long before they are replaced by one of the Paramo’s.
ken
Edward,
If it is an early Record it is one of the best vises ever made for working wood but as a face vise not a tail vise. With the exception of a wagon or a classic tail vise all suffer from not providing support along the entire length of the work piece.
BTW, the last few benches I’ve built do not have a tail vise of any kind. I’ve found I can do any of the tail vise functions better, easier, and quicker with the use of hold fasts, battens, stops, and doe’s foot vs. any kind of tail vise.
I wouldn’t sell the Record whatever you decide to use for a tail vise but….if you do drop me a note.
ken
Jmahoney,
Many of the hand tools were acquired in the 70s and 80s. The sharpening bench was my first “wood working” bench also built in the early 80’s. Because of work (International travel and at times based) I sold all my machines and put every thing else into storage around 94 or 95. I semi-retired about 7 years ago, pulled everything out of storage and started re-building the shop.
The shop is close to complete but….As a guy with a tool jones, I can usually find a new toy to add to the mix every now and again. Truth is, I only use a core set of tools that I would guess is less than 50 total for 95% of everything I build.
Thanks for asking,
ken
My shop is the preverbal 10 lbs. fit into a 5 lb. bag, so things get moved around hoping through magic to make the 10 into 5. It is arranged into a machine section and a bench section, with a “tool room” in the back.

Bench area looking forward with secondary bench on the right and sharpening bench on the left.
Thanks,
It was a good build, because of the simplicity a reasonably quick one but by the end I was ready to finish and get on to other projects. Most of that was because of the difficulty of handling the weight and size of workbench components in a small one man shop.
I’m making a few small boxes as transition projects and it is nice working with small joints and wood that can be handled with one hand. Some larger furniture to follow soon.
ken
Good job so far, it is a tough slog. I re-did our kitchen from bare slab to moving most of the connections a couple of years ago. I don’t really want to do it again but if needed it is the only way to go. The stuff in the Big Box stores is too poorly made to even consider having in your house.
ken
[quote quote=60080]I’ve been following your progress on your blog. Great to see the bench finished. It looks fantastic and will serve you well!
Looking forward to seeing some of the projects made on the new bench.
George.
[/quote]Thanks George,
I often wonder if anyone reads the blog :-). It doesn’t matter if anyone does, but thanks again for taking the time, because it is more of a journal I keep for myself than anything. It just replaces some of the spiral notebooks with notes on projects.
For folks that have not read the blog, this bench has been kept very simple with no tail vise, wagon or other, and no deadman. I’ve found from working on other benches, for my work, every thing can be done with stops, battens, holdfasts, and the occasional “f” clamp. Anything other than those simple appliances just get in the way and slow me down. As always YMMV.
BTW, it is already a working bench with a few chisel marks and I expect more to come along with stains, and dents. It sure was pretty when finished but once it starts showing signs of work it will become beautiful.
I’ve made a couple of small dovetailed boxes on it so far. It is solid as a rock for sawing, chopping and paring as I expected it would be and because it is a clone of the previous bench (with a few things removed) everything falls to hand.
ken
John-Paul,
You answered your own question. If the joint is mortice and tenon draw boring is my preferred joining method. Especially so on large projects for several reasons. The first is no need for clamps, second is no need for glue, and third the joint is stronger than a glue joint. As an additional advantage because of no glue there is no “glue up” stress. When it is time for final assembly it is like putting TinkerToys together….A leisurely put one joint together, drive the pins, go on the the next and repeat until there are no more bores to fill.
If the joints are dovetails they should pull up tight enough with no need for a clamp.
ken
My bet is the wood he was using is also known as Yellow Poplar. Yellow Poplar is an easy working, paint friendly wood that is often used as a secondary wood. Check your wood merchants for either Yellow Poplar or Tulip Poplar.
BTW, Poplar is much nicer to work than most pines and looks very good painted, with an oil finish it can turn very green at first but as it is exposed to light and air it will darken to a brown…still isn’t the best looking wood for finishing with oil.
ken
I have round heels when it comes to sharpening systems. I Have most of the systems; many of the honing jigs, including Eclipse and most of the Veritas jigs, along with oil stones, water stones, ceramic stones, diamond plates, granite plate and sandpaper, machines include Worksharp and Tormek T-7 with both standard stone and 3000 grit Japanese water stone, and for my way of working (that is the key phrase) a freehand convex bevel on diamond plates and a strop charged with Herb’s yellowstone works best.
I also maintain a stropped convex bevel will give a better working edge than any other type or method. This based on many experiments using all the different methods and bevel types. Over the years when I’ve run into difficult wood I will dig out many of the systems to see if I can get a sharper edge and/or one that is more durable. I keep hoping but it never happens.Sometimes the machine or jig sharpened edge with a micro bevel will feel a little sharper the first cut (debatable) but by the second and third there will be little or no difference after that the micro bevel edge will begin to break down and fracture. The stropped convex bevel will remain sharp and working much longer. This result is the same for any of the major tool irons and brands, O1, A2, PM-11,Japanese White Steel, it makes no never mind. YMMV
-
AuthorPosts